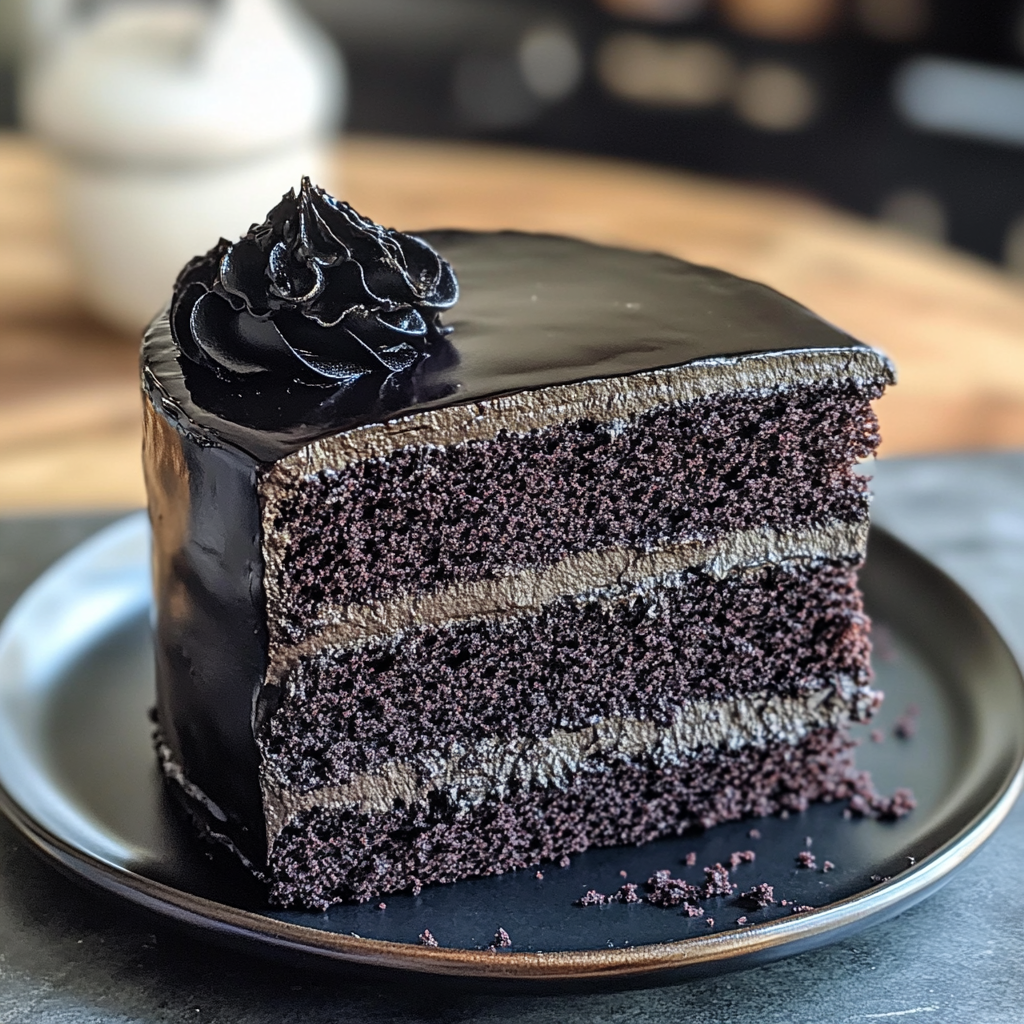
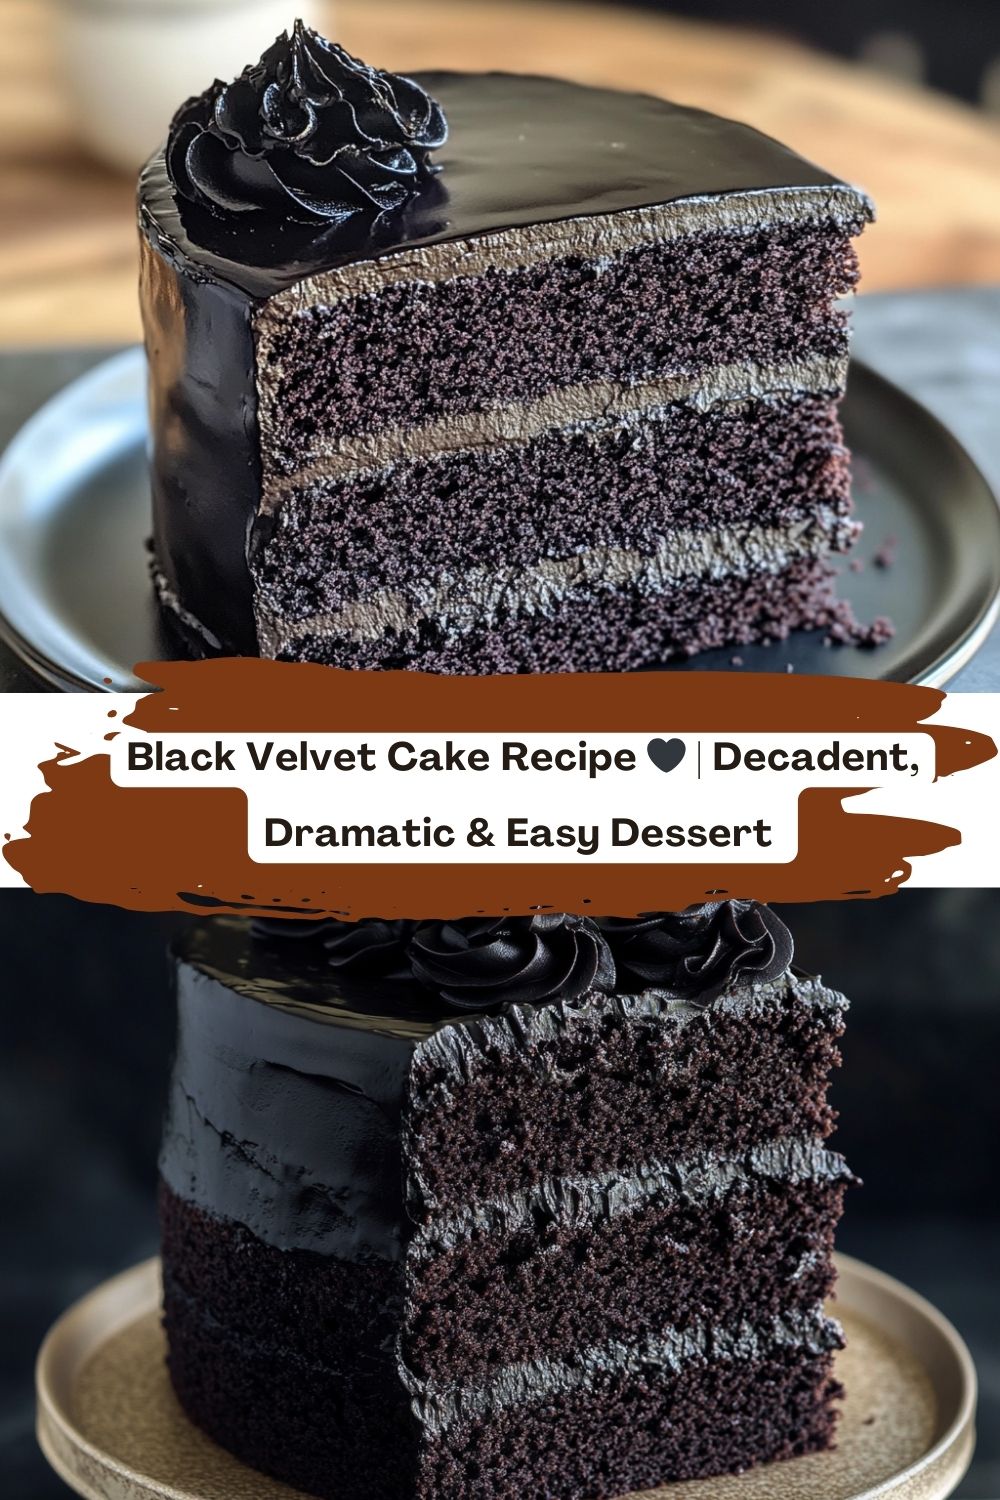
Black Velvet Cake: The Dark, Decadent Dessert That Steals Every Spotlight
Hey there, fellow flavor adventurers! Chef Jackson here, ready to whisk you away into the shadowy, seductive world of Black Velvet Cake. Imagine a dessert that’s as bold as your favorite midnight playlist, as velvety as your coziest sweater, and as mysterious as that unread text from your crush. This isn’t just cake—it’s a mood. 🖤
If red velvet cake is the life of the party, its black velvet sibling is the enigmatic stranger leaning against the piano, drawing everyone in with a wink. Perfect for birthdays, anniversaries, or those “I deserve something fabulous” nights, this cake turns heads and wins hearts. And guess what? It’s shockingly simple to make. No pastry degree required—just a love for drama and a whisk. Let’s dive in!
The Night I Fell in Love with Black Velvet
Picture this: It’s 2 a.m. in my tiny Brooklyn apartment kitchen. I’m 22, wearing mismatched socks, and determined to impress my date with a dessert that says, “I’m sophisticated but also fun.” Enter: Black Velvet Cake. I swapped red food coloring for black cocoa, crossed my fingers, and prayed to the baking gods. The result? A lopsided masterpiece that tasted like midnight magic. My date? They proposed three years later. Coincidence? I think not. 😉
This cake became my go-to for milestones—promotions, breakups, even that time my cat won a “Most Dramatic Yawn” contest at the pet fair. It’s not just dessert; it’s a edible hug for your soul. And today, I’m sharing all my secrets with YOU.
Ingredients: Your Dark Side Starter Kit
- 1¾ cups all-purpose flour – The sturdy backbone. For gluten-free folks, swap with a 1:1 GF blend (add ½ tsp xanthan gum if it’s not included).
- ¾ cup unsweetened black cocoa powder – The MVP! This Dutch-processed cocoa is darker than a moonless night. Can’t find it? Mix regular cocoa with activated charcoal (food-grade!) or use extra black food coloring.
- 1½ tsp baking soda – Our rise-and-shine agent. Make sure it’s fresh—expired soda = sad flat cake.
- ½ tsp salt – Balances the sweetness. Sea salt or kosher works best.
- 1 cup buttermilk – Tangy tenderness in liquid form. No buttermilk? Mix 1 cup milk + 1 tbsp lemon juice/vinegar. Let it curdle like your last dating app conversation.
- 1 tbsp white vinegar – Secret weapon! Enhances the cocoa’s color and activates the baking soda.
- 1 tsp vanilla extract – Splurge on the good stuff. Or add a split vanilla bean for extra ~luxury~.
- ½ cup vegetable oil – Keeps things moist. Melted coconut oil works too for a subtle tropical vibe.
- 1½ cups sugar – Sweetness level: “I’ll start my diet tomorrow.”
- 2 eggs – Room temp, please! Cold eggs = dense cake. Vegan? Use flax eggs (2 tbsp ground flax + 5 tbsp water).
- Black food coloring (optional) – For that Darth Vader-level darkness. Gel coloring works best—no watery batter!
Baking Steps: Let’s Get Witchy (In the Best Way)
- Preheat & Prep: Crank that oven to 350°F (175°C). Grease your pans like you’re buttering up a grumpy cat—use baking spray or butter + flour. Pro tip: Line the bottoms with parchment paper for easy release!
- Dry Team Assemble: In a bowl, sift together flour, black cocoa, baking soda, and salt. Sifting = no lumps, just smooth, goth-approved batter. Channel your inner wizard as that cocoa dust clouds up!
- Wet Ingredients Party: In another bowl, whisk buttermilk, vinegar, vanilla, oil, sugar, and eggs. Whisk until it looks like a chocolate milkshake you’d fight someone for. Add black food coloring now if you’re going full-on noir.
- The Big Merge: Pour wet into dry ingredients. Mix until JUST combined—overmixing is the enemy of fluffy cake! A few lumps? Totally fine. They’re just “texture surprises.”
- Bake It Pretty: Divide batter between pans. Tap them on the counter to release air bubbles (imagine you’re a drummer in a rock band). Bake 25-30 minutes. Test doneness with a toothpick—if it comes out clean, you’ve nailed it. If not, bake another 2 minutes and glare through the oven window menacingly.
- Cooling = Torture: Let cakes cool in pans for 10 minutes, then transfer to a rack. DO NOT FROST WARM CAKES. I repeat: patience, young Padawan. Warm cake + frosting = melty mess of regret.
Serving: Plate Like a Pro
You didn’t just bake a cake—you summoned a showstopper. So when it’s time to slice and serve, do it with flair worthy of a gothic opera finale:
🖤 Hot Knife = Clean Drama
Run your knife under hot water, wipe it dry, and slice slowly for those flawless, photo-ready edges. Every slice should look like it belongs on the cover of a moody dessert magazine.
✨ The Drama Is in the Contrast
Plate it on a stark white dish, drizzle with glossy chocolate ganache, and toss a few edible gold flakes or blackberries on the side. Think “goth meets Gatsby.”
☕ Pairings That Elevate the Mood
-
Espresso martinis for the grown-up dessert hour
-
Cold brew with vanilla cream for an artsy afternoon
-
Chili hot chocolate for cozy intensity
Bonus: Serve with flickering candles and a jazz playlist for full noir-bakery vibes.
🎂 Frosting Finishing Touches
Swipe on classic cream cheese or mascarpone frosting, and let it be just imperfect enough to look homemade—but luxe. Add a dusting of cocoa, a crown of berries, or even shards of dark chocolate for that extra “oooh.”
💋 Serve With Attitude
This cake isn’t here to blend in—it’s the main event. Slice thick, lean in, and let guests know: this isn’t your average layer cake. It’s a black velvet moment. And every bite is a standing ovation.
Mix It Up: Black Velvet’s Alter Egos
- Vampire’s Delight: Add 1 tsp cinnamon + ¼ tsp cayenne for a spicy kick.
- Oreo Overload: Fold crushed Oreos into the batter. Frost with cookies-and-cream buttercream.
- Boozy Bourbon: Soak layers in bourbon syrup before frosting. You’re welcome.
- Dairy-Free Darkness: Use coconut yogurt instead of buttermilk and vegan cream cheese frosting.
Chef’s Confessions & Kitchen Tales
True story: I once baked this for a Halloween party… and accidentally used salt instead of sugar. The result tasted like the ocean’s darkest regrets. Lesson learned: Label your jars, people! Over the years, I’ve tweaked the recipe to be foolproof—even my sous chef (read: my golden retriever) could make it. Probably.
Fun fact: The black cocoa was inspired by my obsession with Oreo filling as a kid. Turns out, it’s just black cocoa + sugar. Mind. Blown. 🤯
FAQs: Your Cake Emergency Hotline
Q: My cake sank! Help?!
A: Likely culprits: overmixing, expired baking soda, or opening the oven too early. Bake the next batch with fresh soda and resist peeking!
Q: Can I use regular cocoa powder?
A: You’ll get a dark brown cake, not black. Black cocoa is key! Find it online or at specialty stores.
Q: I hate food coloring. Alternatives?
A: Squid ink! Just 1 tsp gives natural black hue. Or embrace the deep brown—it’s still stunning.
Q: Frosting too runny?
A: Chill the frosting for 20 mins, or add more powdered sugar ¼ cup at a time. Too thick? A splash of milk saves the day!
Nutritional Info (Because Adulting)
Per slice: ~300 calories, 14g fat, 38g carbs, 4g protein. Worth every. Single. Bite.
💭 Final Thoughts: Black Velvet Cake Is a Whole Mood
This isn’t just a cake—it’s an experience. A Black Velvet Cake whispers elegance, shouts decadence, and leaves a trail of cocoa-dusted swoons in its wake. Whether you’re baking it for a birthday, a dramatic dinner party, or just because your soul craves something bold and beautiful, this cake delivers every time.
It’s the dessert equivalent of a little black dress—timeless, flattering, and always the center of attention. From its rich, fudgy crumb to its mysterious midnight hue, it’s proof that baking doesn’t have to be complicated to feel fancy. And the best part? You don’t need to be a pro to pull it off—just a little courage, a good whisk, and maybe a playlist that includes Billie Eilish or Nina Simone. 😉
So light a candle, slice a piece, and celebrate your deliciously dramatic side. Because life’s too short for boring cake—and this one is unforgettable. 🖤🍰


