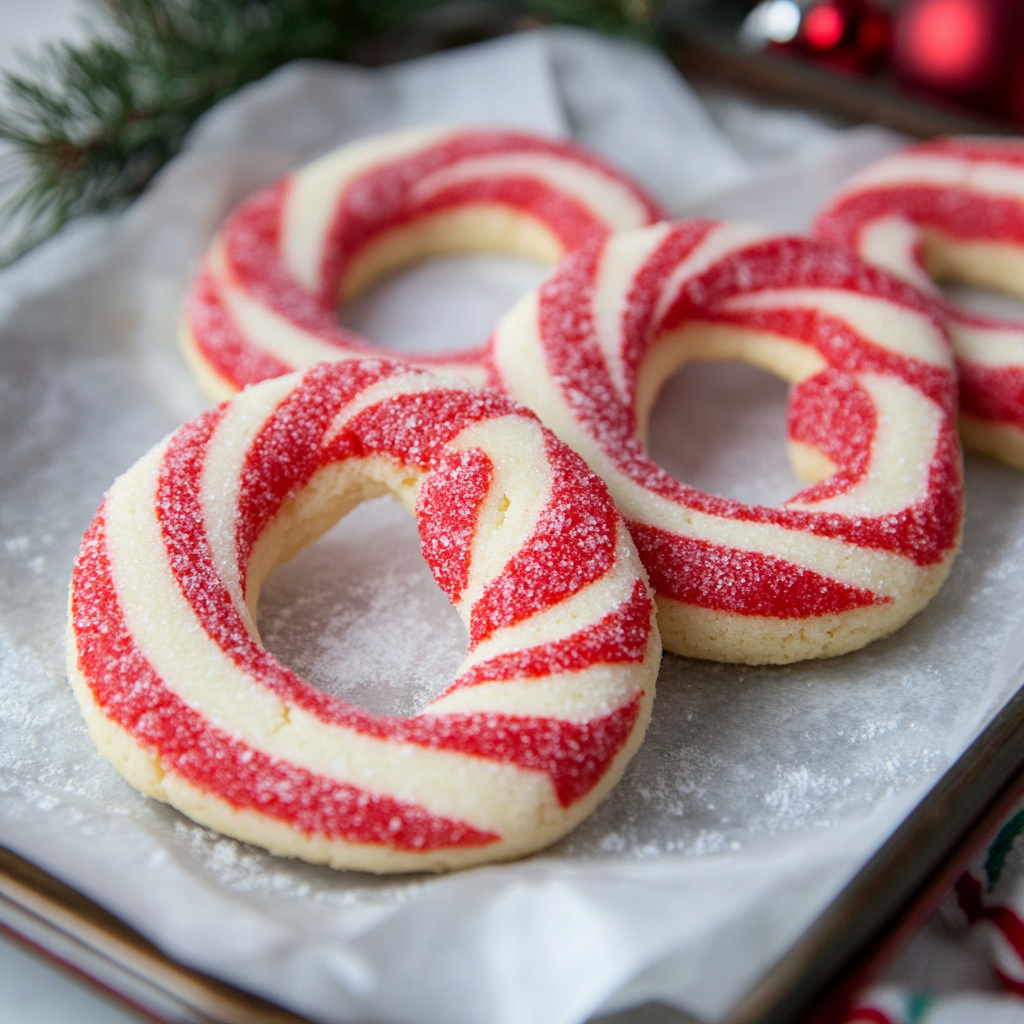
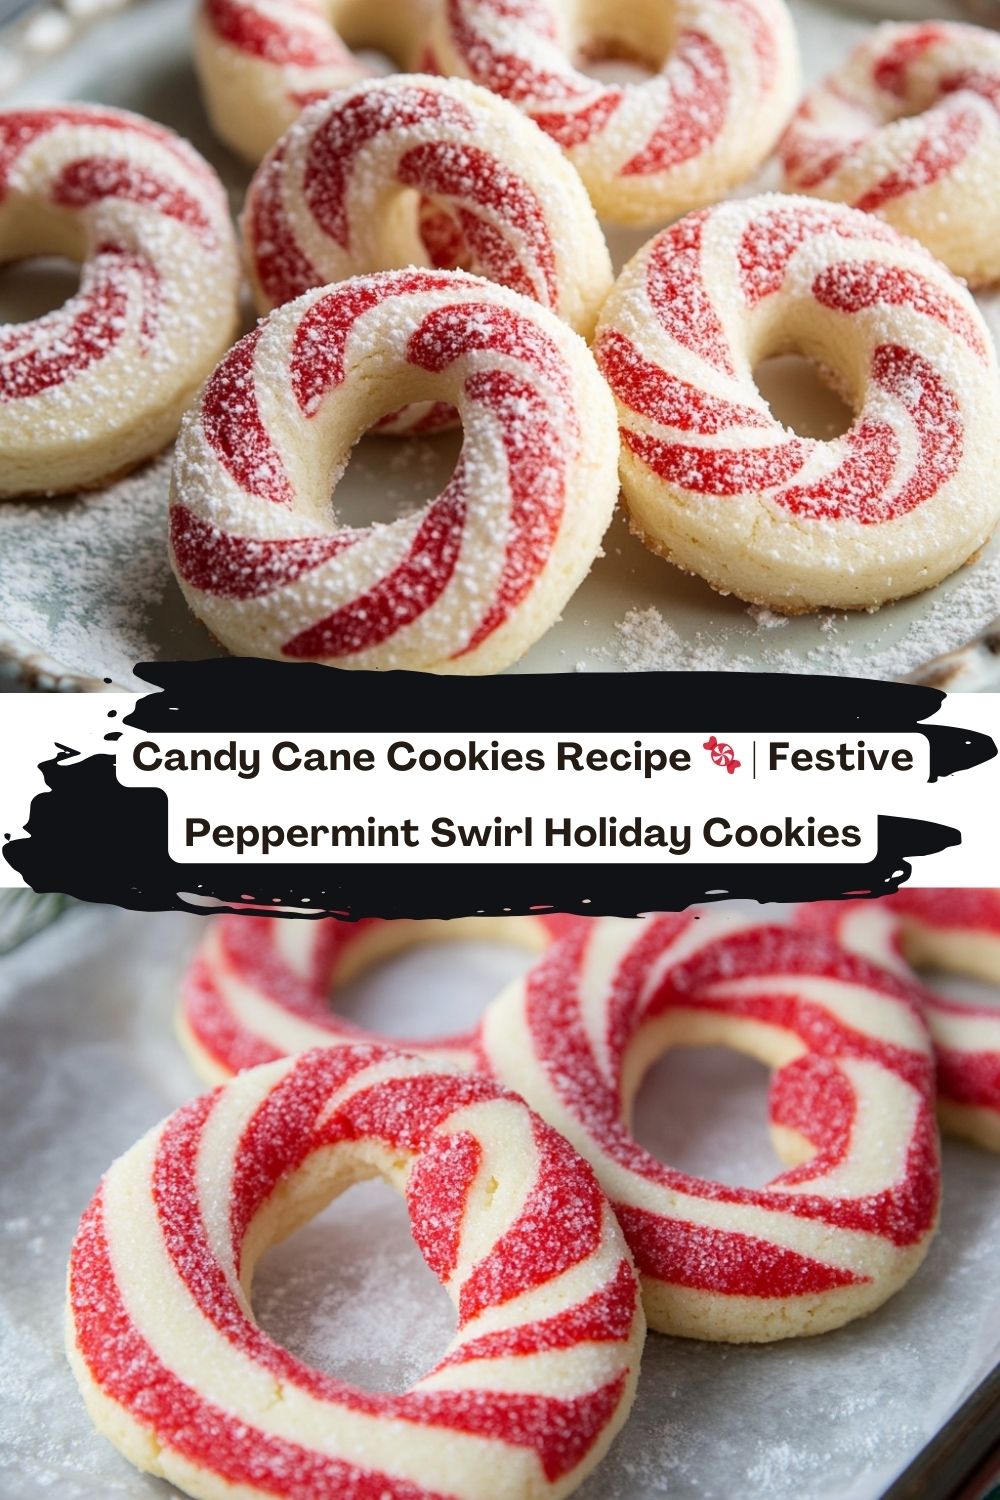
🎄 The Magic of Candy Cane Cookies: A Holiday Tradition That’ll Melt Your Heart (And Your Sweet Tooth)
Hey there, fellow cookie enthusiasts! Chef Jackson here, ready to spill the flour-dusted secrets behind one of my all-time favorite holiday treats: candy cane cookies. Picture this: it’s a chilly December evening, the tree twinkles with mismatched ornaments, and the air smells like vanilla and peppermint. You’re rolling out dough with your favorite people, laughing as you twist red-and-white ropes into crooked (but oh-so-charming) candy canes. That’s the magic we’re creating today.
Disclaimer:This post may contain affiliate links. As an Amazon Associate, I earn from qualifying purchases at no extra cost to you.
These cookies aren’t just delicious—they’re nostalgia in edible form. Whether you’re a baking newbie or a seasoned pro, this recipe is your ticket to holiday joy. They’re buttery, just minty enough, and *almost* too cute to eat (keyword: almost). Plus, they’re perfect for gifting, cookie swaps, or bribing your neighbor to shovel your driveway. (Trust me, it works.) Let’s get our aprons dirty and make some memories!
❄️ My First Candy Cane Cookie Disaster (And Why It’s Still My Favorite Memory)
Let me take you back to 1998. I was 10 years old, wearing a reindeer sweater two sizes too big, and determined to impress my grandma with my “professional” baking skills. We’d just finished decorating the tree, and I decided to surprise her with a batch of candy cane cookies—solo. Spoiler: It did *not* go as planned.
I forgot the peppermint extract (rookie move), used *blue* food coloring instead of red (“They’re winter-themed!”), and shaped the dough into what can only be described as “abstract candy blobs.” But when Grandma took a bite? She grinned wider than Santa after a chimney shortcut. “Best cookies I’ve ever had,” she lied. That day, I learned baking isn’t about perfection—it’s about the messy, hilarious, heartwarming journey. Now, let’s make YOUR version of that story (with fewer blue cookies).
🍭 What You’ll Need: Ingredients & Pro Tips
- 1 cup unsalted butter, softened – The star of the show! Unsalted lets you control the saltiness. Pro tip: If you only have salted butter, skip the added salt later.
- 1 cup powdered sugar – Lighter than granulated sugar for that melt-in-your-mouth texture. Sift it if you’re feeling fancy!
- 1 large egg – Your binding agent. Room temp works best—no one likes chilly dough.
- 1 tsp vanilla extract – The cozy hug of baking. Swap with almond extract for a nutty twist.
- ½ tsp peppermint extract – Not optional! Want more kick? Add an extra ¼ tsp. For kids, dial it back.
- 2 ½ cups all-purpose flour – Spoon and level it—don’t pack the flour! Gluten-free? Use a 1:1 GF blend.
- ½ tsp salt – Balances the sweetness. Sea salt flakes on top? Chef’s kiss.
- Red food coloring – Gel works best for vibrant hues. Natural alternative: beet powder mixed with 1 tsp water.
👩🍳 Let’s Bake! Step-by-Step Guide (With Chef Jackson ’s Chaos-Tested Hacks)
- Preheat oven to 375°F (190°C) – Line baking sheets with parchment paper. No parchment? A light butter spray works, but parchment is MVP for easy cleanup.
- Cream butter and sugar – Use a stand mixer or a bowl and sheer determination. Mix 3-4 minutes until fluffy—this builds air for tender cookies. Scrape the bowl halfway!
- Add egg, vanilla, and peppermint extract – Crack the egg into a separate bowl first (no shell surprises!). Mix until just combined—overbeating here = tough cookies.
- Gradually add flour and salt – Mix on low to avoid a flour tornado. Dough should be soft but not sticky. Too dry? Add 1 tsp milk. Too sticky? 1 Tbsp flour at a time.
- Divide dough and color half red – Gloves on unless you want Santa hands! Gel coloring needs 5-8 drops. Add slowly—you can always go darker.
- Roll ropes and twist – Take 1 tsp of each color, roll into 4-inch ropes. Twist gently, then curve into a cane. Pro tip: Chill dough 10 mins if it’s too soft to handle.
- Bake 8-10 minutes – They’re done when the bottoms are *lightly* golden. Overbaking = crunchy canes. Let cool 5 mins on the sheet before moving.
🎁 Serving Up the Holiday Spirit
When it comes to candy cane cookies, the presentation is just as joyful as the baking! These whimsical swirls deserve their moment in the spotlight—so don’t just plop them on a paper plate. Make it magical:
-
Jar It Up: Stack cookies in a clear mason jar, add a festive ribbon, and tuck in a handwritten tag. Instant edible gift!
-
Vintage Vibes: Arrange them on Grandma’s favorite platter or a thrifted holiday tray for that nostalgic, homey feel.
-
Snowy Finish: Lightly dust cooled cookies with powdered sugar for a snowy, North Pole-worthy effect.
-
Dipped Delight: Dip half of each cookie in melted white chocolate and sprinkle with crushed candy canes. Bonus: they look fancy with very little effort.
-
Cocoa Companion: Serve alongside steaming mugs of hot cocoa—spiked with peppermint schnapps for the grown-ups, or topped with marshmallow snowmen for the kiddos.
And don’t forget to sneak one onto Santa’s cookie plate. (He may or may not leave extra gifts when bribed with peppermint.)
These little cookies are more than just a treat—they’re a holiday moment, wrapped in red and white and tied with joy.
✨ Mix It Up! 5 Festive Twists
- Chocolate Swirl – Add 2 Tbsp cocoa powder to half the dough.
- Gluten-Free Joy – Use GF flour + ¼ tsp xanthan gum.
- Peppermint Bark – Dip cooled cookies in dark chocolate and sprinkle with crushed candy canes.
- Almond Joy – Swap peppermint extract for almond + add ½ cup chopped maraschino cherries.
- Vegan Vibes – Use vegan butter and a flax egg (1 Tbsp flaxseed + 3 Tbsp water).
🍪 Chef’s Cookie Confessions
Over the years, I’ve learned:
- Kids LOVE shaping these—even if they look like “candy snakes.” Embrace the chaos!
- In 2015, I accidentally used cayenne instead of red dye. “Spicy candy canes” are… not a hit.
- Freeze unbaked dough ropes for up to 3 months—holiday miracles on demand.
❓FAQs: Saving Your Cookies (Literally)
Q: My dough is too crumbly!
A: Add 1-2 tsp milk or a splash of egg yolk. Overmixed? Let it rest 10 mins to relax the gluten.
Q: Why did my colors bleed?
A> Gel food coloring is less watery. If using liquid, blot dough balls with a paper towel first.
Q: Can I make these ahead?
A: Yes! Dough keeps 3 days chilled. Baked cookies freeze beautifully for 2 months.
🎅 Kitchen Gear for Candy Cane Cookie Magic
No fancy gadgets needed—just a few trusty tools to make the holiday magic happen:
-
Mixing bowls (large & medium) – one for creaming butter/sugar, one for your dry ingredients.
-
Stand mixer or hand mixer – for whipping butter and sugar until fluffy (a whisk and elbow grease work too!).
-
Measuring cups & spoons – precision is key for holiday baking.
-
Spatula – for scraping down the sides (and maybe sneaking a taste of dough).
-
Baking sheets – line with parchment paper for easy cleanup and perfect bottoms.
-
Parchment paper or silicone baking mats – helps cookies bake evenly without sticking.
-
Gloves (optional) – if you’d rather not rock red-stained “Santa hands” when coloring dough.
-
Wire cooling rack – keeps cookies crisp and prevents soggy bottoms.
Optional but fun: Cookie tins or mason jars for gifting, and a sifter if you want that snowy powdered sugar finish.
Print
Candy Cane Cookies
- Total Time: 30 minutes
- Yield: ~36 cookies
Description
There’s something about candy cane cookies that instantly transports you to cozy nights, twinkling lights, and the joyful chaos of holiday baking. With buttery vanilla dough twisted with peppermint magic, these nostalgic treats are made to be shared, gifted, and devoured (with love and maybe a bit of powdered sugar on your sweater). Roll up your sleeves—holiday magic starts here.
Ingredients
-
1 cup unsalted butter, softened
-
1 cup powdered sugar
-
1 large egg (room temp)
-
1 tsp vanilla extract
-
½ tsp peppermint extract
-
2½ cups all-purpose flour
-
½ tsp salt
-
Red food coloring (gel preferred)
Instructions
-
Prep oven: Preheat to 375°F (190°C). Line baking sheets with parchment.
-
Cream butter + sugar: Beat until fluffy (3–4 min).
-
Add egg & extracts: Mix until smooth.
-
Mix dry in: Slowly blend flour + salt into wet mix. Dough should be soft, not sticky.
-
Divide + dye: Split dough in half. Color one half red.
-
Shape: Roll 1 tsp of each color into 4″ ropes. Twist and bend into candy cane shape.
-
Bake: 8–10 min until bottoms are lightly golden. Cool 5 min on pan.
Notes
-
Chill dough if too soft.
-
Gel coloring avoids bleeding.
-
Want more mint? Add ¼ tsp extra extract.
- Prep Time: 20 minutes
- Cook Time: 10 minutes
Nutrition
- Calories: 110 / Cookie
- Fat: 6g / Cookie
- Carbohydrates: 13g / Cookie
- Protein: 1g / Cookie
📊 Nutrition Per Cookie (Because Balance, Right?)
Calories: 110 | Protein: 1g | Carbs: 13g | Fat: 6g
(Note: Stats vary based on size and substitutions. Eat joy first, math later.)
🎄 Final Thoughts: Baking More Than Cookies
At the end of the day, these candy cane cookies aren’t just about sugar, butter, and peppermint—they’re about tradition, togetherness, and the sweet little moments that turn into lifelong memories. Whether your candy canes come out picture-perfect or slightly lopsided (bless those enthusiastic helpers!), each batch holds the warmth of the season.
So crank up the holiday playlist, invite a friend (or three) into the kitchen, and let the scent of peppermint and laughter fill the air. These cookies might start as dough—but they end as joy, connection, and the kind of magic that only December can bring.
Happy baking, happy holidays, and may your cookie tins always be full. ❤️

Absolutely great recipe. Delicious and perfect for any holiday table.
★★★★★