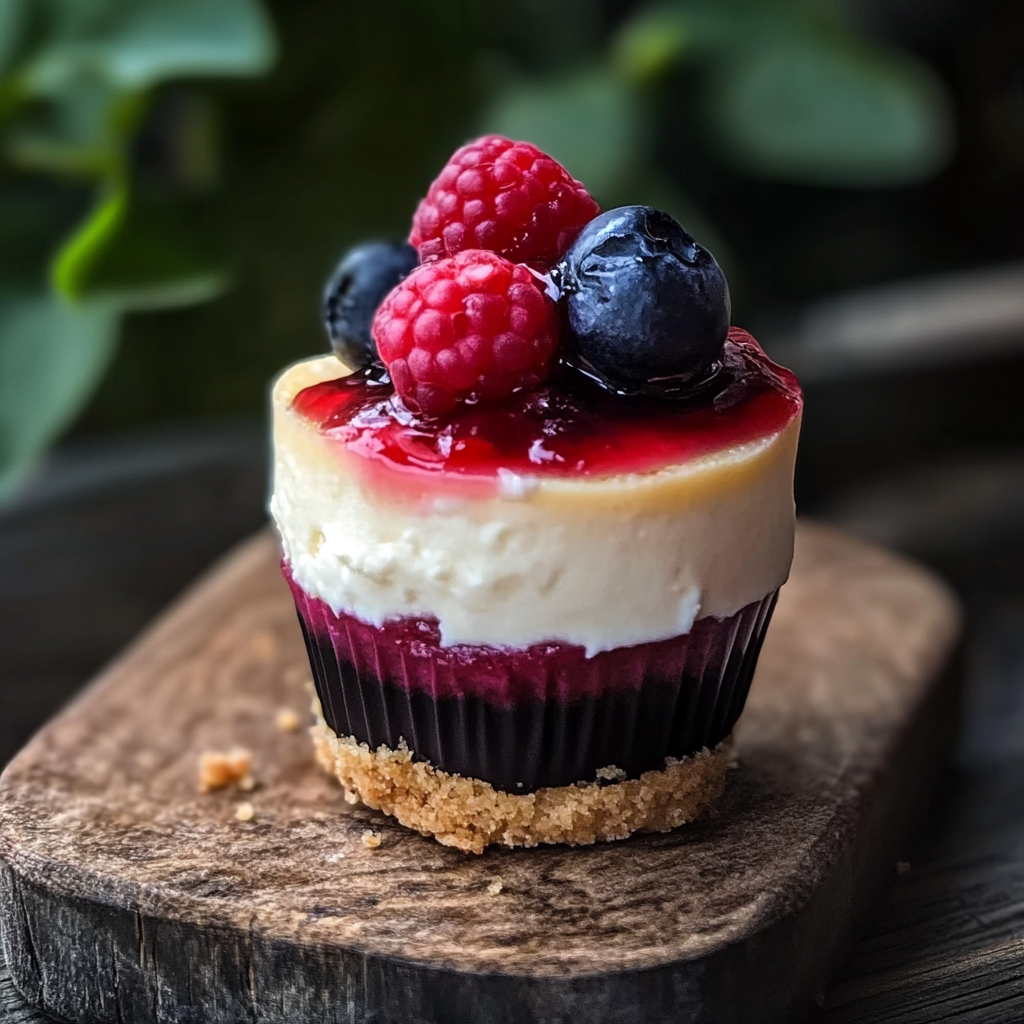
Light, Creamy & Mom-Approved: 4-Point Mini Cheesecake Cups (That’ll Fool Everyone!)
Hey, foodie friends! Chef Jackson here, ready to spill the beans on my mom’s legendary mini cheesecake cups that taste like a cheat day but play nice with your wellness goals. Picture this: velvety cheesecake hugging tart cherries, all snuggled on a cinnamon-kissed crust, topped with a cloud of whipped cream. The best part? These little flavor bombs clock in at just 4 WW points each and come together faster than you can say “second helping.”
I’ve watched my mom whip these up for decades—bridal showers, backyard BBQs, even my 3rd grade “I survived fractions” party. Every single time, someone inevitably asks, “You’re SURE these are light?!” Spoiler: They are. The magic? Greek yogurt and sugar-free pudding do a creamy tango that’ll make you forget traditional cheesecake ever existed. Let’s get spoon-deep in this recipe!

The Time Mom’s Cheesecakes Crashed a Wedding
Flashback to 2017: My cousin’s outdoor wedding cake melted faster than a popsicle in July (RIP, buttercream). Mom—always the kitchen MacGyver—ran to the nearest grocery store, grabbed her “cheesecake starter kit” ingredients, and transformed the dessert crisis into legend. She layered these cups in plastic champagne flutes (classy improvisation!), garnished with the bride’s leftover rose petals, and boom—instant wedding hit. The groom’s grandma still emails every June asking for “those fancy rose cheesecakes.” Moral? Always keep pudding mix in your pantry. Always.
Your Grocery List (Plus Chef Secrets!)
- 2 cups non-fat Greek yogurt – Our protein-packed base! Strained yogurt gives that luxe texture. Swap: Skyr or coconut yogurt for dairy-free.
- 1 packet sugar-free cheesecake JELL-O – The flavor wizard. Pro tip: Whip the powder into the yogurt slowly to avoid lumpy regrets.
- 4 packets Stevia – Mom swears by the pink packets, but monk fruit or erythritol work too. Taste as you go!
- 8 low-fat cinnamon graham crackers – About 1 sleeve. Crush hack: Seal in a bag and roll with a wine bottle—therapeutic and efficient.
- 18 oz no-sugar cherry pie filling – Look for “light” labels. Fresh pitted cherries + chia jam works in summer!
- Light whipped cream – The cherry’s BFF. Coconut whipped cream for dairy-free drama.
Building Your Cheesecake Masterpiece
Step 1: In your favorite mixing bowl (mine’s polka-dotted), combine yogurt, pudding mix, and sweetener. Whisk like you’re trying to make it laugh—2 full minutes until it’s thicker than a rom-com plot. Let it rest 5 minutes; the pudding needs a quick nap to activate.
Step 2: Crush those grahams! Aim for rubble, not dust. Layer pro move: Press 1.5 tbsp into each cup firmly with a shot glass—prevents crust rebellion when spooning.
Step 3: Pipe or spoon the cheesecake mix over crusts. Hack alert: Ziplock bag with the corner snipped = instant piping bag. Channel your inner Picasso!
Step 4: Crown each cup with cherries. Artistry tip: Let some sauce drizzle down the sides for that “I woke up like this” glow.
Step 5: Swirl on whipped cream. Mom’s touch: A tiny sprinkle of graham crumbs on top for crunch contrast.
Chill: 30 minutes minimum. They’re good after 15, but patience = perfect layers that don’t mud wrestle.
Confessions from My Cheesecake Diary
True story: The first time I made these solo, I used unflavored protein powder instead of pudding mix (don’t @ me—college dorm life). They tasted like chalky regrets. Lesson learned! Now I keep emergency pudding boxes in my glove compartment. Over the years, we’ve tweaked the recipe—less sweetener, more cinnamon, adding chia seeds to the cherries for thickness. The core remains: simple, shareable joy. Oh, and if your layers bleed a bit? Call it “abstract art” and serve with jazz music. Works every time.
Your Cheesecake Cup SOS Guide
Q: Can I use regular graham crackers?
A: Totally! Points will bump to ~5 SP. For gluten-free pals, try gluten-free animal crackers.
Q: Make-ahead magic?
A: Layer everything except whipped cream up to 24 hours ahead. Add topping fresh!
Q: My mix is runny—help!
A: Did you let the pudding activate? Chill the cups for an extra 30 mins. Still loose? Fold in 1 tbsp cornstarch next time.
Q: Fresh vs canned cherries?
A: Fresh pitted cherries + 1 tbsp cornstarch + 1/4 cup water simmered for 10 mins = chef’s kiss!
Nutritional Perks (Because Knowledge is Power!)
Per cup: 110 calories | 4 WW Points | 8g protein | 5g sugar | 2g fat
Note: Calculated using listed ingredients. Points may vary by sweetener brand.
Final Thoughts: Your Guilt-Free Cheesecake Glow-Up
Here’s the truth, my fellow dessert lover: you don’t need sugar bombs or hour-long oven dramas to create a treat that makes people say, “Wait… this is light?” These 4-Point Mini Cheesecake Cups prove that indulgence can totally coexist with intention. Creamy, dreamy, and totally customizable, they’re the kind of recipe that sneaks into your regular rotation without even trying.
Whether you’re meal-prepping for the week, showing up to book club with something cute, or just treating yourself after a long day of being awesome—you’ve got a dessert that works as hard as you do. Bonus? These cups hold up in the fridge, travel like a dream, and look adorable whether they’re in champagne flutes, mason jars, or humble plastic meal-prep containers.
Most importantly? They’re fun. Fun to make. Fun to serve. Fun to eat. And let’s be honest—those mini spoons hit different when they’re diving into something this rich and satisfying.
So go ahead—get playful with flavors, swap toppings like a dessert DJ, and don’t be afraid to experiment. Your sweet tooth and your point tracker can totally be besties.
Now if you’ll excuse me, I have a cheesecake cup waiting in the fridge with my name on it (and maybe one for you too).


