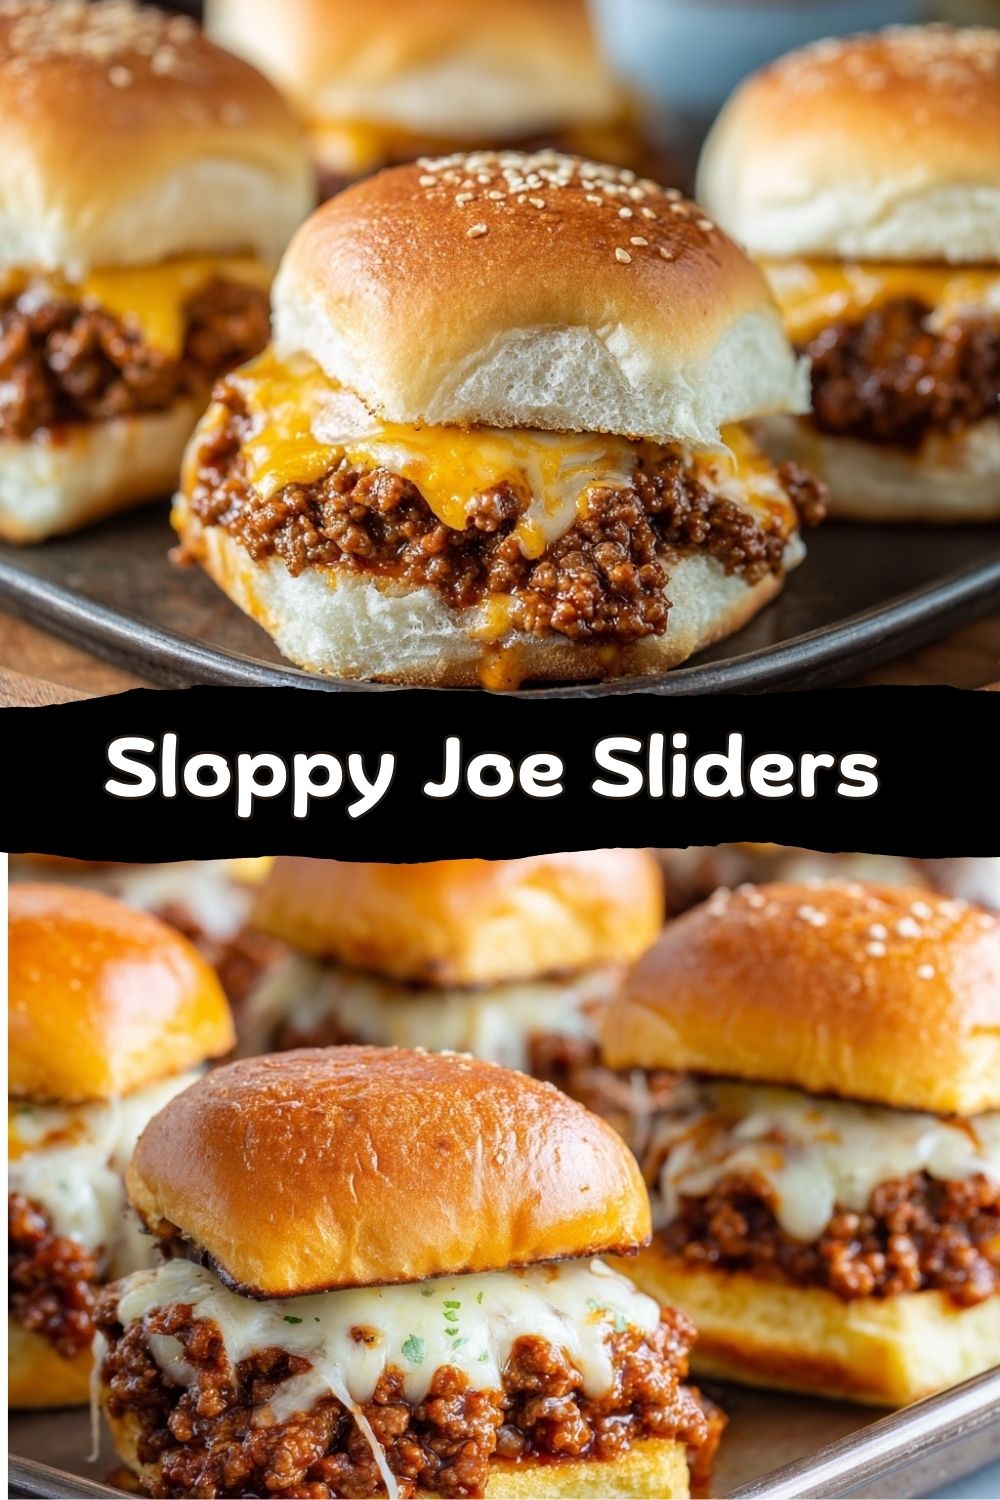
Forget Everything You Knew About Sloppy Joes
Hey there, friend. Let’s talk about a beautiful, beautiful mess. I’m talking about that iconic, tangy-sweet, beefy sauce clinging to a soft bun, the kind of meal that requires a stack of napkins and zero pretension. The classic Sloppy Joe is a legend for a reason. But what if I told you we could take that legendary flavor, shrink it down into the ultimate shareable bite, and make it even more irresistible? Enter: the Sloppy Joe Slider.
This isn’t just a recipe; it’s a game plan for your next game day, a secret weapon for potlucks, and a genius hack for beating the weeknight dinner blues. We’re taking all that “sloppy” goodness, packing it onto soft slider buns, blanketing it in melty cheese, and baking it until the tops are golden and the cheese is bubbling into the sauce. The result? A pan of pure, unadulterated joy. They’re quick to assemble, guaranteed to disappear even quicker, and they have that magical ability to make everyone—from kids to your foodie uncle—gather around the kitchen island with eager hands.
At Food Meld, we’re all about bold, comforting flavors that don’t require a culinary degree. This recipe is exactly that. It’s my Southern-rooted, weeknight-friendly, “what if we tried this?” energy in slider form. We’re keeping it real, keeping it packed with flavor, and making sure you have fun doing it. So, grab your favorite skillet, and let’s turn a classic into the life of the party. Let’s cook something awesome together.
A Messy Plate of Happy Memories
My love for Sloppy Joes is deeply rooted in sticky fingers and shared laughter. I didn’t grow up with a fancy version. Ours came from a can, and my mom would doctor it up with a little extra onion and a glug of Worcestershire sauce. It was the meal she made when she was tired from work but still wanted to see us light up. My sister and I would sit at our Formica kitchen table, trying (and failing) to eat them neatly, laughing as the filling plopped onto our plates. It was pure, simple, happy food.
Years later, when I was hosting my first big football watch party in a tiny apartment, I wanted to capture that feeling—the communal joy, the unpretentious deliciousness—but in a format that was easier for a crowd. I thought, “What if we could have all the flavor but less of the… slop?” The slider idea was born. I made a big batch of my own from-scratch sauce, piled it on Hawaiian rolls, and watched a room full of friends go absolutely silent, in the best way possible, as they devoured the whole pan. That’s the power of this dish. It’s nostalgia, upgraded. It’s a shared memory, made new.
Your Flavor Lineup: Simple Ingredients, Big Taste
Here’s everything you’ll need to build these flavor-packed sliders. I’ve added my chef notes to explain the “why” behind key players and give you easy swaps to make this recipe your own.
- 500g (about 1.1 lbs) Ground Beef: I use an 80/20 blend for the best flavor and juiciness. The little bit of fat carries so much taste! Chef’s Swap: Ground turkey, chicken, or even lentils work great for a lighter twist.
- 1 Small Onion, finely chopped: This is our aromatic base, adding sweetness and depth. Yellow or white onion is perfect here.
- 2 Garlic Cloves, minced: Non-negotiable for that savory punch. Feel free to add an extra clove if you’re a garlic fiend like me.
- 1/2 Cup Ketchup: The sweet-tangy backbone of our sauce. Use your favorite brand!
- 2 Tbsp Tomato Paste: This is our flavor concentrator! It adds a rich, deep tomato note that ketchup alone can’t provide. Chef’s Tip: Sauté it with the onions for a minute to caramelize and sweeten it up.
- 1 Tbsp Worcestershire Sauce: The umami secret weapon. It adds a complex, savory depth that makes the sauce taste “finished.”
- 1 Tbsp Brown Sugar: Balances the acidity and tang with a touch of caramel-like sweetness. You can use honey or maple syrup in a pinch.
- 1 Tsp Mustard: I use classic yellow for a subtle tang, but Dijon would add a nice, sharp kick.
- Salt & Pepper, to taste: Season in layers! Taste as you go.
- 12 Slider Buns or Dinner Rolls: Hawaiian rolls are my #1 choice for their slight sweetness and incredible softness. Potato rolls or any soft, connected slider buns work wonderfully.
- 6-8 Slices Cheddar or Mozzarella Cheese: Melty, gooey goodness. Cheddar gives a sharper flavor, while mozzarella is an epic, stretchy blanket. Use pre-sliced for ease or slice it off the block.
- 2 Tbsp Melted Butter (for brushing): The golden, glossy finish that makes the tops irresistible.
- Optional Toppings: Sesame seeds, everything bagel seasoning, or a pinch of garlic powder mixed into the melted butter. Go wild!
Let’s Build the Magic: Step-by-Step
Follow these steps, and you’re guaranteed slider success. I’m talking you through it like you’re right here in the kitchen with me.
- Preheat & Prep: First things first, get that oven heating to 180°C (350°F). This gives it plenty of time to come to the right temp while you work. Then, grab your 9×13 inch baking dish or a similar-sized rimmed sheet pan. No need to grease it.
- Brown the Beef: Heat a large skillet over medium-high heat. Crumble in your ground beef. Don’t stir it right away—let it get a little sear for extra flavor! Then, break it up and cook until no pink remains. Here’s my pro-tip: drain off most of the excess fat. We want flavor, not greasiness. Leave about a tablespoon in the pan for cooking the onions.
- Sauté the Aromatics: Reduce the heat to medium. Add the chopped onion to the skillet with the beef and cook for 2-3 minutes until they start to soften and turn translucent. Now, add the minced garlic and cook for just 30 more seconds until fragrant. (Garlic burns fast, so watch it!)
- Create the Signature Sauce: This is where the magic happens. Push the meat mixture to the sides and add the tomato paste to the center of the pan. Let it cook and “toast” for about 60 seconds—this deepens its flavor immensely. Now, stir everything together and add the ketchup, Worcestershire sauce, brown sugar, mustard, salt, and pepper. Bring it to a gentle simmer. Let it bubble away for 5-7 minutes, stirring occasionally. You’ll see it thicken and become gloriously glossy. Give it a taste and adjust the seasoning—more tang? A dash more Worcestershire. More sweetness? A pinch more sugar. Make it yours!
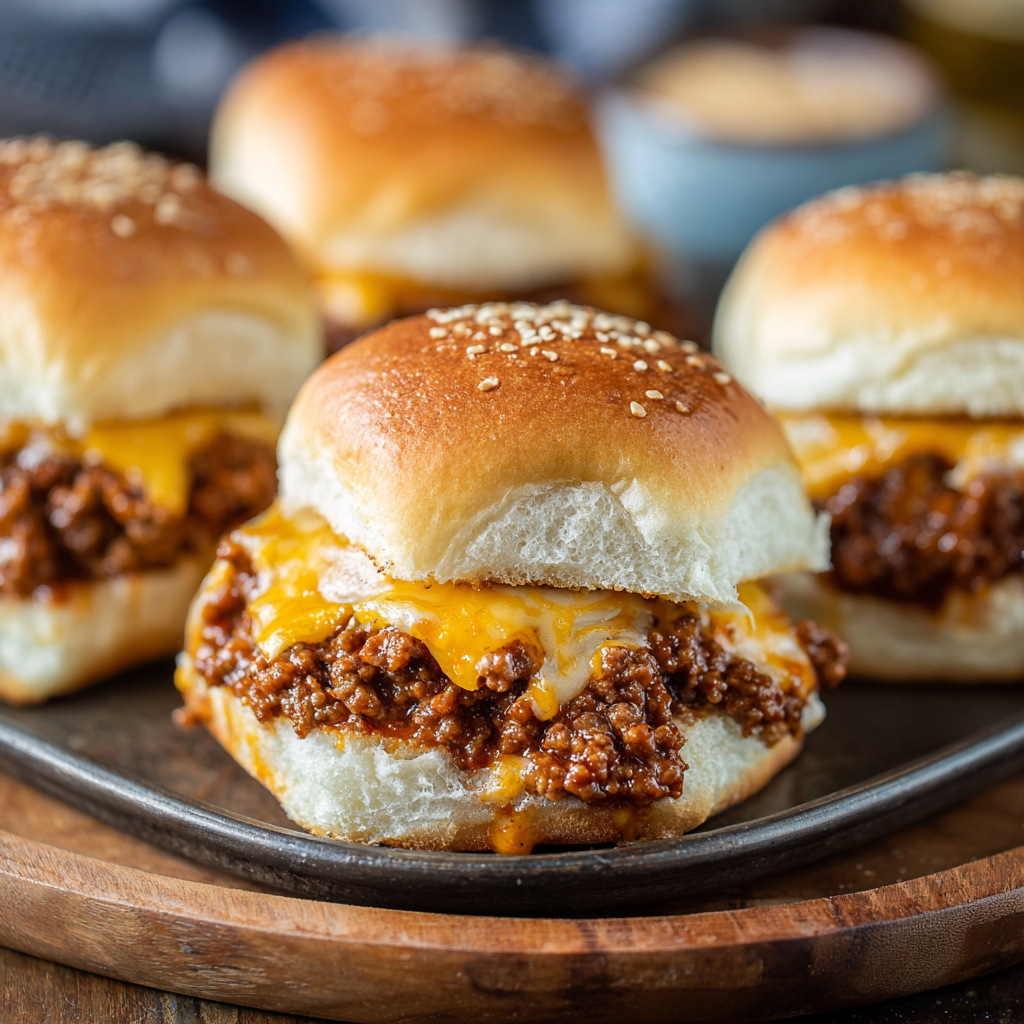
- Assemble the Sliders: While the sauce simmers, grab your slider buns. Without separating them, use a long serrated knife to slice the entire sheet of buns in half horizontally, creating a top “lid” and a bottom base. Place the bottom half in your baking dish. Now, spoon that incredible Sloppy Joe mixture evenly over the bun bottoms. Get it right to the edges! Layer the cheese slices over the top, overlapping slightly to cover everything.
- The Top Hat & Glaze: Gently place the bun tops back on. Take your melted butter and, using a pastry brush, generously brush it over every square inch of the top buns. This is what gives you that perfect, golden-brown, slightly crisp top. Sprinkle with sesame seeds or a dusting of garlic powder if you’re using them.
- Bake to Perfection: Slide that beautiful pan into your preheated oven. Bake for 10-12 minutes, just until the cheese is fully melted and the bun tops are a perfect golden brown. Your kitchen will smell insane.
- Slice & Serve: Take the pan out (careful, it’s hot!). Let it cool for just 2-3 minutes—this lets the cheese set slightly so it doesn’t all ooze out when you cut. Then, using a sharp knife, slice along the perforations of the buns to create individual sliders. Transfer to a platter, grab a stack of napkins, and watch them vanish.
Serving Up the Good Times
Presentation is part of the fun! I love serving these right in the baking dish for a rustic, family-style vibe. Or, transfer them to a big wooden board or platter for a more curated look. The key is to keep them warm and communal.
What to serve on the side? You’ve got options:
- The Classic Crew: A big, crunchy dill pickle spear and a handful of ridged potato chips for that perfect salty-crunchy contrast.
- Veggie Boost: A simple, vinegar-based coleslaw or a quick cucumber salad cuts through the richness beautifully.
- For a Heartier Meal: Turn it into dinner with crispy oven fries or sweet potato waffle fries for dipping into any extra sauce.
- Dip It: Speaking of dips, a little bowl of extra ketchup, spicy mayo, or even ranch on the side never hurts.
Remember, these are finger food at their finest. No forks required—just eager hands and big smiles.
Make It Your Own: 5 Flavor Twists
The basic recipe is a home run, but the fun of Food Meld is playing with “what if?” Here are some of my favorite twists:
- The “Kitchen Sink” BBQ Twist: Add 1/2 cup of your favorite BBQ sauce to the mix and swap the cheddar for pepper jack cheese. Top with crispy fried onions after baking.
- Turkey & Sweet Potato: Swap the beef for ground turkey. Add 1/2 cup of finely grated sweet potato to the skillet when you cook the onions—it adds moisture, sweetness, and a veggie boost!
- Spicy Buffalo Joe: Stir 2-3 tablespoons of buffalo sauce into the meat mixture. Use a blue cheese or gorgonzola crumble instead of sliced cheese for a bold, tangy kick.
- The “Fully Loaded”: Before adding the cheese, scatter cooked and crumbled bacon and a handful of finely chopped jalapeños over the Sloppy Joe layer. Pure decadence.
- Meatless “Sloppy Joe”: Use 2 cups of cooked brown or green lentils instead of beef. Add an extra tbsp of tomato paste and a splash of soy sauce or liquid aminos for a savory, hearty, plant-based version.
Chef’s Notes: From My Kitchen to Yours
This recipe has seen it all in my kitchen. I once made a triple batch for a neighborhood block party and had to guard the pan with a spatula so my own family could get some! The beauty is in its flexibility. Over time, I’ve learned that letting the sauce simmer that full 5-7 minutes is non-negotiable—it’s the difference between a good slider and a legendary one where the flavor really sinks in.
A funny fail? I once used super fresh, soft buns and didn’t bake them long enough, resulting in a slightly soggy bottom. Lesson learned: a hot, preheated oven and that full bake time are key for a perfect texture contrast. Now, I test every batch myself, and if it doesn’t make me immediately want another one, I tweak it until it does. This version? It passes the test every single time.
FAQs & Troubleshooting
Q: Can I make these ahead of time?
A: Absolutely! You can prepare the Sloppy Joe meat sauce up to 3 days in advance and store it in the fridge. When you’re ready, reheat the sauce gently, assemble the sliders, and bake. You can also fully assemble the sliders (without baking) a few hours ahead, cover, and refrigerate. Add a few extra minutes to the bake time if starting from cold.
Q: How do I prevent soggy bottoms?
A: The two best defenses are: 1) Letting your sauce thicken properly on the stovetop so it’s not too watery. 2) Don’t let the assembled, unbaked sliders sit for too long before going in the oven. Get them baking while the buns are still fresh and firm.
Q: Can I freeze them?
A: For best results, freeze the cooked and cooled meat sauce in a sealed container for up to 3 months. Thaw in the fridge overnight and proceed with assembly and baking. Freezing the fully assembled, unbaked sliders can make the buns a bit gummy.
Q: My sauce is too sweet/tangy for my taste. How do I fix it?
A: No problem! This is why we taste as we go. Too sweet? Add a squeeze of fresh lemon juice or a splash of apple cider vinegar. Too tangy? A bit more brown sugar or a teaspoon of maple syrup will balance it out. Adjust to your palate!
Nutritional Information*
Based on 12 sliders using 80/20 ground beef, Hawaiian rolls, and cheddar cheese. Values will vary by brand and portion size.
-
Calories: ~260
-
Fat: 14g
-
Saturated Fat: 6g
-
Carbohydrates: 22g
-
Sugars: 7g
-
Protein: 11g
-
Fiber: 1g
-
Sodium: ~520mg
These sliders strike that sweet spot between indulgent and satisfying. They’re hearty enough to feel like a real meal, but small enough that you can grab one (or three) without commitment. Balance them with a crunchy veggie side or a simple salad if you’re turning this into dinner.
Final Thoughts: The Sloppy Joe, Reimagined
And there you have it—everything you love about a classic Sloppy Joe, transformed into the ultimate crowd-pleasing, pull-apart slider situation.
This recipe is proof that comfort food doesn’t need reinventing—it just needs reframing. By shrinking things down, baking everything together, and letting the cheese work its melty magic, you get something that feels familiar and exciting at the same time. It’s nostalgic without being dated, messy without being chaotic, and bold without trying too hard.
These Sloppy Joe Sliders have become one of those “don’t even ask, just make them” recipes in my house. Game days, birthdays, last-minute guests, random Tuesdays when no one wants to cook—this pan shows up and saves the day every time.
So whether you’re feeding a hungry crowd, bribing your kids into eating dinner, or just craving something unapologetically cozy, I hope this recipe earns a permanent spot in your rotation.
If you make them, tell me—did you go classic? Add bacon? Make them spicy? Drop a comment or tag us at Food Meld. Seeing your spins on these recipes is my favorite part of what we do here.
Now grab those napkins, slide that pan into the oven, and enjoy the beautiful mess.
Let’s cook something awesome.
— Jackson 🍔🔥


