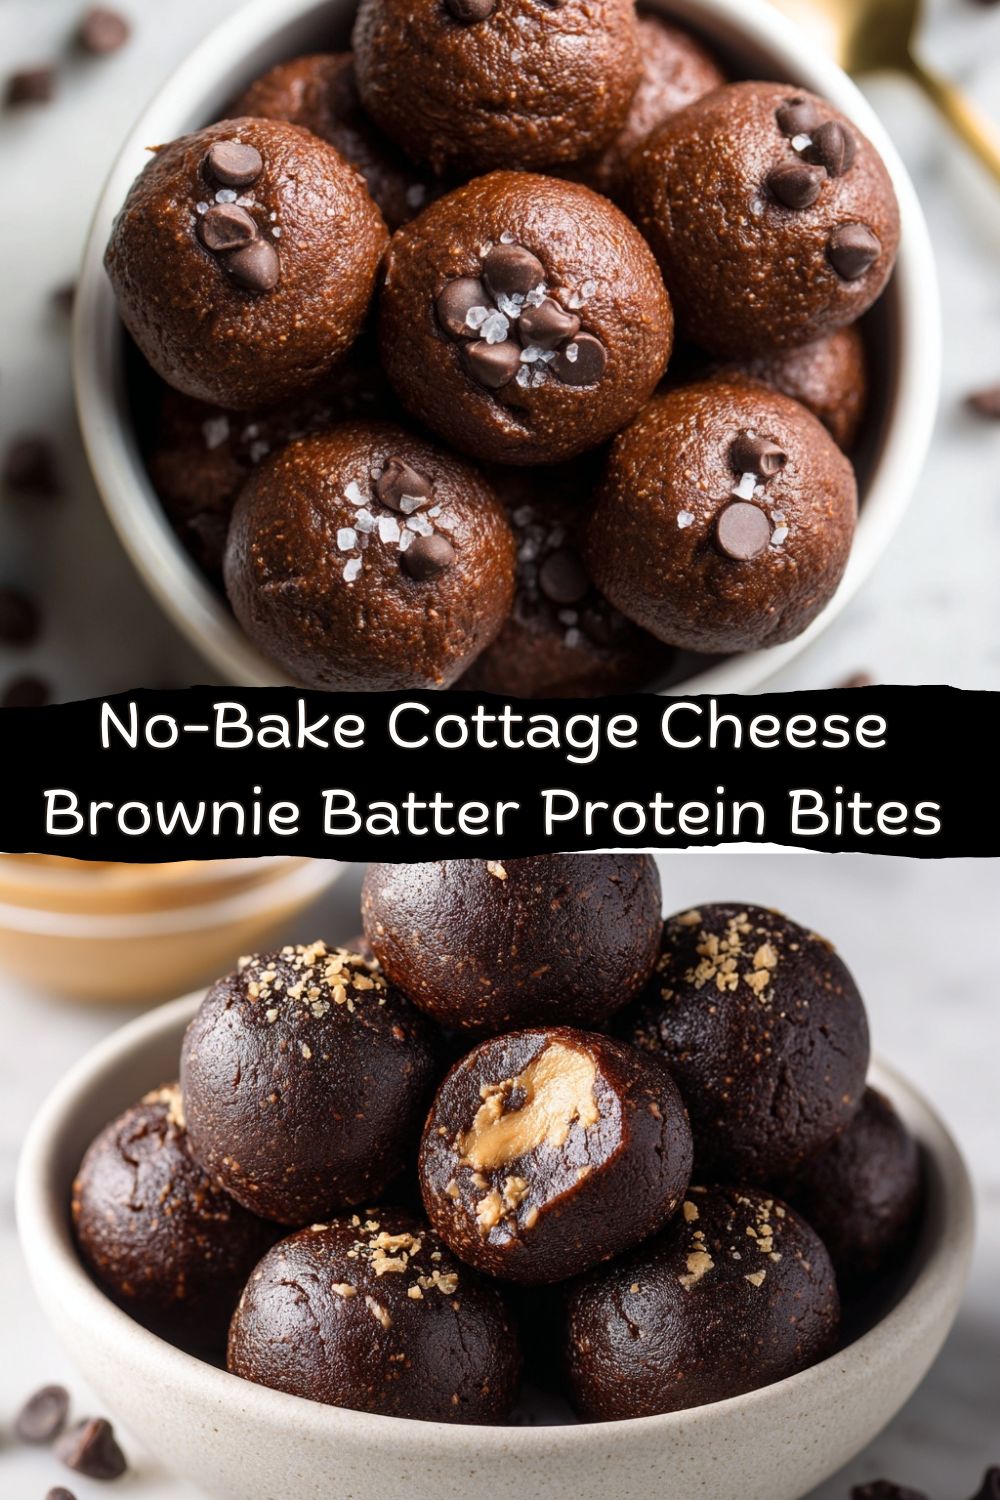
No-Bake Cottage Cheese Brownie Batter Protein Bites: Your New Secret Weapon
Hey there, friend. Let’s talk about that moment. You know the one. It’s 3:17 PM, your energy is dipping faster than a biscuit in gravy, and a powerful, all-consuming thought barges into your brain: I need chocolate. Now. Not just any chocolate. We’re talking rich, fudgy, spoon-licking-good, brownie-batter chocolate. The kind that feels like a hug from the inside. But then the other voice chimes in—the one that remembers your goals, your energy levels, the fact that you don’t actually want to bake a whole pan of brownies. Ugh. The standoff begins.
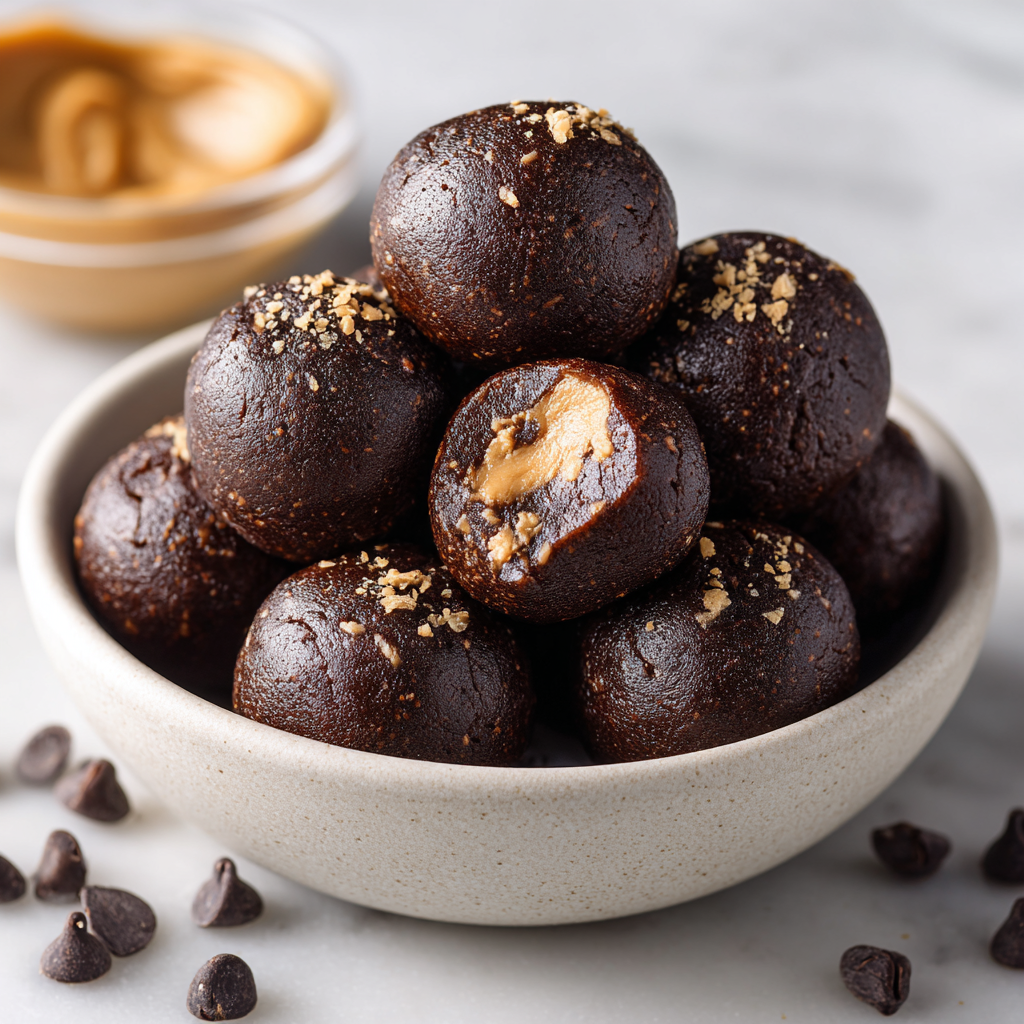
What if I told you we could call a truce? What if you could have that deep, chocolatey satisfaction, packed with sneaky-good protein, and have it ready faster than you can preheat an oven? Enter my No-Bake Cottage Cheese Brownie Batter Protein Bites. This isn’t a “healthified” compromise that tastes like cardboard regret. This is a full-flavor, brownie-batter-in-a-bite victory. We’re blending creamy cottage cheese (trust me on this), rich nut butter, and cocoa powder into a dough so luscious, you’ll be tempted to eat it straight from the bowl with a spoon (a time-honored chef’s test, I might add).
These little power bites are your secret weapon. Post-workout? Perfect. Lunchbox surprise? Absolutely. Midnight snack that doesn’t come with a side of guilt? You bet. They’re soft, incredibly chocolatey, and hold together with zero baking required. So, let’s ditch the inner debate and get straight to the good stuff. Grab your food processor, and let’s cook something awesome—and blissfully simple—together.
The Brownie Batter Chronicles: A Sticky-Sweet Memory
This recipe takes me straight back to my grandma’s linoleum-floored kitchen. The rule was always, “The beaters are yours, but the bowl is mine.” She’d hand over the electric mixer paddles, dripping with that magical dark batter, and my brother and I would launch into a silent, competitive licking race. But Grandma? She got the prize. She’d take the bowl, a rubber spatula, and with a focused, joyful precision, she’d scrape every last molecule of brownie batter into the pan. It was a ritual. That raw, chocolatey goodness was the undisputed king of treats.
Fast forward to my own kitchen, trying to balance my love for bold flavor with wanting to feel good. I missed that unbridled joy of brownie batter. One day, messing around with a high-protein cottage cheese dip, I added cocoa powder and a scoop of protein powder on a whim. I took a taste… and time folded. It was that same rich, indulgent, spoonable chocolate feeling, but it felt energizing, not heavy. That “what if we tried this?” moment was a total win. It’s my grown-up, protein-packed homage to Grandma’s bowl—and now I’m handing you the beaters.
Your Flavor Toolkit: What You’ll Need & Why
Here’s where the magic starts. Every ingredient here plays a double-duty role: big flavor and smart nutrition. Don’t stress about exact brands—this is about what you have and love.
- ½ cup Cottage Cheese: This is our secret superstar! It adds a crazy-creamy texture and a massive protein boost without a strong cheesy flavor. Chef’s Insight: I use full-fat 4% for ultimate creaminess, but any fat percentage works. If you’re dairy-free, soaked cashews or silken tofu are great swaps.
- ¼ cup Natural Peanut Butter or Almond Butter: For healthy fats, richness, and that nutty base note that makes chocolate sing. Pro Tip: Make sure it’s the drippy, stir-able kind! If your nut butter is super stiff, warm it slightly for easier blending.
- 2 tbsp Maple Syrup or Honey: Just enough natural sweetness to make it feel like a treat. Substitution Station: Agave nectar works, or for a sugar-free version, a liquid monk fruit blend. The texture might change slightly, but the flavor will still be there.
- ¼ cup Cocoa Powder: The soul of the operation. This is non-negotiable for that deep brownie flavor. Use the best quality you have—it makes a difference!
- ½ cup Chocolate Protein Powder: This builds the structure and amps up the protein. Key Choice: A powder you enjoy the taste of on its own! Whey/casein blend gives a fudgier result, but plant-based (pea/rice) works beautifully too.
- ⅓ cup Oat Flour: Our binder that keeps everything together. Easy Hack: No oat flour? Just blitz old-fashioned or quick oats in your blender until they’re a fine powder. Almond flour is a perfect gluten-free, low-carb alternative.
- 2–3 tbsp Milk: The great texture adjuster! Any milk works—dairy, almond, oat. Start with 2 tbsp and add the third only if your dough seems too crumbly.
- Optional: Dark Chocolate Chips or Melted Chocolate for Topping: Because more chocolate is always the right answer. A flaky sea salt sprinkle on top? *Chef’s kiss*.
Let’s Make Some Magic: The Foolproof Process
This is the easiest “cooking” you’ll do all week. We’re talking mix, roll, chill. Let’s dive in.
- The Smooth Base: Toss your cottage cheese, nut butter, and maple syrup into a food processor or high-powered blender. Blitz it for a good 45-60 seconds until it’s completely smooth and silky. No lumps allowed! This step is crucial for that perfect, non-grainy brownie batter texture. Little Chef Hack: Scrape down the sides halfway through to make sure everything gets friendly in there.
- Building the Dough: To that beautiful, smooth base, add your cocoa powder, protein powder, and oat flour. Pulse everything together until it starts to clump and form a ball. It will look thick—that’s what we want! Watchpoint: Don’t over-blend once the dry ingredients are in, or you can make the oat flour a bit gummy.
- The Texture Tango: Remove the blade (carefully!) and assess your dough. It should hold together when pinched but still be soft. If it’s too crumbly, add your milk, one tablespoon at a time, and use a spatula or your hands to mix it in. You’re aiming for a soft, pliable, almost Play-Doh-like consistency. If you’re adding chocolate chips, fold them in now with a spatula.
- Shape & Chill: Here’s your choice: For super neat squares, press the dough firmly into a small parchment-lined dish (a 5×7 or 6×6 works great). For bites, roll tablespoon-sized portions between your palms. Pro Tip for Non-Stick Hands: Lightly dampen your hands with water to prevent sticking! Place your shapes on a parchment-lined tray.
- The Glorious Finish (Optional but Recommended): Melt a handful of dark chocolate chips with a tiny splash of oil. Drizzle it artfully over your bites or spread a thin layer over the slab before cutting. This adds that professional bakery touch and an extra layer of chocolatey crunch.
- The Final Test (Patience!): Pop your creation into the fridge for at least one hour. This is non-negotiable—it firms them up perfectly. Then, slice your slab or pack your bites into a container. They keep in the fridge for up to a week, or you can freeze them for future chocolate emergencies!
How to Serve Up Your Brownie Batter Bliss
You’ve done the hard work (well, the *easy* work). Now, let’s make it an experience. Straight from the fridge, these bites are a cool, fudgy delight. Pack a couple in a small container for a powerhouse afternoon pick-me-up at your desk. Layer them in a glass with Greek yogurt and berries for a next-level parfait. For a real “wow” moment at a gathering, arrange them on a platter with a dusting of cocoa powder or crushed freeze-dried raspberries.
My favorite way? With a big mug of black coffee. The bitterness of the coffee cuts through the rich chocolate in the most perfect way. They’re also the ultimate post-workout reward—a treat that actually helps your muscles recover. However you serve them, do it with pride. You just made a seriously delicious, good-for-you treat from scratch.
Mix It Up! 5 Tasty Twists on the Classic
The basic recipe is a flawless canvas. Ready to play? Here are some of my favorite ways to riff on it:
- Salted Peanut Butter Cup: Use all peanut butter, and mix in ¼ cup of crushed sugar-free peanut butter cups or chopped peanuts. Finish with a generous flaky sea salt sprinkle.
- Orange Zest Infusion: Add the zest of one large orange to the wet ingredients. The chocolate-orange combo is a timeless, elegant classic. A few cacao nibs folded in add amazing crunch.
- Mint Chocolate Chip: Add ¼ tsp of peppermint extract (not mint extract!) to the wet mix. Fold in mini dark chocolate chips for that nostalgic frozen yogurt shop vibe.
- Double Chocolate Cherry: Fold in ¼ cup of chopped, dried tart cherries. The chewy, tangy bursts against the deep chocolate are incredible.
- “Cookie Dough” Style: Use vanilla protein powder instead of chocolate, and swap the cocoa powder for ¼ cup of almond flour. Fold in mini chocolate chips. Voilà—protein “cookie dough” bites!
Jackson’s Kitchen Notes: The Evolution of a Bite
This recipe is a living thing in my kitchen. The first batch was good, but a tad dry. Batch two was too sticky. The third batch? That was the “aha!” moment where I realized the milk was the variable knob for perfect texture every time, depending on my protein powder’s thirst level. I’ve also learned that letting the finished bites sit overnight in the fridge makes them even better—the flavors truly meld (see what I did there?). One funny fail: I once tried using unflavored protein powder and just extra cocoa. They tasted… healthy. And not in a good way. The lesson? Chocolate protein powder is your flavor friend. Don’t skip it. Now, this recipe is my most-requested snack by friends and family. It’s proof that playing with your food is always the best policy.
Your Questions, Answered!
Q: My dough is too wet/sticky! What did I do wrong?
A: No panic! This usually means your nut butter was extra runny or your protein powder is a different absorbency. Simply add more oat flour or protein powder, a tablespoon at a time, until it’s a rollable consistency. The fridge chill will also firm it up significantly.
Q: Can I really not taste the cottage cheese?
A> I promise! When blended smooth with the nut butter and chocolate, it vanishes into a creamy, rich base. It provides the protein and moisture, not a cheesy flavor. If you’re skeptical, start with a small batch—it’ll convert you.
Q: How long do these keep, and can I freeze them?
A: They’re perfect for meal prep! In an airtight container in the fridge, they’re fantastic for 5-7 days. To freeze, place them on a parchment-lined sheet until solid, then transfer to a freezer bag. They’ll keep for 2-3 months. Thaw in the fridge or eat straight from the freezer for a frozen treat.
Q: I don’t have a food processor. Can I make these?
A> Absolutely. Use a high-powered blender for the first smooth blending step. For mixing the dry ingredients in, you might need to transfer to a bowl and use a sturdy spatula and some arm muscle. Make sure your cottage cheese is very finely curded (small curd or blended first) if going this route.
Nutritional Breakdown (A Per-Bite Guide)
Let’s be clear: I’m a chef, not a dietitian. These figures are estimates based on the core recipe using generic ingredients and will vary with your specific brands and additions. But here’s the exciting part: each one of these decadent-tasting bites (recipe makes about 12) packs roughly: ~100 Calories, 6g Protein, 6g Carbs, and 6g Fat. That balance is what makes them so satisfying. You’re getting high-quality protein from the cottage cheese and protein powder, healthy fats from the nut butter, and complex carbs from the oat flour and maple syrup. It’s a snack that stabilizes your energy, fuels your body, and totally satisfies that chocolate craving. It’s a win-win-win on a plate (or straight from your hand).
Go Forth and Conquer Those Cravings
And there you have it—your new go-to solution for when the chocolate monster comes knocking. This recipe is everything I love about cooking: it’s simple, uses clever ingredients, delivers massive flavor, and makes you feel like a kitchen wizard. Remember, the best recipes are the ones you make your own. Don’t have oat flour? Blitz some oats. Craving a different nut butter? Go for it. That’s the spirit of Food Meld.
I hope these bites become a staple in your fridge, a little beacon of chocolatey hope on a busy day. Making something this delicious and wholesome with your own hands is a powerful thing. So, did you try them? Did you add your own twist? I’d love to hear about it! Tag me on social or drop a comment on the blog. Now, go enjoy every single guilt-free, fudgy, awesome bite. You’ve earned it.
Happy cooking,
Jackson


