Hey, Let’s Turn That Sourdough Discard Into Gold
Okay, let’s get real for a second. Is your sourdough starter looking at you from the corner of the fridge? You know the look. That slightly bubbly, tangy discard that you know you shouldn’t just pour down the drain, but sometimes… you totally do. Guilty as charged. But what if I told you that in less than an hour, with just four basic ingredients, you could transform that “waste” into the most insanely addictive, buttery, crispy crackers you’ve ever tasted?
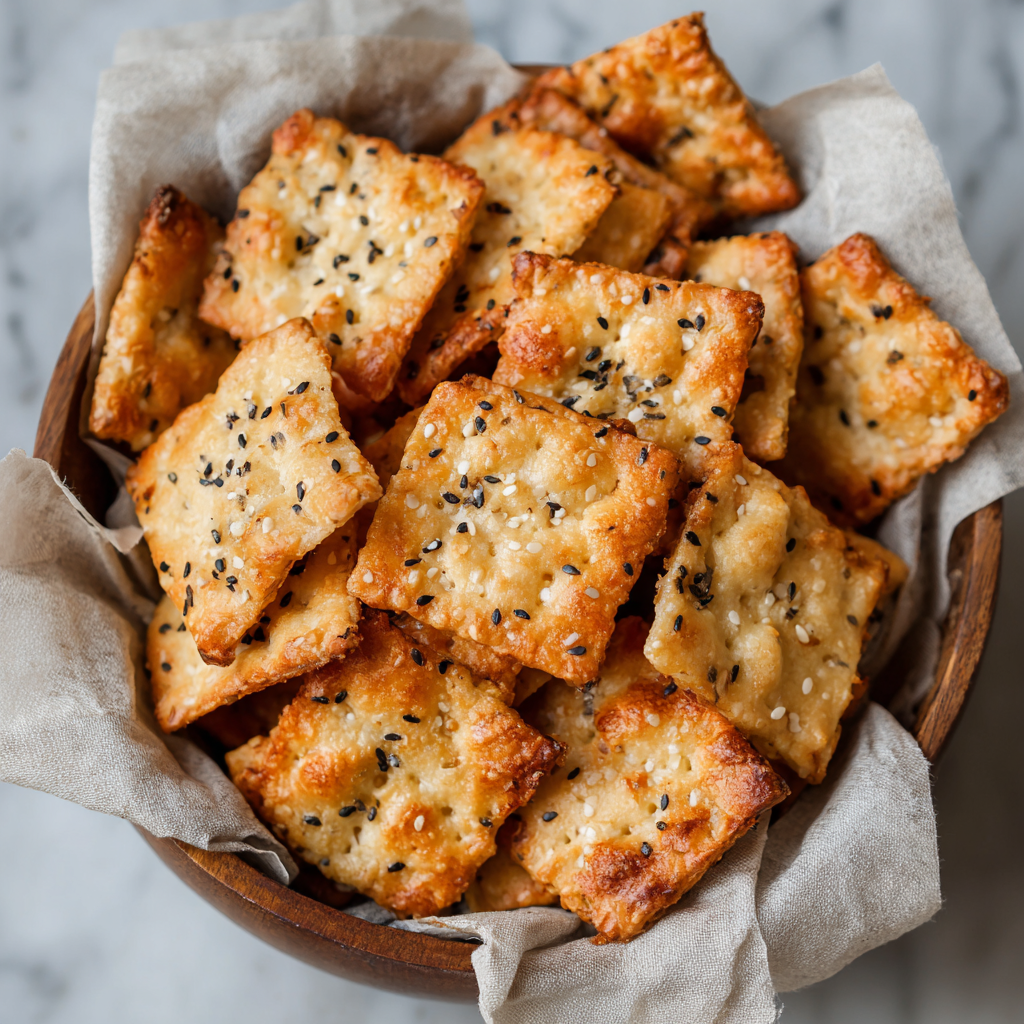
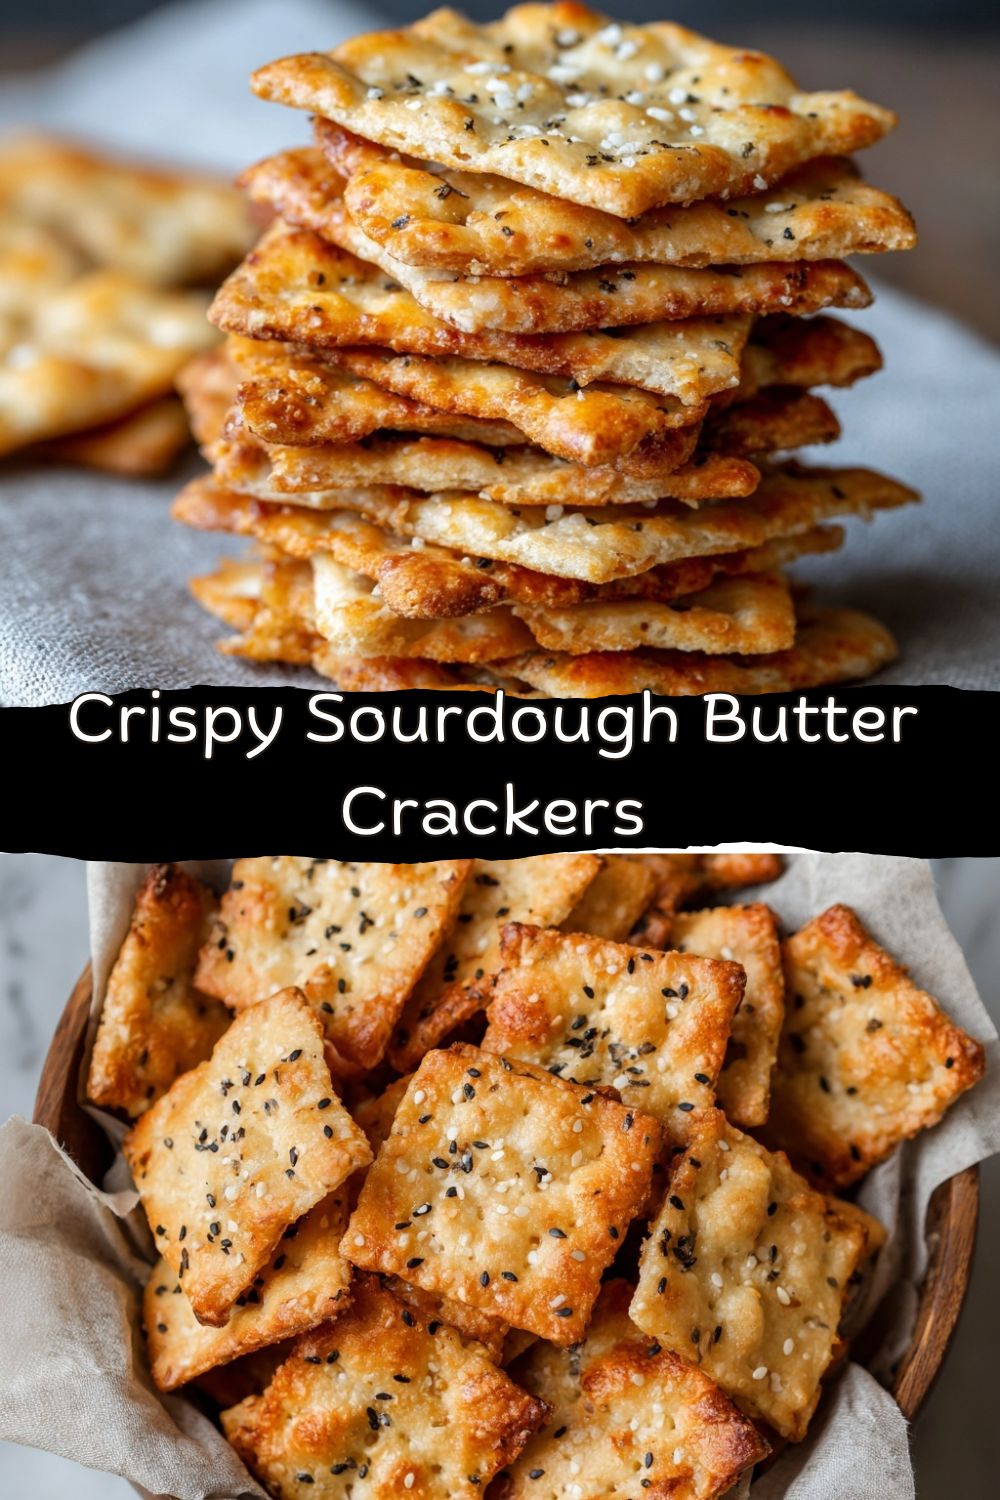
I’m talking about Sourdough Butter Crackers. These little guys are my kitchen’s secret weapon. They’re not just a “use-up” recipe; they’re a destination. They have this incredible flavor that store-bought crackers can only dream of—a subtle tang from the fermented sourdough that plays perfectly against the rich, toasty butter and a sprinkle of salt. The texture? Imagine the best parts of a flaky pie crust and a classic saltine had a beautiful, golden-brown baby. That’s what we’re making.
This isn’t a fussy, stand-by-the-oven-all-day project. It’s a “mix, roll, cut, bake” kind of magic. Perfect for when you need a quick snack, an impressive cheese board centerpiece, or just something to do with your hands while you ponder life’s big questions (like, “what cheese pairs best with this?”). So grab that jar of discard, and let’s cook something awesome together. Your snack game is about to level up, big time.
The Crackers That Started It All
My love affair with these crackers started out of sheer necessity (and maybe a little laziness). A few years back, I was deep in my sourdough phase, feeding my starter “Bernard” with a religious fervor. The discard was piling up. I hated wasting it, but I also wasn’t in the mood for another loaf of bread or a stack of pancakes. I wanted something… snackable.
I remember it was a rainy Sunday afternoon. I had some good cheddar in the fridge, a new jar of spicy pepper jelly, but nothing crunchy to bring it all together. A quick peek in the pantry yielded nothing inspiring. Then I saw Bernard’s discard jar. A crazy thought hit me: what if I treated the starter like a rough puff pastry? Just flour, butter, and that tangy glue. I mixed up a quick dough, rolled it out super thin on my floured countertop (the one with the tiny chip in the corner from that one pizza night disaster), and baked it off.
The smell that filled my kitchen was pure heaven—buttery, toasty, with that warm, fermented scent. When I pulled out that first tray of golden, flaky squares and let one cool for approximately 3.2 seconds before taking a bite… game over. They were perfect. Crisp, flavorful, and so much better than anything from a box. It was one of those “you’ve gotta try this” moments I live for, and it all started with not wanting to waste a single bubble of sourdough. Now, I almost look forward to discard day!
Gather Your Flavor Crew
See? I told you it was simple. This is a dream team of pantry staples. Here’s what you need and why each one matters:
- 1 cup sourdough starter discard (unfed): This is our flavor MVP. The discard should be at room temperature for easier mixing. It brings the tang, the complex fermented notes, and acts as our liquid base. Chef’s Insight: Don’t worry if your discard is a few days old or super sour—it all works! The flavor just gets more interesting.
- 1 cup all-purpose flour: Our structure-builder. All-purpose gives us the perfect balance of tenderness and crispness. Substitution Tip: Want to play? Swap up to 1/4 cup with whole wheat flour for a nuttier, heartier cracker. For a gluten-free version, use a 1:1 gluten-free flour blend.
- 1/4 cup unsalted butter, melted: Hello, richness and flakiness! The butter is what gives these crackers their irresistible snap and that luxurious mouthfeel. Chef’s Insight: I use unsalted so I can control the salt level. If you only have salted butter, just reduce the added salt by a pinch.
- 1/2 teaspoon salt: The flavor enhancer. This isn’t just for taste; it tightens the gluten slightly for a better texture. We’ll also use more for topping!
- Optional toppings: flaky salt, herbs, or sesame seeds: This is where your personality shines. My go-to is a shower of flaky Maldon salt right before baking. But dried rosemary, everything bagel seasoning, cracked black pepper, or even a light brush of garlic-infused olive oil are all incredible moves.
Let’s Build Some Crunch: Step-by-Step
Ready to roll? Literally. Follow these steps, and you’ll be a cracker-making pro in no time. I’ve sprinkled in my favorite hacks to guarantee success.
- Preheat & Prep: Fire up your oven to 350°F (175°C). This is a moderate heat that will cook the crackers through and get them golden without burning. Line a baking sheet (or two!) with parchment paper. Trust me, the parchment is non-negotiable for easy removal and cleanup. Chef’s Hack: If your kitchen runs hot, or you have a convection oven, consider lowering the temp to 325°F. Slow and steady wins the crispy race.
- The Simple Mix: In a medium bowl, combine the sourdough discard, flour, melted butter, and salt. Use a sturdy spoon or even your hands to mix until a shaggy dough comes together. It might seem a bit wet at first, but keep mixing. Once it forms a ball, give it a few kneads right in the bowl—just 5-10 seconds—until it’s relatively smooth. Chef’s Commentary: Don’t overwork it! We’re not making bread. Just bring it together. If it’s really sticky, add a tablespoon of flour. If it’s dry, add a teaspoon of water.
- Roll It Thin: Lightly flour your clean countertop. Place the dough ball in the center and start rolling. Your mission: get it as uniformly thin as humanly possible, about 1/8-inch thick or even less. The thinner you go, the crispier and more professional your crackers will be. Chef’s Hack: If you struggle with rolling evenly, try rolling the dough between two sheets of parchment paper. No sticking, no fuss, and you can just peel the top sheet off when you’re done.
- Cut & Dock: Now for the fun part. Use a pizza cutter or a sharp knife to cut the dough into squares or rectangles. Don’t stress about perfection—rustic is charming! Then, take a fork and gently prick each cracker a few times. This “docking” prevents them from puffing up like little pillows in the oven. We want flat, crisp crackers!
- Top & Transfer: Sprinkle your chosen toppings (flaky salt is a MUST for me) over the entire sheet of cut dough. Gently press them in. Then, carefully use a bench scraper or spatula to transfer the crackers to your prepared baking sheet. They can be close together but shouldn’t touch. Chef’s Tip: No need to separate them perfectly. They’ll snap apart easily after baking.
- Bake to Golden Perfection: Slide the tray into your preheated oven. Bake for 20-25 minutes. This is where you become a watchful guardian. Ovens vary, so start checking at 18 minutes. You’re looking for a light golden brown color, especially around the edges. The crackers should feel firm and dry. Chef’s Hack: For extra even browning, rotate the tray halfway through baking.
- The Cool Down: This is the hardest step: patience. Let the crackers cool completely on the baking sheet. They’ll continue to crisp up as they cool. I know it’s tempting, but biting into a warm cracker won’t give you the full, snappy effect. Let them do their thing.
How to Serve These Bad Boys
Okay, you’ve got a gorgeous batch of homemade crackers. Now what? The world is your cheesy, dippable oyster.
The Classic Cheese Board: This is their natural habitat. Arrange them alongside a sharp aged cheddar, a creamy brie, some spicy pepper jelly, a handful of nuts, and some fresh grapes. They’re sturdy enough to scoop but refined enough to impress any guest.
Soup’s Best Friend: Crumbled over a steaming bowl of tomato soup or butternut squash bisque? Forget about it. They add a buttery crunch that takes cozy comfort food to a whole new level.
The Straight-Up Snack: Honestly, just put them in a bowl on your coffee table. They will disappear. For a next-level move, set out a small dish of good olive oil sprinkled with herbs for dipping.
Party Appetizer Base: Top a cracker with a smear of goat cheese and a dollop of fig jam, or a slice of smoked salmon and a tiny sprig of dill. Instant, elegant bite-sized apps.
Mix It Up: Your Crackers, Your Rules
Once you’ve mastered the basic formula, the playground is open. Here are a few of my favorite twists:
- Everything Bagel Style: Before baking, brush the rolled-out dough very lightly with water or an egg wash. Generously sprinkle with everything bagel seasoning. Bake as usual. Unbelievably good.
- Herb & Garlic: Add 1/2 teaspoon of garlic powder and 1 teaspoon of dried Italian herbs (or 1 tablespoon fresh, finely chopped) right into the dough with the flour. Finish with flaky salt.
- Cheesy Twist: Fold 1/4 cup of finely grated Parmesan or sharp cheddar into the dough. You’ll get a richer, umami-packed cracker that’s incredible on its own.
- Seeded & Grainy: Add 2 tablespoons of sesame seeds, poppy seeds, or even rolled oats into the dough for extra texture and visual appeal.
- Sweet & Savory: Add 2 tablespoons of honey or maple syrup to the dough (reduce flour by 1 tbsp if it gets too sticky) and use toppings like cinnamon-sugar or coarse sugar for a delightful dessert cracker, perfect with coffee or cheesecake dip.
Jackson’s Notebook: A Few Parting Thoughts
This recipe has become such a staple in my kitchen that I hardly measure anymore—I just go by feel. It’s incredibly forgiving. I’ve made these crackers for fancy dinner parties, packed them on road trips, and mailed them to friends (they ship surprisingly well in a tight tin!).
The funniest thing? These “discard” crackers have now become the main reason some of my friends maintain their sourdough starters. They’ll text me, “Fed Bernard just for you!” knowing they’ll get a batch in return. I love how a recipe born from thriftiness has turned into a little currency of friendship and flavor.
One last pro tip: if you somehow don’t eat them all in two days (good luck), store them in an airtight container at room temperature. They’ll stay crisp for over a week. If they lose a little snap, just pop them back in a 300°F oven for 5 minutes to revive them.
Got Questions? I’ve Got Answers.
Q: My crackers puffed up a lot and aren’t flat. What happened?
A: This usually means they needed more “docking” (poking with the fork). Make sure you pierce each cracker a few times, all the way through the dough. Also, rolling them evenly thin helps prevent big air pockets.
Q: Can I make the dough ahead of time?
A: Absolutely! Wrap the dough ball tightly in plastic wrap and stick it in the fridge for up to 2 days. Let it come to room temperature for about 30 minutes before rolling it out. This actually allows the sourdough flavor to develop even more.
Q: My crackers are chewy, not crispy. Help!
A: Two likely culprits: they were either rolled too thick or they weren’t baked long enough. Next time, roll thinner (seriously, go for see-through thin) and bake until the edges are a definite golden brown. They’ll crisp up as they cool on the sheet.
Q: I don’t have a sourdough starter. Can I still make these?
A: You can make a tasty cracker, but it won’t have the signature tang. Try substituting 1 cup of discard with 1/2 cup water + 1/2 cup plain yogurt or buttermilk. You’ll get a similar consistency and a bit of tang, but the complex fermented flavor will be missing.
Nutritional Info (Because We’re Curious!)
Look, these are a homemade treat, and I believe in enjoying real food. Here’s a general breakdown per serving (approximately 10 crackers), but remember, your exact results will vary based on ingredient brands and how thinly you roll them. This is just a guide!
- Calories: ~140
- Fat: 7g (Hey, that’s where the flavor is!)
- Carbohydrates: 16g
- Protein: 2g
- Fiber: 1g
The beauty of making them yourself is you control everything—the quality of the butter, the amount of salt, and there are absolutely no weird preservatives or unpronounceable ingredients. That’s a win in my book.
Your New Secret Weapon
And there you have it! You’re now armed with the knowledge to turn that lonely jar of sourdough discard into a snack-time superstar. This recipe is more than just a way to prevent waste; it’s a celebration of flavor, texture, and the simple joy of making something incredible from scratch.
I hope these Sourdough Butter Crackers become a regular in your kitchen, just like they are in mine. They’re proof that the best foods don’t have to be complicated—just made with a little intention and a lot of love for good flavor.
So, did you make them? Did you add your own twist? I’d love to hear about it! Tag me @FoodMeld or drop a comment on the blog. Now, go forth and bake up some crunch. Until next time, keep melding those flavors!
Jackson


