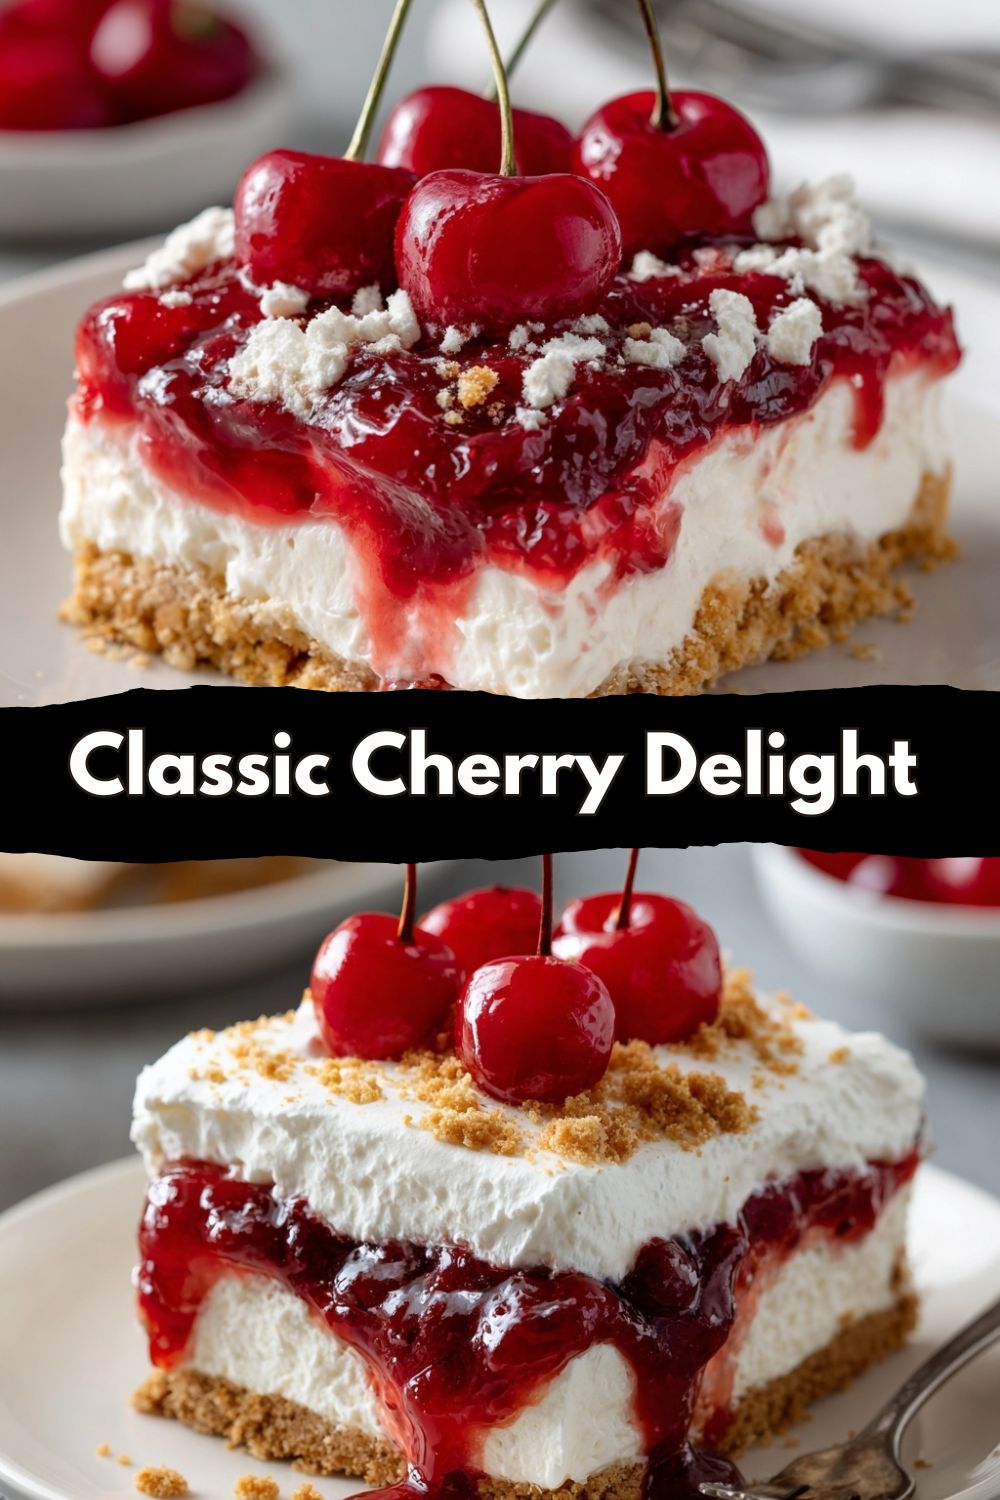
Classic Cherry Delight: The No-Bake Dessert That Feels Like a Hug
Hey friends, Jackson here from Food Meld. Let’s talk about those moments. You know the ones. You promised to bring dessert to the family cookout, your book club is meeting at your place in three hours, or you just need a little something sweet that doesn’t involve turning your kitchen into a bakery war zone. Enter the hero we all deserve: Classic Cherry Delight.
This isn’t just a dessert; it’s a time machine. One bite of that creamy, dreamy filling, that buttery crumb crust, and that bright, juicy cherry topping, and you’re instantly transported. Maybe it’s to your grandma’s linoleum kitchen table, a 4th of July picnic where the fireflies are just starting to blink, or a simple Tuesday night treat that made the whole week better. This dessert is a legend for a reason—it’s universally loved, impossibly easy, and delivers maximum joy for minimal effort.
I’m all about “what if we tried this?” energy, but sometimes, the classics are classic because they’re downright perfect. This Cherry Delight is my go-to when I want to create that “you’ve gotta try this” moment without the stress. We’re talking three simple layers, zero oven time, and a guarantee that someone will ask you for the recipe. So, tie on your apron, grab a bowl, and let’s cook up some nostalgia (and maybe make some new memories while we’re at it). This is where flavor meets fun, and today, fun is refreshingly cool, creamy, and topped with cherries.
My First Bite: A Story of Sweet Beginnings
My earliest memory of Cherry Delight isn’t from a fancy restaurant or a cookbook. It’s from Mrs. Henderson’s house, two doors down from where I grew up. She was the neighborhood “cookie grandma” to every kid on the block, even if she wasn’t technically related to any of us.
One sweltering summer afternoon, after a marathon session of catching frogs by the creek (don’t ask), my friends and I stumbled onto her porch, sweaty and starving. She just smiled, disappeared into her blessedly air-conditioned house, and came back with a pan of something magical. It was cold, it was pinkish-white under a blanket of red cherries, and it was perched on a graham cracker crust. She handed us little paper plates with giant squares. That first bite was a revelation. The cool creaminess cut through the summer heat, the tangy cherries popped with flavor, and the buttery crust gave it that essential crunch. We were silent, which for a bunch of muddy 10-year-olds was the highest compliment possible.
I didn’t know it was called “Cherry Delight” then. To me, it was just “Mrs. Henderson’s Magic.” That moment taught me something fundamental that still guides Food Meld: the best food isn’t always the most complicated. It’s the food made with a generous spirit, shared without fuss, and capable of turning an ordinary afternoon into a core memory. Every time I make this, I think of her porch, that kindness, and the powerful simplicity of a cold, sweet dessert on a hot day.
Gathering Your Flavor Arsenal
Here’s the beautiful part: the ingredient list is short, sweet, and probably already in your pantry. Let’s break it down with a little chef insight for each, because knowing the “why” makes you a better cook!
For the Crust:
- 1 ½ cups graham cracker crumbs – The foundation! You can buy pre-crumbled or pulse whole crackers in a food processor. Chef’s Insight: For a deeper flavor, try using honey or cinnamon grahams.
- 1/3 cup granulated sugar – This sweetens and helps the crust set. Sub Tip: You can use brown sugar for a richer, almost caramel-like note.
- 1/2 cup (1 stick) unsalted butter, melted – The glue. Using unsalted lets you control the salt level. Chef’s Hack: Melt it gently so it doesn’t separate. This buttery layer is what makes the crust irresistible.
For the Cream Cheese Layer (The Star of the Show):
- 8 oz cream cheese, softened – CRUCIAL: Let it sit on the counter for at least 30-60 minutes. Room temp cream cheese blends smoothly, preventing lumps. Sub Tip: Full-fat is best for texture, but Neufchâtel works in a pinch.
- 1 cup powdered sugar – Also called confectioner’s sugar. It dissolves instantly and sweetens without grittiness. Chef’s Insight: Sift it if it’s lumpy for an ultra-silky filling.
- 1 teaspoon pure vanilla extract – The flavor enhancer. It rounds out the sweetness. Don’t skip it!
- 8 oz whipped topping (like Cool Whip), thawed – This gives the layer its dreamy, cloud-like lift. Sub Tip: For a from-scratch vibe, whip 1 cup of heavy cream with 2 tbsp of the powdered sugar until stiff peaks form, then fold it in.
For the Topping:
- 1 can (21 oz) cherry pie filling – The classic, nostalgic finish. It’s the perfect sweet-tart contrast. Chef’s Insight: Give the can a gentle stir before opening to redistribute the syrup and whole cherries.
Let’s Build Some Delight: Step-by-Step
Okay, team! Time to get our hands dirty (figuratively, mostly). This is where the magic happens, and I’ll be with you for each step with my favorite tips.
Step 1: The Unshakeable Foundation (The Crust)
In a medium bowl, combine your graham cracker crumbs and sugar. Pour the melted butter over the top. Now, get in there with a fork or your fingers and mix until it looks like wet sand and holds together when you pinch it. This is oddly satisfying. Pour the mixture into your 9×9 dish. Here’s my pro move: Use the bottom of a flat glass or a measuring cup to press the crumbs firmly and evenly across the bottom and slightly up the sides. You want it packed tight so it doesn’t crumble when you slice it. Pop this in the fridge to set up while you make the filling. A chilled crust is a sturdy crust!
Step 2: The Cloud-Like Filling
In a large bowl, beat the softened cream cheese with a hand mixer or stand mixer on medium speed for about 1-2 minutes until it’s completely smooth and lump-free. Scrape down the sides of the bowl. Add the powdered sugar and vanilla. Start mixing on low (unless you want a powdered sugar snowstorm in your kitchen), then increase speed until it’s fully incorporated and creamy.
Now, the folding. Add about one-third of your thawed whipped topping to the cream cheese mixture. Use a rubber spatula and cut down through the center, fold it over, and turn the bowl. This lightens the dense cream cheese. Once that’s mixed in, gently fold in the remaining whipped topping until no white streaks remain. Be gentle—we’re keeping all that airy fluffiness! This mixture should be thick, smooth, and spoonable.
Step 3: The Art of Assembly
Pull your crust from the fridge. Spoon the cream cheese filling over the top and spread it into a beautiful, even layer, all the way to the edges. A small offset spatula is great here, but the back of a spoon works perfectly.
Open your cherry pie filling. Give it one more gentle stir in the can. Spoon dollops of the filling over the cream cheese layer, then gently spread it out to cover the surface. I like to leave a little border of the creamy layer visible—it looks gorgeous. Don’t press down hard; just guide it into place.
Step 4: The Test of Patience (Chill Time!)
This is the hardest step: waiting. Cover the pan with plastic wrap or a lid and refrigerate for at least 2 hours, but honestly, overnight is the MVP move. This allows the crust to fully set, the layers to firm up, and the flavors to meld into perfect harmony. Trust me, it’s worth the wait.
How to Serve It Like a Pro
When it’s finally time (hurray!), grab a sharp knife. For clean slices, dip the knife in hot water and wipe it dry between each cut. It glides right through those creamy layers.
I love serving this on simple white plates to let the vibrant red and white layers really pop. A little extra flourish? Add a tiny dollop of extra whipped topping on the side, a sprinkle of graham cracker crumbs, or even a few fresh mint leaves for a pop of green. It’s perfect with a cup of strong coffee after dinner or a glass of cold milk. It’s a potluck superstar—just bring the whole pan, a stack of plates, and watch it disappear.
Make It Your Own: Fun Twists & Swaps
The “Meld” in Food Meld means I love a good twist. Here’s how to play with this classic:
- Berry Bliss: Swap the cherry pie filling for blueberry, strawberry, or raspberry. A mixed berry medley is incredible!
- Chocolate Lover’s Dream: Use chocolate graham crackers or Oreo crumbs (scrape out the filling) for the crust. You could even add a tablespoon of cocoa powder to the cream cheese layer.
- Citrus Zing: Add the zest of one lemon or orange to the cream cheese filling. Pair it with a lemon curd topping instead of cherries for a sunshiney vibe.
- Nutty Crunch: Stir 1/4 cup of finely chopped toasted pecans or almonds into the graham cracker crust mixture.
- Lighter Option: Use low-fat cream cheese, light whipped topping, and a sugar-free pie filling. The texture will be slightly less rich, but it’ll still be delicious.
Jackson’s Kitchen Notes
This recipe has been my faithful companion for years, and it’s evolved in tiny ways. I used to mix the whipped topping with the cream cheese on high speed, which deflated it. Learning to fold gently was a game-changer for that fluffy texture. One time, I only had salted butter for the crust—it was actually delicious, a little more “grown-up” with that sweet-salty thing happening. Don’t be afraid to make it your own! The best kitchen stories often start with a happy accident. Also, a confession: I’ve been known to sneak a spoonful of the cream cheese filling straight from the bowl. No regrets.
Your Questions, Answered
Q: My crust is soggy! What happened?
A: This usually means the butter wasn’t fully mixed in or the crust wasn’t pressed firmly enough. Make sure every crumb is coated, press it down HARD with that glass, and always chill it before adding the filling. A hot filling on a warm crust is a soggy recipe.
Q: Can I make this ahead of time?
A> Absolutely! In fact, I encourage it. It keeps beautifully covered in the fridge for 2-3 days. The flavors get even better.
Q: My cream cheese layer seems runny.
A> Two likely culprits: 1) The cream cheese wasn’t fully softened, leaving little lumps that didn’t blend, or 2) The whipped topping was still frozen or watery when folded in. Make sure both are at the proper consistency—cool but not cold for the cream cheese, fully thawed for the topping.
Q: Can I freeze Cherry Delight?
A> You can, but the texture of the creamy layer can become slightly icy and grainy after thawing. It’s still tasty, but for the best experience, I’m team “refrigerate, don’t freeze.”

Classic Cherry Delight : Easy No-Bake Dessert with Creamy Layers
- Total Time: 2 hours 15 minutes
- Yield: 9 1x
Description
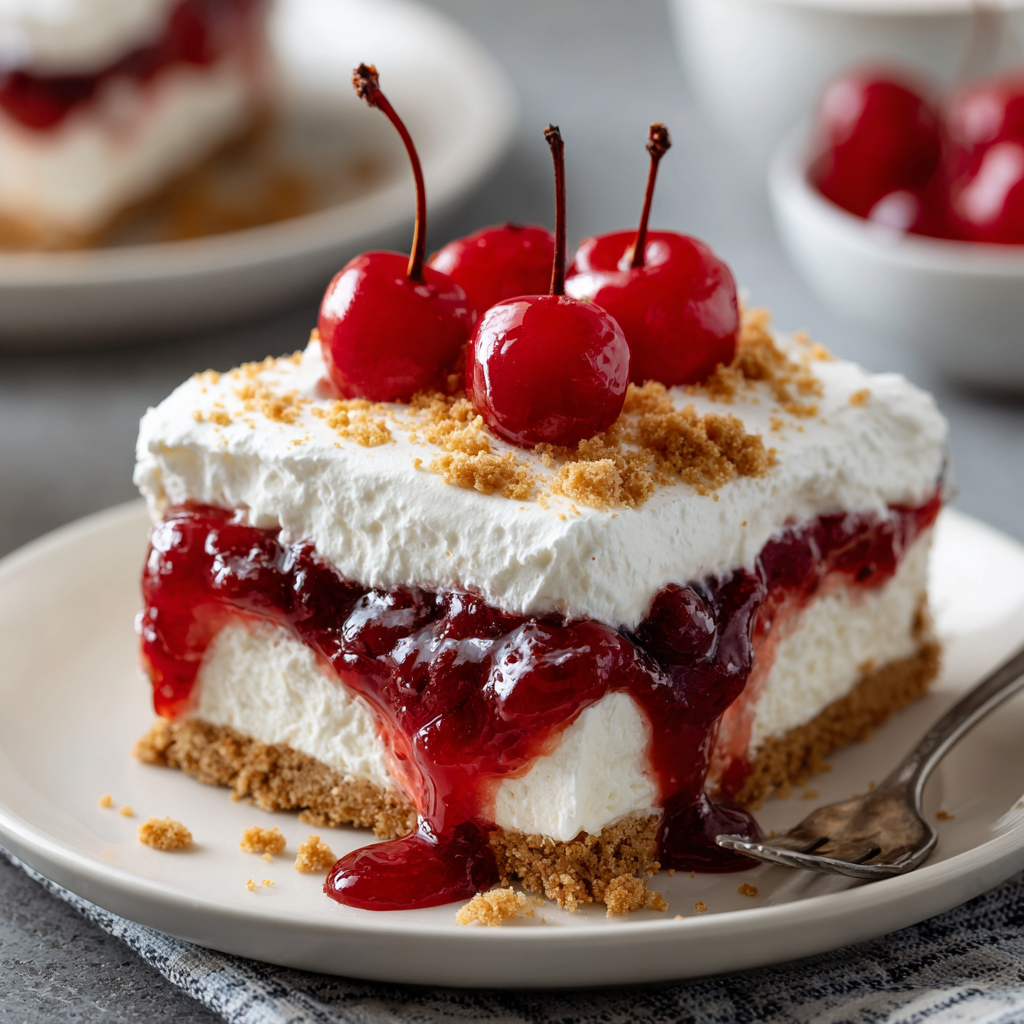
This Classic Cherry Delight is a nostalgic, crowd-pleasing dessert that’s creamy, fruity, and easy to make. With just three simple layers—a buttery graham cracker crust, a smooth cream cheese filling, and sweet-tart cherry pie topping—it’s the perfect no-bake treat for holidays, potlucks, or any time you need a quick and delicious dessert. Light, refreshing, and not overly sweet, it’s a timeless favorite.
Ingredients
Crust:
1 ½ cups graham cracker crumbs
1/3 cup granulated sugar
1/2 cup (1 stick) unsalted butter, melted
Cream Cheese Layer:
8 oz cream cheese, softened
1 cup powdered sugar
1 teaspoon vanilla extract
8 oz whipped topping (like Cool Whip)
Topping:
1 can (21 oz) cherry pie filling
Instructions
In a medium bowl, mix graham cracker crumbs, sugar, and melted butter. Press firmly into the bottom of a 9×9-inch dish to form the crust. Chill while preparing the filling.
In a large bowl, beat cream cheese until smooth. Add powdered sugar and vanilla, and mix until well combined. Fold in whipped topping until light and fluffy.
Spread cream cheese mixture evenly over the crust.
Spoon cherry pie filling over the top and spread gently to cover.
Chill for at least 2 hours (or overnight) before serving for best texture.
- Prep Time: 15 minutes
- Chill Time: 2 hours
Nutrition
- Calories: 320 / Serving
- Sugar: 26g / Serving
- Sodium: 170mg / Serving
- Fat: 18g / Serving
- Saturated Fat: 10g / Serving
- Carbohydrates: 36g / Serving
- Protein: 3g / Serving
A Quick Note on Nutrition
Let’s keep it real—this is a dessert, a treat meant to be enjoyed fully and shared with joy. The nutritional info per serving (about a 3″x3″ square) is in the recipe card below. It’s a rich, indulgent bite. My philosophy is to savor amazing desserts like this one mindfully, rather than chasing “guilt-free” versions that don’t satisfy. Life’s too short for boring desserts! If you’re managing dietary needs, the variation ideas above (like using sugar-free pie filling or nut-based crusts) can help you tailor it.
Let’s Keep the Conversation Going!
And there you have it, friends—the iconic, no-fuss, always-a-hit Classic Cherry Delight. It’s proof that you don’t need fancy techniques or a dozen ingredients to make something that brings people together and puts a smile on their face. I hope this recipe finds its way into your kitchen and becomes part of your own story, whether it’s for a big celebration or a quiet Tuesday win.
I’d love to hear how it turns out for you! Did you add a twist? Did it bring back a memory? Tag me on social @FoodMeld or drop a comment below—seeing your creations is my favorite part of this job. Now, go chill that dessert, gather your people, and enjoy every creamy, cherry-filled bite. Until next time, let’s keep cooking something awesome together.
Jackson


