Let’s Talk About a Pudding That Started a Revolution
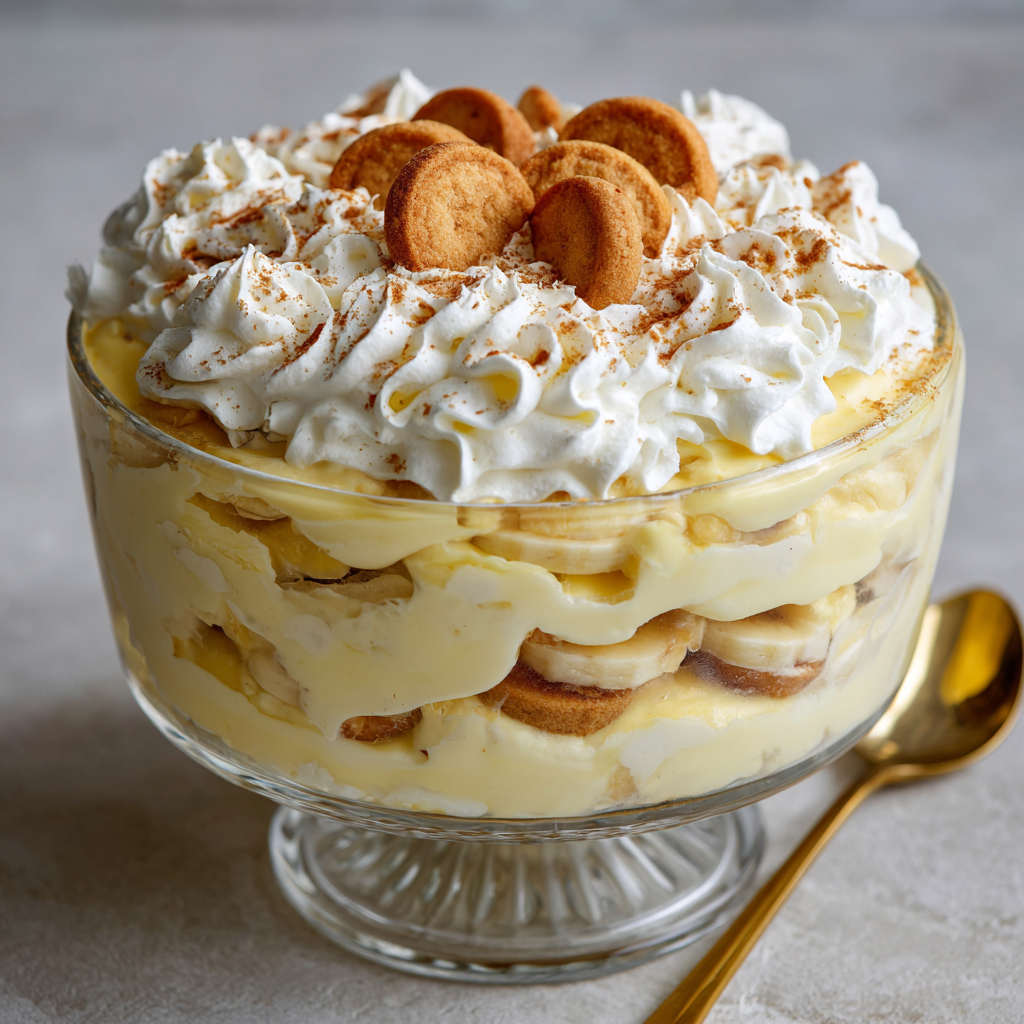
Hey friends, Jackson here from Food Meld. Let me paint you a picture: It’s a warm afternoon in the West Village. You’re strolling down Bleecker Street, and you see it—a line spilling out of a little blue-and-white bakery, wrapping around the corner. The buzz in the air isn’t for cronuts or cupcakes. It’s for a humble, layered dessert in a clear plastic cup. It’s for the one and only Magnolia Bakery Banana Pudding.
For years, I’d hear friends come back from NYC with almost mythical stories about this pudding. “You HAVE to try it,” they’d say, eyes wide. “It’s life-changing.” And you know what? They were right. The first time I finally got my hands on a cup, I understood. It wasn’t just banana pudding. It was a cloud of vanilla cream, layered with soft, cake-like wafers and sweet bananas, all melding into something that was somehow both light and decadently rich.
But here’s the beautiful truth I discovered after a little kitchen sleuthing (and a lot of taste-testing): You don’t need a plane ticket to experience this magic. The iconic flavor? It’s all in the technique. Today, I’m pulling back the bakery curtain and giving you my foolproof, no-bake copycat recipe. We’re making the legendary Magnolia Bakery Banana Pudding right in your own kitchen. It’s easier than you think, guaranteed to wow a crowd, and honestly? I think our homemade version, made with a little love, might just have the edge. Let’s get mixing.
The Pudding That Bridges Every Gap
This recipe takes me straight back to my grandma’s sun-drenched kitchen in Georgia. Her banana pudding was a staple—a baked, meringue-topped beauty that felt like a hug. It was pure, unadulterated comfort. When I first tried the Magnolia version years later, it was like meeting a cool, cosmopolitan cousin of my childhood favorite. It had the same soul, but a totally different vibe—effortlessly chic and refreshing.
That’s the power of food, isn’t it? One dish can connect a Southern boy’s memories to a New York City icon. This recipe is my “Food Meld” in action: taking those deep-rooted, comforting flavors and giving them a playful, modern twist. It’s the perfect dessert for when you want to impress without stress, to share a bite of something that feels both nostalgic and excitingly new. Every time I layer those Nilla wafers, I’m mixing a little bit of my past with the joyful energy of discovering something amazing. Let’s create that feeling for you, too.
Gathering Your Flavor Squad
Here’s the beautiful part: the ingredient list is short, sweet, and to the point. No fancy techniques, just quality components coming together for something greater than the sum of their parts. Let’s break it down.
- 1 (14 oz) can sweetened condensed milk – This is the secret weapon, the backbone of richness. It gives the pudding its signature creamy, smooth body that’s not overly eggy. Chef’s Tip: Don’t swap this for evaporated milk! They are not the same.
- 1 1/2 cups ice-cold water – Cold is crucial here! It helps the pudding mix set properly and quickly.
- 1 (3.4 oz) box instant vanilla pudding mix – The other half of the dynamic duo. Instant pudding is non-negotiable for the right texture and no-bake ease.
- 3 cups heavy whipping cream – The element of airy luxury. We’re whipping this into stiff peaks to fold into our base. Pro Hack: Chill your bowl and beaters in the freezer for 10 minutes before whipping. It makes the cream whip up faster and higher!
- 1 (11 oz) box Nilla Wafers – The iconic cookie. They soften into perfect, cakey layers. Yes, it has to be Nilla! Their specific vanilla flavor and texture are key.
- 4 cups sliced ripe bananas (about 4–5 bananas) – Look for bananas that are yellow with plenty of brown speckles. They’re at their peak sweetness and flavor. Slice ’em about 1/4-inch thick for the perfect bite.
Building Your Pudding Masterpiece, Step-by-Step
Ready to play dessert architect? The process is simple, but a few key moves make all the difference. Follow these steps, and you’re golden.
- Mix the Pudding Base: Grab a large bowl. Whisk the sweetened condensed milk and that ice-cold water together until they’re completely smooth and friendly. Now, sprinkle in the entire box of instant pudding mix. Whisk like you mean it—for a solid 2 minutes. You’ll see it begin to thicken beautifully right in the bowl. Once it’s nicely combined, cover the bowl with plastic wrap, pressing it directly onto the surface of the pudding (this prevents a skin from forming). Tuck it into the fridge to chill for at least 4 hours, but overnight is truly best. This long chill is THE secret. It allows the flavors to deepen and the texture to become luxuriously thick.
- Whip the Cream: When you’re ready to assemble, pull out your chilled bowl and beaters. Pour in the cold heavy cream and beat on medium-high speed until you have stiff, glorious peaks. This usually takes 3-4 minutes. You’ll know it’s ready when you lift the beaters and the peaks stand straight up without flopping over. Don’t overwhip into butter! Stop when it’s just firm.
- Fold Together (The Magic Step): Take your chilled, firm pudding base from the fridge. It will be thick! Using a large spatula, gently add about one-third of the whipped cream to the pudding base. Fold it in—don’t stir!—by cutting down through the center, sweeping along the bottom, and folding it over the top. Repeat until that first batch is incorporated. Add the remaining whipped cream in two more batches, folding gently until no white streaks remain. You’re creating a light, airy, mousse-like cream. This patience is what gives you that iconic, cloud-like texture.
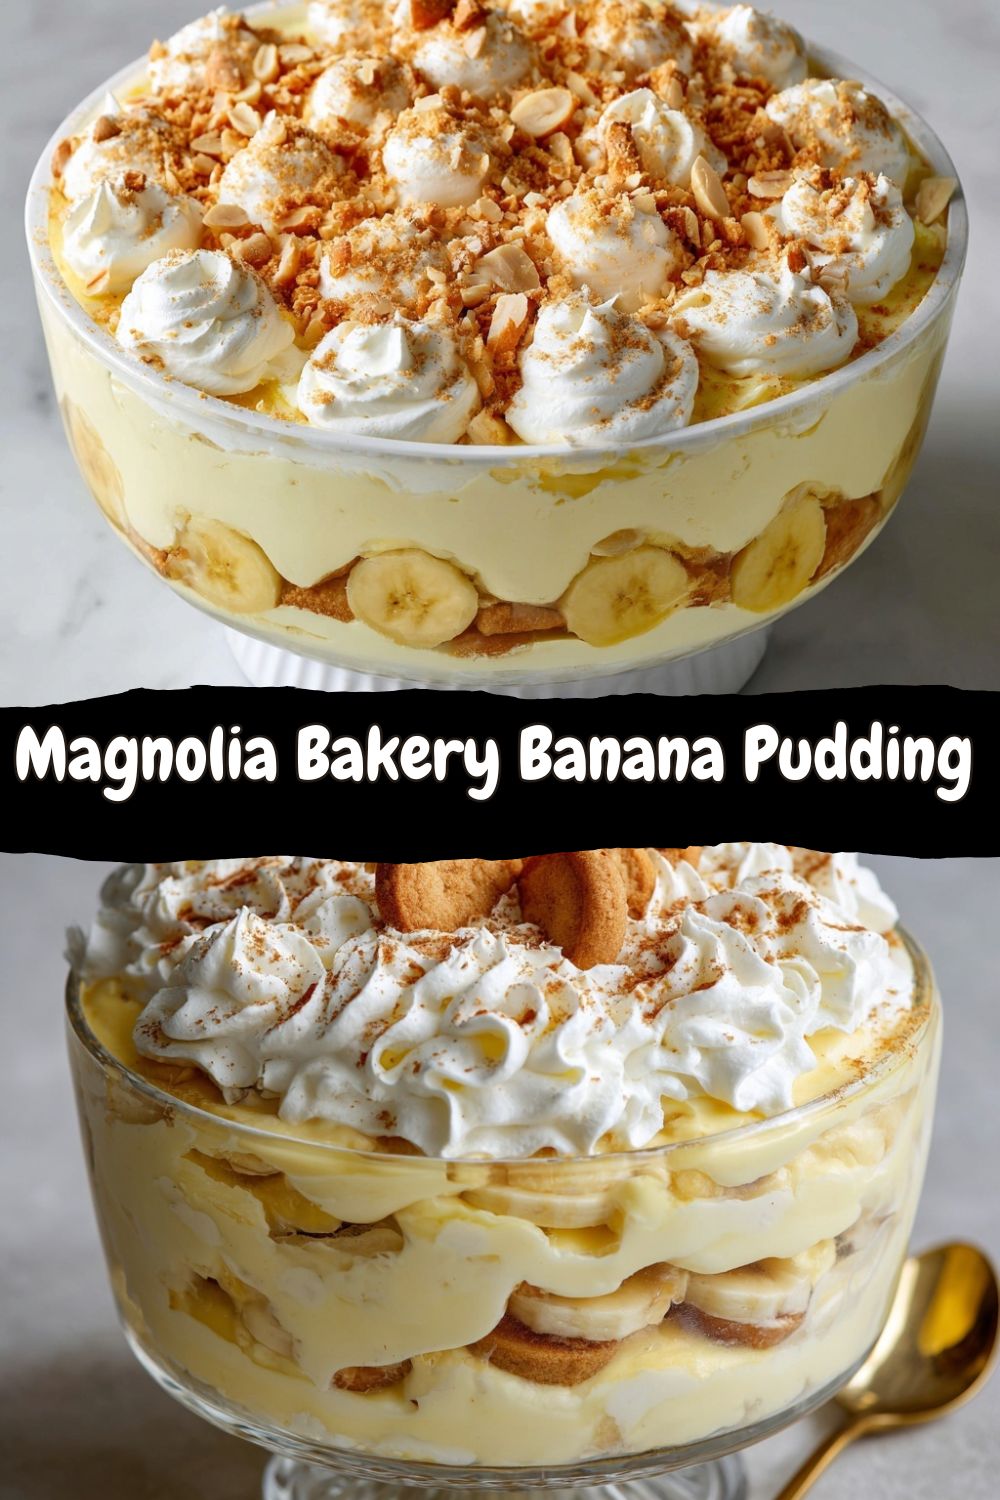
- Assemble the Layers: Now for the fun part! Grab your trifle dish, a large glass bowl, or even individual cups. Start with a layer of Nilla wafers, covering the bottom. Add a single layer of banana slices over the wafers. Then, spoon a generous layer of your creamy pudding mixture over the bananas, spreading it to the edges. Repeat! Wafer, banana, cream. Wafer, banana, cream. I usually get 3 full layers. End with a final, beautiful layer of the cream on top.
- Chill and Set (The Final Act of Patience): Cover your assembled masterpiece tightly with plastic wrap. This is non-negotiable—it lets the magic happen. Refrigerate for at least 4-6 hours, but overnight is the ultimate goal. During this time, the Nilla wafers soften and absorb moisture, becoming tender, cake-like layers that meld perfectly with the bananas and cream. It transforms from separate components into one cohesive, legendary dessert.
How to Serve Your Iconic Creation
When it’s finally time to serve, you’ve got options! If you used a large trifle dish, simply scoop down through all the beautiful layers with a large serving spoon. I love to garnish the top right before serving with a few extra Nilla wafers standing up and a couple of fresh banana slices. A light dusting of vanilla wafer crumbs looks gorgeous, too.
For a real “Magnolia Bakery” experience, layer it in clear plastic cups or mason jars! Assemble them individually, then lid and chill. They’re perfect for parties, picnics, or just making everyone feel special. Serve it cold, straight from the fridge, and watch the smiles appear with the first spoonful.
Make It Your Own: Fun Twists & Swaps
Once you’ve mastered the classic, the playground is open! Here are a few of my favorite ways to mix it up.
- Chocolate Lover’s Dream: Swap the vanilla instant pudding for chocolate. Use chocolate wafer cookies instead of Nilla wafers. Consider adding a handful of mini chocolate chips between layers.
- Salted Caramel Swirl: After each layer of cream, drizzle a little store-bought or homemade salted caramel sauce. The sweet-salty combo is incredible.
- Berry Bliss: Add a layer of fresh raspberries or sliced strawberries along with (or instead of some of) the bananas for a bright, tart contrast.
- Boozy Adult Version: Add 2-3 tablespoons of bourbon, dark rum, or banana liqueur to the sweetened condensed milk mixture. It adds a wonderful depth of flavor.
- Dairy-Free Friendly: Use full-fat coconut milk in place of the heavy cream (chill the cans first and scoop out the solid cream to whip). Use a dairy-free vanilla pudding mix and check your Nilla wafers for allergens. The flavor profile changes but is still delicious!
Jackson’s Kitchen Notes
This recipe has become my go-to “hero dessert” for potlucks. I once brought it to a neighborhood BBQ, and a friend’s kid quietly asked if he could have the whole bowl to himself. That’s a win in my book! Over time, I’ve learned that the overnight chill isn’t just a suggestion—it’s the law. The difference between a 4-hour pudding and a 12-hour pudding is night and day. The flavors fully “meld” (see what I did there?) and the texture becomes absolute perfection. Don’t rush it! Also, if your bananas are browning a bit before you slice them, a quick toss in a teaspoon of lemon juice can help, but honestly, in this creamy environment, a little browning is just extra flavor.
Your Questions, Answered
Q: Can I make this ahead of time?
A: Absolutely! In fact, you MUST. This is the ultimate make-ahead dessert. Assemble it up to 24 hours before you need it. The longer it sits (within a day), the better it gets.
Q: My pudding seems runny. What happened?
A: Two likely culprits: 1) The pudding base didn’t chill long enough before folding in the cream. Give it that full 4+ hours. 2) The whipped cream was under-whipped or the cream itself wasn’t cold enough. Make sure you whip to truly stiff peaks. If it’s a little soft after assembling, just give it more chilling time—it will continue to set.
Q: Can I use homemade pudding or cooked pudding mix?
A: I don’t recommend it for this specific recipe. The instant pudding mix has stabilizers that give this particular dessert its signature, stable, yet light texture. Homemade pudding tends to be looser and won’t hold up the same way when folded with whipped cream.
Q: How long will leftovers last?
A: Enjoy it within 2-3 days. The bananas will continue to soften and release moisture, so it’s best fresh. The top might darken a bit—that’s just the bananas saying hello. Give it a gentle stir if it bothers you!
Nutritional Info (Because Knowledge is Power!)
Okay, let’s be real: this is a celebratory, indulgent dessert. We’re not counting celery sticks here! A serving (assuming you get 10 generous portions from this recipe) comes in around 300-350 calories. The majority comes from the healthy fats in the heavy cream and the carbohydrates from the sweetened condensed milk, wafers, and bananas. It’s a rich treat, which is why a little goes such a long, satisfying way. You’re getting a bit of potassium from the bananas and calcium from the dairy. My philosophy? Enjoy amazing food mindfully. Savor each bite of this incredible pudding, share it with people you love, and relish in the joy of creating something spectacular.
Your Turn to Make a Classic
And there you have it, friends—the keys to the kingdom. The magic of that famous New York City bakery counter, now living in your fridge. This Magnolia Bakery Banana Pudding copycat is more than a recipe; it’s a guaranteed smile-maker, a conversation starter, and proof that the most iconic flavors often come from the simplest, most heartfelt techniques.
So skip the line, grab your whisk, and let’s make some memories. I can’t wait for you to experience that first bite of creamy, dreamy, vanilla-banana bliss and hear your own friends and family say, “You HAVE to give me this recipe.” That’s my favorite sound.
Got questions while you’re making it? Found a fun twist? Tag me on social @FoodMeld—I love seeing your creations. Now go on, cook something awesome. Talk soon!
— Jackson


