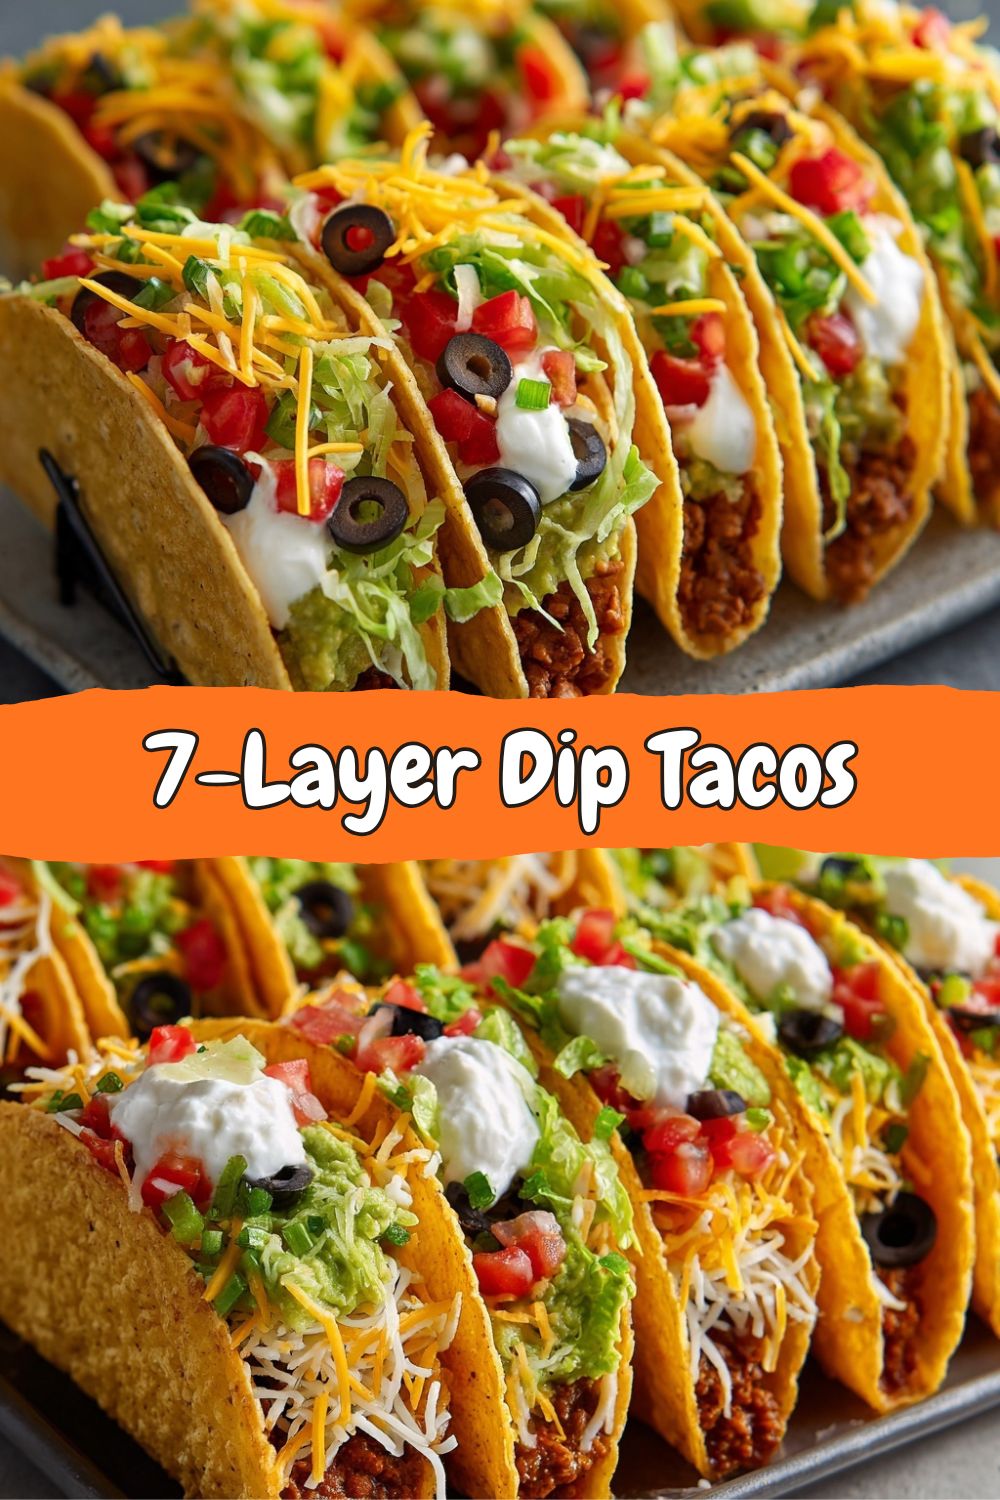
Let’s Fix the Party’s Biggest Problem (And Make Something Delicious)
Picture this: It’s game day, the big family gathering, or just a Friday night get-together. You’ve made the ultimate crowd-pleaser: the legendary 7-Layer Dip. It’s a beautiful, colorful masterpiece in a dish. For about five minutes. Then the chaos begins. The first brave soul digs in, their chip breaking under the weight of ambition. The next person tries to navigate around the now-collapsed crater. Soon, it’s a delicious but messy geological event—guacamole landslides into the sour cream river, beans and cheese are forever entangled. Double-dipping? Let’s be honest, it’s inevitable. And you’re left with a dish that, while still tasty, looks like it survived a food fight.
Sound familiar? I’ve been there too many times to count. I love the flavor symphony of a good seven-layer dip—the creamy, the crunchy, the fresh, the zesty—but I was tired of the mess and the awkward serving struggle. I thought, “What if we could have all that iconic flavor, in the perfect built-in portion, with zero scooping stress?” And that’s when the magic happened: 7-Layer Dip Tacos.
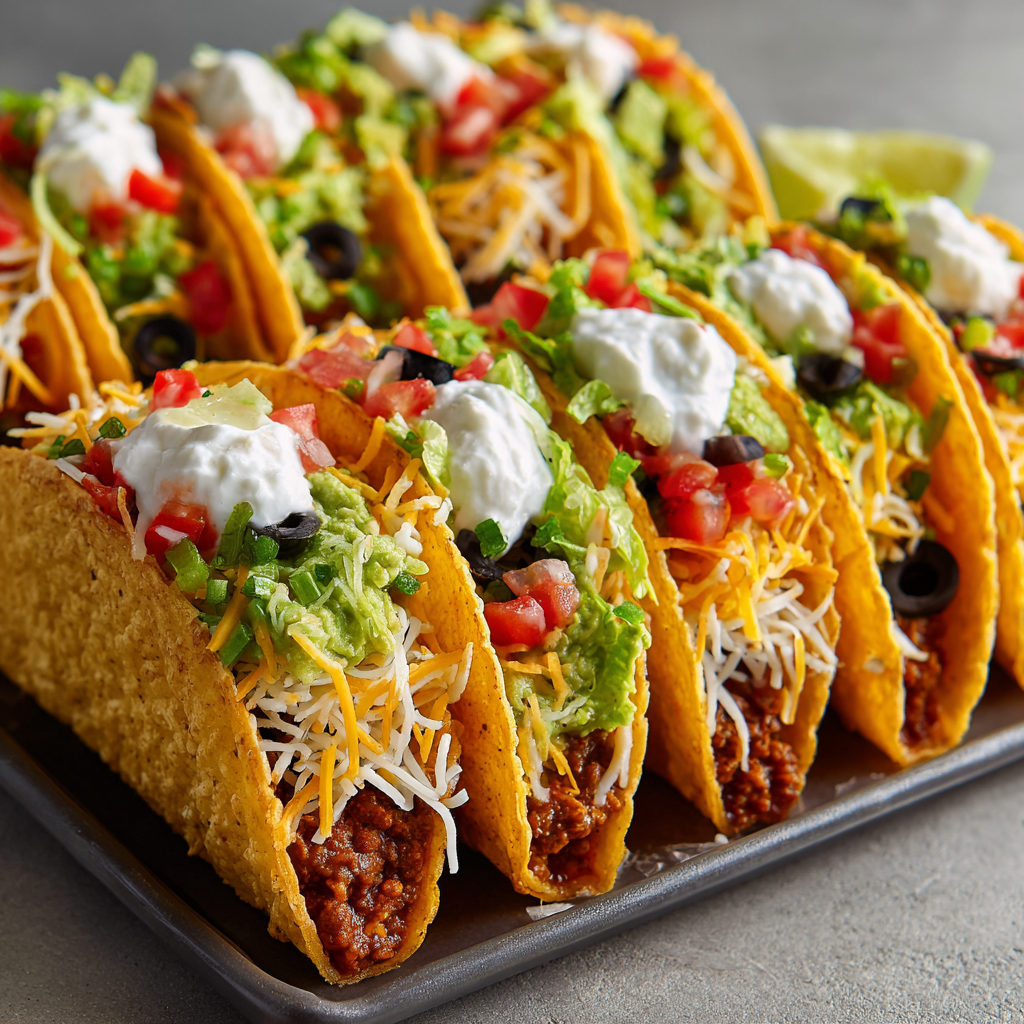
This is more than just a recipe; it’s a party hack. We’re taking every single glorious layer of that classic dip and packing it neatly into a crisp, handheld taco shell. Each taco is a perfect, personal serving of the entire flavor experience. No more balancing acts, no more ruined chips, and definitely no more double-dip debates. Guests can just grab, bite, and bliss out. It’s fun, it’s interactive, and it keeps the vibes (and your tablecloth) clean. Let’s ditch the dish and build these flavor-packed, no-mess wonders together.
The Game-Day “A-Ha!” Moment
This idea was born in the beautiful chaos of my own living room during a particularly intense football game. I’d made my usual “bean dip,” as my friends call it, and set it on the coffee table. My buddy Mike, entirely focused on a replay, went in for a chip-scoop and came back with what can only be described as a dip-sundae—a little bit of everything piled three inches high. It immediately broke, plopped onto his jersey, and we all had a good laugh. But as I was cleaning up (a bean-and-guac trail from the table to the kitchen), it hit me: the format was the problem, not the flavors.
I grew up with tacos being the ultimate handheld, customizable meal. Why couldn’t a dip be handheld and pre-customized? The next week, I experimented. I lined up taco shells like little edible cups and started layering. The first test was messy, but the concept was solid. By the third try, I had the order down pat—the sturdy beans as the foundation, the creamy layers as mortar, the fresh toppings as the confetti on top. When I served them at the next gathering, they vanished in minutes. No spills, no mess, just happy people and empty plates. It was a classic “Food Meld” moment: taking a beloved tradition (Southern/Midwestern party dip) and giving it a fun, practical, and totally delicious twist. Now, it’s my non-negotiable go-to for any group.
Your Flavor Construction Kit
Here’s the beautiful part: you probably have most of this in your kitchen already! This is about assembly, not arduous cooking. Use your favorite store-bought staples or go fully homemade—both paths lead to awesome tacos. I’ll give you my ideal lineup and plenty of swaps to make it yours.
- 10 Hard Taco Shells: The edible vessel! I like the standard corn ones for that authentic flavor and crunch. Chef’s Insight: Give them a quick 5-minute warm-up in a 350°F oven. This revives their crispness and prevents them from cracking at the first bite.
- 1 cup Refried Beans: Our sturdy, flavorful foundation. I prefer the traditional kind, but vegetarian or black bean refried beans work perfectly. Pro Tip: Warm them slightly in a bowl to make them spreadable. If they’re too thick, a splash of broth or water will loosen them up.
- 1 cup Guacamole: The cool, creamy heart of the operation. Use your favorite store brand or mash 2 ripe avocados with lime juice, salt, and a pinch of cumin. Swap Alert: If you’re not a guac fan, a simple smashed avocado works, or you can even use a layer of hummus for a different twist.
- 1 cup Sour Cream: The tangy ribbon. For an extra flavor punch, mix half a packet of taco seasoning into the sour cream before layering. It’s a game-changer! For a lighter option: Greek yogurt is a fantastic, protein-rich substitute.
- 1 cup Salsa or Pico de Gallo: The juicy, zesty layer. Pico de gallo (fresh diced tomato, onion, cilantro, lime) is less watery, which is ideal for structure. If using jarred salsa, drain it a bit in a mesh strainer to avoid soggy shells.
- 1 cup Shredded Cheese: I love a sharp cheddar for bite or a Mexican blend for melty goodness. Chef’s Hack: Shred it yourself! Pre-shredded cheese has anti-caking agents that can make it less melty. A block and a grater take two minutes and make a world of difference.
- 1/2 cup Sliced Black Olives: They add a beautiful, briny, salty pop. Not an olive person? Simply leave them out!
- 1/2 cup Chopped Green Onions or Shredded Lettuce: The fresh, crunchy finish. Green onions add a mild oniony kick, while shredded lettuce (romaine or iceberg) gives a great fresh crunch. Use one or both!
- Optional Boosters: Diced tomatoes, pickled jalapeños for heat, a drizzle of hot sauce or cilantro lime crema. This is your canvas—decorate it!
Building Your Flavor Towers, Step-by-Step
This is the fun, assembly-line part. Get your stations ready, and let’s build with purpose. The key is the order of operations to ensure structural integrity and the best bite every time.
- Prep Your Workspace & Shells: Preheat your oven to 350°F (175°C). Arrange your taco shells upright in a baking dish or on a sheet pan—a taco holder is great if you have one. Warm them for 5 minutes. This isn’t to cook them, but to crisp them up and make them more resilient. Chef’s Commentary: “Think of this like preheating a cast-iron skillet. We’re setting them up for success.”
- Layer 1: The Bean Foundation: Take your slightly warmed refried beans. Using a small spoon, spread a generous tablespoon into the bottom of each shell. Press it down gently to create a flat, even base. This layer acts as the anchor for everything above. Tip: Don’t go more than 1/3 of the way up the shell with the beans—we have six more layers to fit!
- Layer 2: The Creamy Guac: Carefully spoon your guacamole over the beans. Try to keep it contained and not smear it all over the sides of the shell. Little Hack: If you’re worried about the guac browning if you make these ahead, press a piece of plastic wrap directly onto its surface in the bowl before you start. This minimizes air exposure.
- Layer 3: The Tangy Ribbon (Sour Cream): This is where a trick comes in handy. Spoon your plain or seasoned sour cream into a small plastic baggie. Snip a tiny corner off to create a makeshift piping bag. Gently pipe a zig-zag or swirl over the guacamole. This gives you control and prevents the heavy spoon from disturbing the layer below. It looks pro, too!
- Layer 4: The Zesty Salsa: Using a slotted spoon, add your well-drained salsa or pico de gallo. Distribute it evenly. The liquid from the salsa is now insulated from the shell by the bean and creamy layers, which helps keep that crunch intact.
- Layer 5 & 6: The Cheesy & Savory Toppers: Now, generously sprinkle your shredded cheese. The warmth from the other layers will start to soften it just slightly, which is perfect. Follow immediately with the sliced black olives and your chosen green onions or lettuce. The weight of these is minimal, so pile them on!
- The Final Arrange & Serve: If you’re serving immediately, transfer your tacos to a platter. If you need 15-20 minutes, pop the whole tray, uncovered, in the fridge. This helps the layers set a bit. Do not make these hours in advance, or the shells will wilt. The goal is a crisp shell meeting all those cool, fresh layers.
Serving Up the Fun
Presentation is part of the joy here! You’ve built these gorgeous, colorful towers—show them off. I like to arrange them in a circular pattern on a large, rustic platter or wooden board. Tuck a few lime wedges and extra jalapeño slices in the gaps for garnish.
For the ultimate no-mess party setup, keep them nestled in the baking dish or taco stand you used to warm them. It keeps them upright and stable. Place a stack of napkins (you’ll need them!) right beside the platter.
Make-Ahead Strategy: You can be a total party-prep hero by doing all your component prep ahead of time. The day before: make your guac (press plastic wrap on the surface), mix your seasoned sour cream, shred cheese, chop veggies, drain salsa. Store everything in separate containers. Then, 30 minutes before guests arrive, warm your shells and do the assembly-line layering. It takes 10 minutes tops, and you look like a relaxed, genius host.
Make It Your Own: 5 Flavor Twists
The “7-Layer” formula is just the beginning. Here’s where you can really Food Meld it up:
- The “Taco Salad” Twist: Swap the refried beans for seasoned ground beef or turkey, cooled completely. Add a layer of shredded romaine after the salsa. It’s a deconstructed taco salad in a shell!
- The Fully Loaded Nacho: Use crushed, sturdy tortilla chips *inside* the shell first for extra crunch. Substitute the sour cream with a queso blanco sauce. Top with pickled jalapeños and a drizzle of crema.
- The Greek “7-Layer”: Mediterranean fusion, anyone? Start with a layer of hummus. Follow with tzatziki (instead of sour cream), a chopped Greek salad (tomato, cucumber, red onion, olive), crumbled feta, and a sprinkle of fresh dill.
- The Southwest Black Bean: For a lighter feel, use whole black beans (slightly mashed) instead of refried. Add a layer of corn kernels (fresh off the cob or roasted) with the salsa. Use a Monterey Jack cheese and top with cilantro.
- The “Lighter” Version: Use Greek yogurt instead of sour cream, low-fat cheese, and load up on extra lettuce and pico de gallo. You still get all the flavor and fun with a lighter calorie load.
Jackson’s Kitchen Notes
This recipe has evolved from that first messy experiment. I learned the hard way that putting the salsa directly on the bean layer made for a soggy shell fast—hence the creamy buffer zone. I also had a hilarious disaster where I tried to use soft flour tortillas and roll them like burritos. Let’s just say the structural failure was immediate and spectacular (but still tasty eaten with a fork!).
The beauty of this concept is its flexibility. I’ve seen friends make them with a layer of leftover chili, with buffalo chicken dip as the base—you name it. Once you understand the architecture (sturdy base, creamy insulators, fresh top), you can invent your own “dip tacos” forever. Don’t stress about perfection. If a little sour cream smears on the shell, it just adds character. This is about fun, flavor, and freeing yourself from the communal dip bowl chaos.
Your Questions, Answered
Q: Can I make these completely ahead of time?
A: I don’t recommend assembling more than 30-60 minutes in advance, or the shells will lose their crucial crunch. The ultimate hack is to prep all your components separately (see Serving Suggestions) and assemble at the last minute. It’s incredibly fast.
Q: My shells keep cracking when I fill them. Help!
A: Two tips! First, ensure you warm them gently before filling—it makes them more pliable. Second, when you add the bean layer, use the back of the spoon to press gently down and out towards the sides, rather than putting downward pressure straight on the fragile bottom curve.
Q: What’s the best way to store leftovers?
A: Honestly, these are best enjoyed fresh. Leftover assembled tacos will be soggy. However, you can absolutely store any unused components in separate airtight containers in the fridge for 2-3 days and build fresh tacos for a quick lunch or snack.
Q: Can I make a gluten-free or vegan version?
A> Absolutely! For gluten-free, ensure your taco shells are certified GF (most corn shells are). For vegan, use vegan refried beans (check for lard), guacamole, a plant-based sour cream, dairy-free cheese, and ensure your salsa is vegan. It works beautifully.
Nutritional Considerations
Let’s keep it real: this is a party food, a celebration dish. It’s meant to be indulgent, fun, and shared. Each taco, as written, is a flavorful package with a balance of carbohydrates (shell), healthy fats (avocado, sour cream), protein and fiber (beans), and veggies. The estimated calorie range is 250-300 per taco, but this can vary widely based on your specific ingredient choices (brand of beans, full-fat vs. light sour cream, amount of cheese).
If you’re mindful of nutrition, the variations section is your best friend. The “Lighter” version with Greek yogurt, low-fat cheese, and extra veggies is a fantastic option. Remember, you’re in control of the layers. You can use a lighter hand with cheese and sour cream and a heavier hand with salsa, lettuce, and tomatoes. The portion control built into each taco is actually a great tool—it’s a defined serving, unlike an endless chip-and-dip situation. So enjoy, savor each bite, and know that you can easily tweak the formula to fit your lifestyle without sacrificing an ounce of the fun.
Let’s Redefine Party Food, One Crispy Bite at a Time
So there you have it—the end of the messy dip bowl and the beginning of your new go-to party superstar. These 7-Layer Dip Tacos are more than just a recipe; they’re a testament to the idea that cooking (and entertaining!) should solve problems, spark joy, and bring people together over incredible flavor.
They’re proof that you don’t need fancy techniques or obscure ingredients to make something unforgettable. You just need a little creativity and a willingness to play with your food. I hope these become a staple in your gathering repertoire, just like they are in mine. They’ve saved my game days, potlucks, and casual Fridays more times than I can count.


