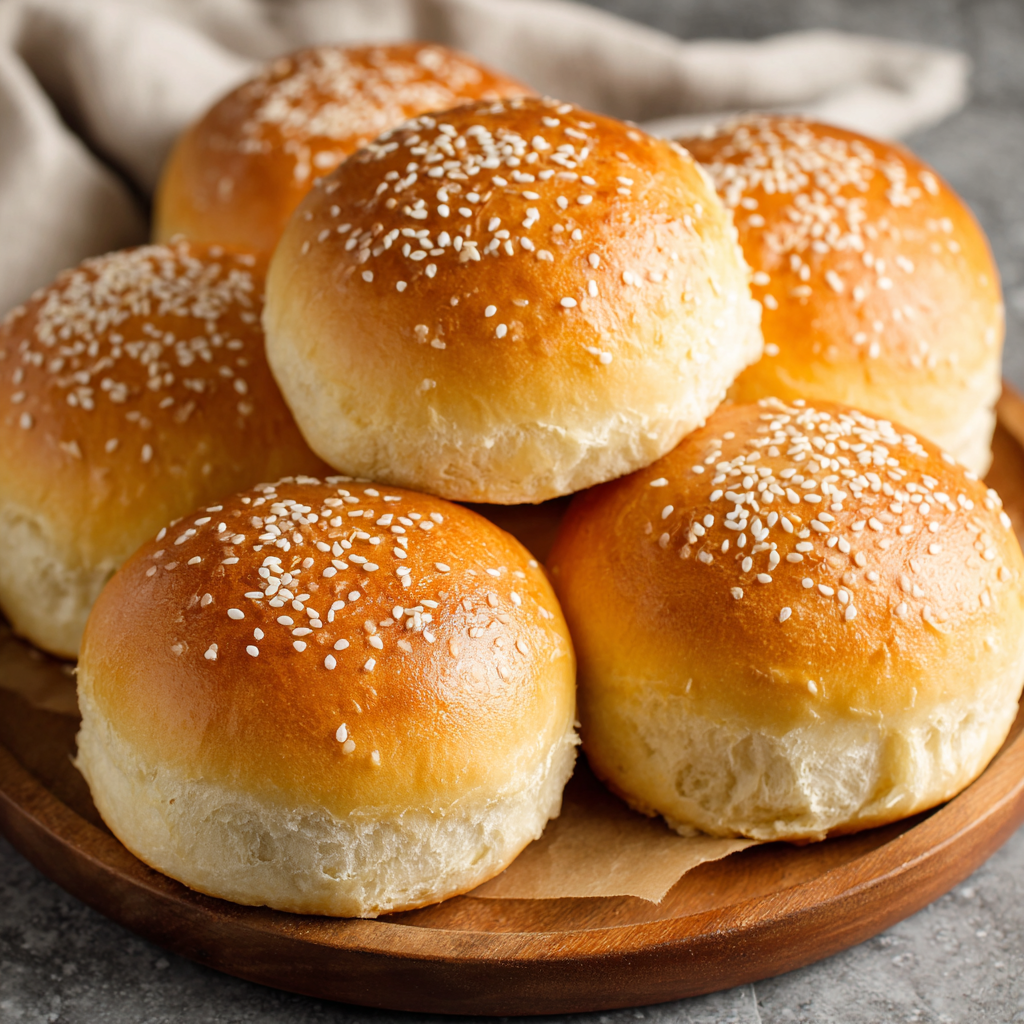
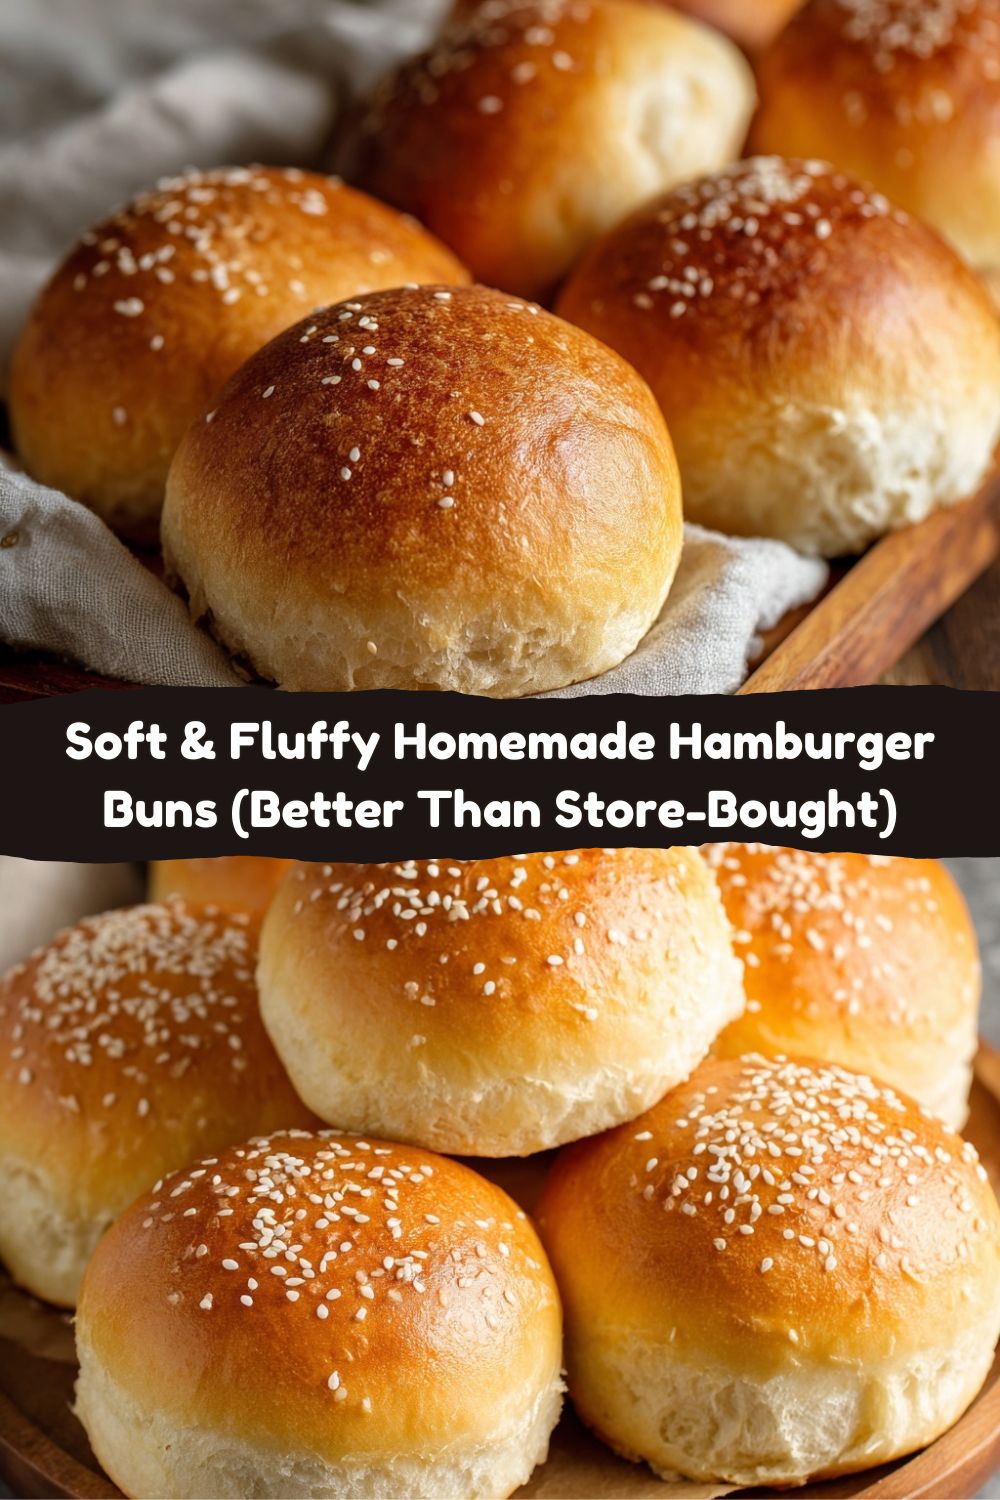
Soft & Fluffy Homemade Hamburger Buns: Your Burger’s New Best Friend
Hey there, friend. Jackson here from Food Meld. Let me ask you a question that’s been bugging me for years: why do we spend so much love and time crafting the perfect burger patty, piling on crisp lettuce, ripe tomato, and that secret sauce, only to sandwich it all between… a store-bought bun that tastes like sad, sweet cardboard?
It’s a culinary crime, I tell you. The bun isn’t just a holder; it’s the opening act, the first bite, the pillow that cradles your masterpiece. A great bun should be soft enough to yield without a fight, yet sturdy enough to stand up to juices. It should have a whisper of sweetness to balance the savory, and a gorgeous, golden top that begs to be toasted.
Today, we’re fixing that. We’re making Soft & Fluffy Homemade Hamburger Buns from scratch. And before you scroll away thinking, “Jackson, I’m not a baker,” hear me out. This isn’t some fussy, finicky pastry project. This is simple, forgiving, and downright fun dough work. We’re talking pantry staples, one bowl (mostly), and the kind of hands-on therapy that ends with your kitchen smelling like a dream and you feeling like a total rockstar.
I promise you, the moment you pull these golden, pillowy clouds from your oven, you’ll never look at a plastic bag of buns the same way again. Let’s roll up our sleeves and cook something awesome together.
The Bun That Started It All: A Backyard Revelation
My obsession with the perfect bun started at a backyard BBQ years ago. I was visiting my grandparents down South, and my granddad, a man of few words but impeccable taste, was grilling burgers. The patties were glorious—coarse-ground, seasoned with just salt and pepper, kissed by charcoal. But the buns? They were something else. My grandma had made them that morning.
I remember watching her shape the dough into little clouds, her hands dusted with flour. She didn’t use a recipe, just “a bit of this and a pinch of that.” When those burgers came off the grill, nestled in those warm, homemade buns, it was a revelation. The bun was part of the flavor, not just a vehicle. It was tender, it soaked up the juices without falling apart, and it made the entire experience feel… special. Homemade.
That’s the magic I want to bring to your kitchen. It’s not about showing off; it’s about that quiet pride of creating something complete, from the bottom up. It’s about the “wow” from your friends and family when they bite into a burger that’s 100% yours, bun included. Let’s make some memories (and some seriously good buns).
Gathering Your Flavor Arsenal: What You’ll Need
Here’s the beautiful part: you probably have most of this in your kitchen right now. Simple ingredients, incredible results. Let’s break it down.
- 3 ½ cups all-purpose flour: The workhorse. It gives us the perfect balance of tenderness and structure. If you want a slightly chewier bun, swap in ½ cup of bread flour. For a whole-wheat twist, see the variations below!
- 1 packet (2 ¼ tsp) active dry yeast: Our tiny, magical engine. This is what makes the dough rise and become airy. Make sure your yeast is fresh for the best lift.
- 1 cup warm water (about 110°F): Chef’s Tip: Think “baby bottle warm,” not hot. Too hot and you’ll silence the yeast; too cold and it’ll sleep in. If you don’t have a thermometer, it should feel comfortably warm on your wrist.
- 3 tablespoons sugar: This is our flavor secret. It feeds the yeast and gives the buns that classic, very subtle sweetness that plays so well with savory fillings. Don’t skip it!
- 1 teaspoon salt: The flavor enhancer. It balances the sweetness and strengthens the gluten. Always add it separately from the yeast in the initial mix.
- 1 egg: Our binder and richness-builder. It gives the crumb a beautiful tenderness and a lovely color.
- 3 tablespoons unsalted butter, softened: The key to that soft, fluffy texture and a hint of buttery flavor. Softened is crucial here—it needs to incorporate easily into the dough.
- Optional: 1 egg + 1 tbsp water (for egg wash), sesame seeds, poppy seeds, everything bagel seasoning: The glam squad. The egg wash gives that professional, glossy, golden-brown top. The seeds? Pure texture and visual appeal.
Let’s Get Our Hands Dirty: The Step-by-Step Magic
Ready? This is where the fun begins. Put on some music, clear a space on your counter, and let’s make some dough.
- Wake Up the Yeast: In a large mixing bowl (or the bowl of your stand mixer), combine the warm water, sugar, and yeast. Give it a quick stir and walk away for 5-10 minutes. This is called “proofing.” You’re looking for a creamy, foamy layer on top—this tells you your yeast is alive and ready to party. If it doesn’t foam, your yeast might be old or your water was too hot/cold. Start over before adding flour.
- Bring the Dough Together: To that foamy yeast mixture, add the flour, salt, the whole egg, and the softened butter. If you’re using a stand mixer, fit it with the dough hook and mix on low until a shaggy dough forms, then kick it up to medium for 6-8 minutes. No mixer? No problem! Use a sturdy wooden spoon and then your hands. Turn it out onto a lightly floured surface and knead for 8-10 minutes. You’re looking for a smooth, slightly tacky (but not sticky) dough that springs back when you poke it. This kneading develops the gluten, which is our structure network.
- The First Rise – Let It Chill: Drizzle a little oil in a clean bowl, plop your beautiful dough ball in, and turn it to coat. This prevents a dry skin from forming. Cover the bowl with a damp kitchen towel or plastic wrap and let it rise in a warm, draft-free spot for 1 to 1.5 hours, or until doubled in size. My favorite spot? An oven that’s turned off but has the light on.
- Shape Your Buns: Gently punch down the dough to release the air (the most satisfying step). Turn it out onto your counter. Using a sharp knife or a bench scraper, divide it into 8 equal pieces. To shape, take a piece and pull the edges down and under, pinching at the bottom to create a smooth, tight top. This tension is what gives you a nice, round bun. Place each ball on a parchment-lined baking sheet, spacing them about 2-3 inches apart.
- The Second Rise – Patience is a Flavor: Gently flatten each ball with the palm of your hand so they’re about 1 inch thick. Cover them loosely with that same towel and let them rise again for 30-40 minutes. They’ll get nice and puffy.
- Bake to Golden Perfection: Preheat your oven to 375°F (190°C). Make your egg wash by beating one egg with a tablespoon of water. Just before baking, gently brush the top and sides of each bun with the wash. This is your glue for seeds and your golden ticket to color. Sprinkle generously with sesame seeds, poppy seeds, or leave them plain. Bake for 15-18 minutes, rotating the pan halfway through, until they are a deep, gorgeous golden brown.
- The Crucial Cool-Down: As soon as they come out of the oven, transfer the buns to a wire rack. This is non-negotiable. Let them cool completely before you slice them. Slicing into a warm bun steams it and makes it gummy. I know, the temptation is real, but trust me on this.
Beyond the Burger: How to Serve These Golden Gems
Okay, they’re baked, they’re cooled… now what? Obviously, they’re destined for greatness with a juicy burger. But let’s think bigger.
The Classic Burger Set-Up: Slice horizontally with a serrated bread knife. Lightly toast the cut sides on a grill, in a skillet with a bit of butter, or under the broiler for just a minute. This adds a slight crispness and warmth that is *chef’s kiss*. Then, pile high with your favorite fixings.
Sandwich Supremacy: These buns are fantastic for pulled pork or chicken, crispy fried chicken sandwiches, meatball subs, or even a killer breakfast sandwich with egg, cheese, and bacon.
As a Sidekick: Serve them warm (after properly cooling and then reheating, of course) alongside soups, stews, or chili. They’re perfect for sopping up every last drop.
Presentation Tip: Stack them on a wooden board or in a simple basket lined with a checkered towel. It screams “homemade with love” and always gets a reaction.
Make It Yours: Creative Twists & Swaps
The basic recipe is a perfect canvas. Here’s where you can let your “what if we tried this?” energy fly.
- Whole Wheat Honey: Substitute 1 ½ cups of the all-purpose flour with whole wheat flour. Replace the white sugar with 2 tablespoons of honey (add it with the wet ingredients). You’ll get a nuttier, heartier bun that’s still incredibly soft.
- Brioche-Style Rich Buns: Feeling indulgent? Increase the butter to 6 tablespoons and add an extra egg yolk to the dough. You’ll get a richer, more tender crumb with a beautiful yellow hue.
- Everything Bagel Buns: Skip the sesame seeds. Before the second rise, brush the shaped buns with the egg wash and sprinkle liberally with everything bagel seasoning. Instant flavor bomb!
- Herb & Garlic: Add 2 teaspoons of dried herbs (like Italian seasoning or rosemary) and 1 teaspoon of garlic powder to the dry ingredients. Brush with garlic butter right after baking.
- Dairy-Free/Vegan Swap: Use a plant-based milk (warmed) instead of water, a flax egg (1 tbsp ground flax + 3 tbsp water) for the egg, and vegan butter. The sugar is already plant-based!
Jackson’s Kitchen Notes: The Inside Scoop
This recipe has been my go-to for years, and it’s evolved through plenty of “happy accidents.” Once, I forgot the salt entirely—lesson learned: they were bland and baked up oddly. Salt is a must! Another time, I was in a rush and tried to speed up the rise by putting the bowl in a too-warm oven. The yeast overproofed and the buns tasted boozy. Low and slow wins the race, friends.
The best part? This dough is forgiving. If your shapes aren’t perfect, they bake into “rustic, artisanal” buns. If you over-flour the counter a bit, it’s fine. Baking is a feel, and this recipe helps you develop that. Now, my favorite way to enjoy them? Slightly warm, split, slathered with good butter and a drizzle of honey. Simple perfection.
Your Questions, Answered: FAQ & Troubleshooting
Q: Can I make these ahead of time?
A: Absolutely! You have options. 1) Bake, cool completely, freeze in a ziplock bag for up to 3 months. Thaw at room temp or refresh in a warm oven. 2) After the first rise and shaping, cover the baking sheet tightly with plastic wrap and refrigerate overnight. The next day, let them come to room temp and do their second rise (may take longer), then bake. Perfect for BBQ day!
Q: My dough didn’t double in size. What happened?
A: The usual suspects: old yeast, water that was too hot (it should never be painful to touch) or too cold, or a drafty, cool rising spot. Yeast loves a cozy, warm environment. Try the “oven with the light on” trick next time.
Q: My buns are dense, not fluffy. Why?
A: This is almost always due to not kneading enough (gluten wasn’t developed) or letting them rise too long so they collapse, or not letting them rise enough. Also, make sure you’re measuring your flour correctly—fluff it up, spoon it into the measuring cup, and level it off. Scooping packs in too much flour.
Q: Can I make slider buns instead?
A: Yes! Just divide the dough into 12-16 pieces for perfect party-sized sliders. Reduce the baking time by 2-4 minutes.
Nutritional Information (Per Bun)
Because knowledge is power, right? Here’s the approximate breakdown for one bun (without additional seeds). Remember, homemade means you control exactly what goes in!
- Calories: 220
- Total Fat: 6g
- Carbohydrates: 34g
- Protein: 6g
This is based on the specific ingredients listed and standard calculations. Values can vary slightly based on exact brands and measurements used. These buns are a source of energy (carbs) and thanks to the egg and a bit of butter, they have a satisfying balance of protein and fat.
Final Thoughts: Your Kitchen, Your Legacy
So there you have it. The secret to burger night glory isn’t just in the patty—it’s in the palm of your hand, shaped by you, baked by you. These homemade hamburger buns are more than just bread; they’re a statement. They say you care about the details. They turn a Tuesday night dinner into a small celebration.
I hope you give them a try. Embrace the slightly messy counter, the feel of the dough, the incredible smell that fills your house. And when you serve that first burger on a bun you made yourself, take a second to enjoy that quiet victory. You did that.
As always, I’d love to hear how it goes. Tag me on social @FoodMeld with your golden bun creations! Now go on, get baking, and let’s cook something awesome together.
Cheers,
Jackson


