The Great Zucchini Surplus: Your Ticket to Crispy, Golden Bliss
Hey there, friend. Come on in. If you’re holding a bag of zucchini that’s multiplying in your fridge like a science experiment, or if your garden is producing more squash than you can possibly give away to polite (and then slightly terrified) neighbors, I see you. I’ve been there. You stare at that green monster and think, “Soup? Again? Zoodles? Maybe.” But let me stop you right there and offer you a golden, crispy, utterly irresistible alternative.
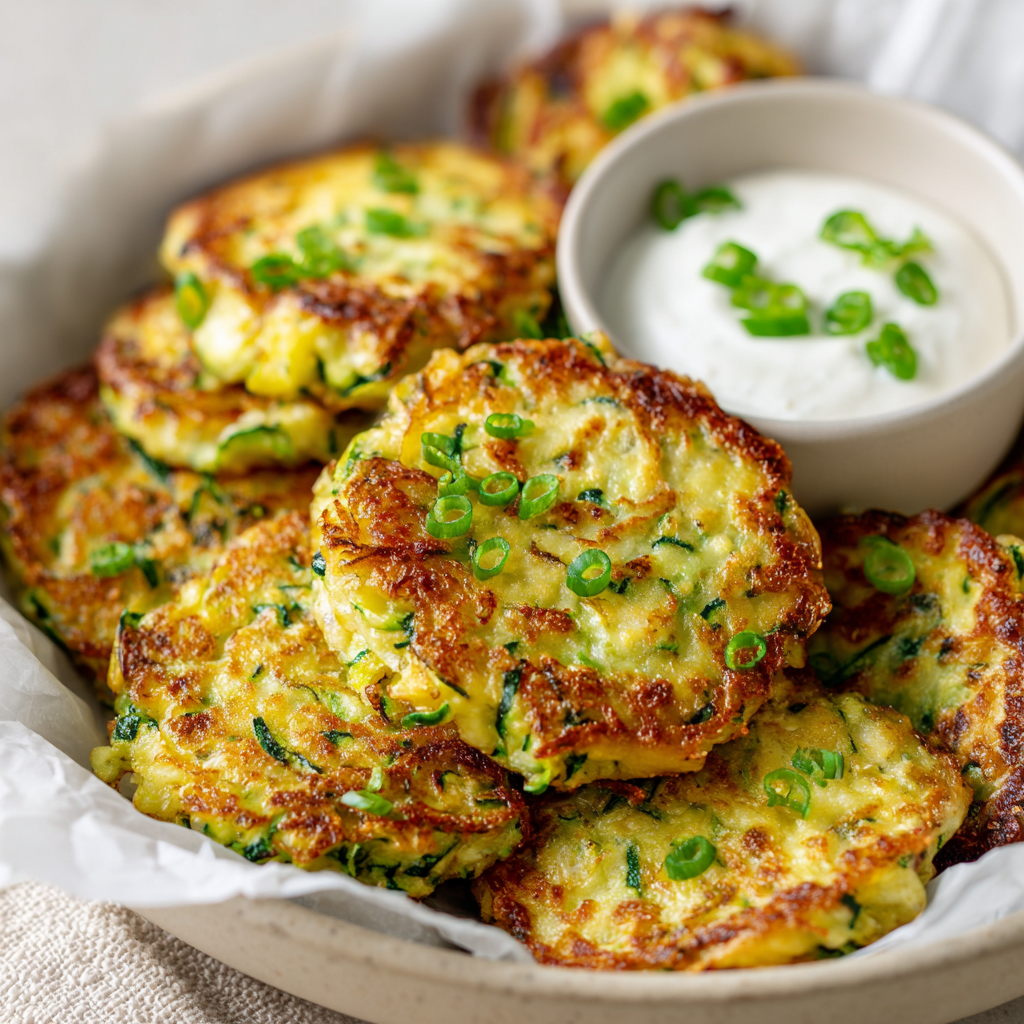
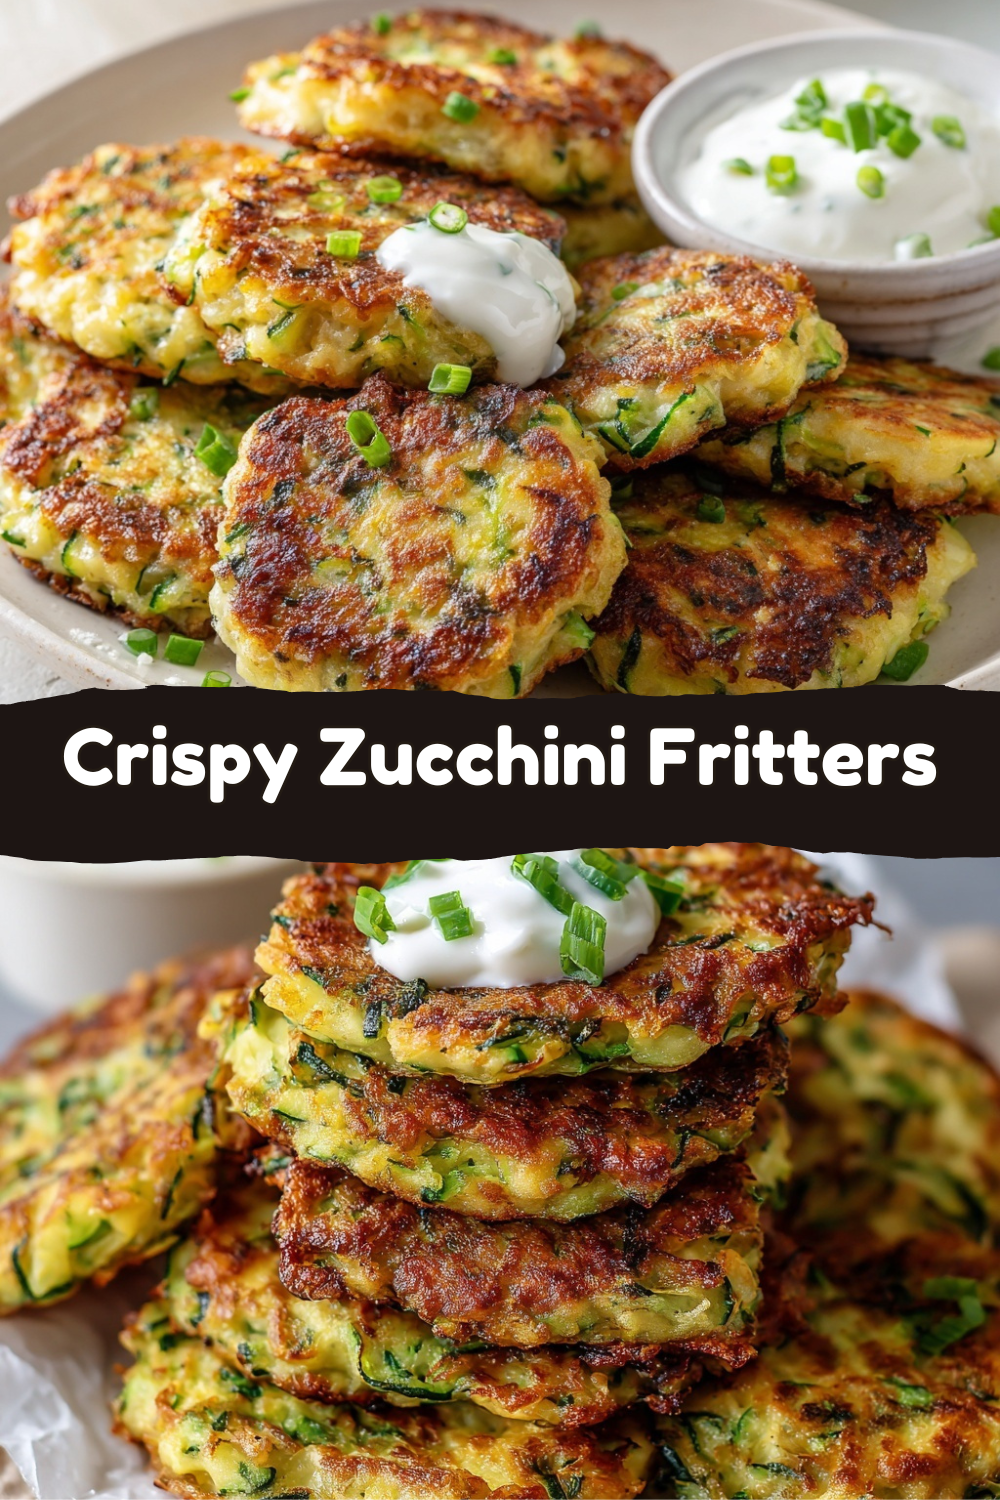
Let’s make Zucchini Fritters. Not the soggy, sad kind that make you question your life choices. I’m talking about crave-worthy, crunchy-on-the-outside, tender-on-the-inside, flavor-bomb fritters that will have people hovering around the skillet, begging for the next batch. They’re the ultimate kitchen magician’s trick: transforming a humble, sometimes watery veggie into a plate of pure, unadulterated joy.
Whether you need a killer appetizer for game day, a side dish that steals the show from the main, or a “please tell me there’s more” kind of light lunch, these fritters are your answer. They’re simple, forgiving, and packed with the kind of honest, comforting flavor that makes cooking fun. So, tie on your apron, grab that grater, and let’s turn that zucchini mountain into a masterpiece. Welcome to the solution.
Granny’s Countertop and the Lesson of the Squeeze
My love for these fritters goes way back, straight to my Granny Walker’s linoleum kitchen. She had a tiny, thriving garden, and her zucchini plants were… ambitious. I remember being a kid, perched on a stool, watching her strong hands grate mountains of zucchini onto an old, stained cutting board. The smell was pure summer: green, fresh, and earthy.
But the magic wasn’t in the grating. It was in what came next. She’d take this huge, seemingly dry pile of shreds, bundle them into a clean, flour-sack towel, walk over to the sink, and wring it out like she was trying to start a fire with it. Water would just stream out. I’d gawk. “Granny, you’re killing it!” I’d say. She’d just laugh that deep, rumbling laugh. “Jackson, sugar,” she’d say, wiping her brow, “the enemy of crisp is water. We’re evicting the enemy.”
That lesson stuck with me. That simple, physical act of squeezing isn’t just a step; it’s the step. It’s the difference between a fritter that holds its shape and sings with crunch, and a sad, steamed pancake. Every time I squeeze the moisture from my zucchini, I’m back in that kitchen, learning that good food isn’t complicated—it’s just about knowing the one or two things that make all the difference. Let’s honor that wisdom.
Your Flavor Squad: Simple Ingredients, Big Impact
Here’s the beautiful part: you probably have most of this in your kitchen right now. This is about building texture and layering simple, savory flavors that sing together.
- 2 cups grated zucchini (moisture squeezed out): The star! Use the large holes on your box grater. Chef’s Insight: After grating, salt it lightly, let it sit for 10 minutes, THEN squeeze. The salt pulls out even more moisture, guaranteeing maximum crispness.
- 2 large eggs: Our binder. They hold the party together and add richness.
- 1/3 cup all-purpose flour: Just enough to create the structure without making the fritters doughy. Substitution Tip: For a gluten-free version, almond flour works beautifully and adds a nutty flavor. For a lighter touch, chickpea flour is awesome.
- 1/4 cup grated Parmesan cheese: The flavor secret weapon! It adds a salty, savory, umami punch that makes these truly addictive. Use the good stuff you grate yourself—it melts better.
- 2 cloves garlic, minced: Because… garlic. It’s non-negotiable for me. For a milder flavor, you can grate it on a microplane so it disperses evenly.
- 2 green onions, chopped: A little fresh, peppery bite and a pop of color. The green parts are your friend here.
- Salt & freshly ground black pepper to taste: Season with confidence! Remember, the Parmesan is salty, so taste your batter before adding too much extra salt.
- Olive oil or avocado oil for pan-frying: You need a good, high-heat oil with a neutral flavor. Avocado oil has a high smoke point, but a light olive oil works great too. Enough to generously coat the bottom of your skillet.
Let’s Build Some Crispy Magic: Step-by-Step
Ready? This is where the fun happens. We’re going to move with purpose, but there’s no stress here. I’m right with you.
- The Great Squeeze: Pile your grated zucchini into the center of a clean kitchen towel (or a few layers of strong paper towels). Gather the edges and twist, twist, TWIST over the sink. Channel your inner Granny Walker. Squeeze until you’re genuinely surprised no more water comes out. This is your foundation for crunch. Chef’s Hack: If you’re making a double batch, do this in two rounds. A too-full towel is a messy towel.
- The No-Fuss Mix: In a medium bowl, combine your thoroughly drained zucchini, eggs, flour, Parmesan, garlic, green onions, salt, and pepper. Switch to a fork and mix it all up. Don’t overmix! Just stir until everything is evenly combined. The batter will be thick, moist, and hold together when you scoop it. Let it sit for 5 minutes—this lets the flour hydrate just right.
- Skillet Time – Get it Hot: Place your best nonstick or cast-iron skillet over medium heat. Add enough oil to coat the bottom generously—about 1/8 inch. We’re not deep-frying, but we’re not shy either. Let the oil get properly hot. A drop of batter should sizzle immediately when it hits the oil.
- The Scoop & Sizzle: Using a heaping tablespoon or a small cookie scoop, drop mounds of batter into the hot oil. Don’t crowd the pan! Give them room to breathe. Immediately use the back of your spoon or a small spatula to gently press them down into a patty shape, about 1/2-inch thick. This ensures even cooking and maximum surface area for that golden crust. Listen to that sizzle—that’s the sound of success.
- The Patient Flip: Cook for 3-4 minutes on the first side. Peek underneath. You’re looking for a deep, golden-brown crust. If they’re sticking, they’re not ready to flip. When they are, they’ll release easily. Gently flip and cook for another 3 minutes on the other side until equally golden and crisp.
- The Drain & Serve: Transfer your gorgeous, crispy fritters to a wire rack set over a baking sheet (this keeps them crisp on all sides) or a plate lined with a single paper towel. Sprinkle with a tiny pinch of flaky sea salt right away if you’re feeling fancy. Serve IMMEDIATELY. Crispy food waits for no one.
How to Serve These Golden Beauties
Presentation is part of the fun! Don’t just dump them on a plate. Give them the spotlight they deserve.
I love serving a stack of 2-3 fritters on a simple white plate with a big, swooping dollop of cool, tangy full-fat sour cream or Greek yogurt right on top. A final flourish of thinly sliced green onions or a sprinkle of fresh dill or chives adds that perfect fresh contrast.
For dipping, the world is your oyster! Set out a few small bowls with different options: a lemony yogurt-dill sauce, a quick spicy sriracha mayo (just mayo and sriracha to taste), or even a store-bought tzatziki or ranch for ultimate ease. For a light meal, toss a simple arugula salad with lemon vinaigrette and lay a couple of fritters right on top. The warm fritters wilting the greens slightly is *chef’s kiss*.
Make It Yours: Creative Twists & Swaps
The basic formula is perfect, but I live for “what if we tried this?” moments. Here are a few spins to keep it exciting:
- The “Everything Bagel” Fritter: Add 2 tablespoons of everything bagel seasoning to the batter. Serve with a schmear of scallion cream cheese for dipping. Mind. Blown.
- Spicy Southwest Kick: Swap the Parmesan for sharp cheddar, add 1/2 teaspoon cumin and a finely diced jalapeño (seeds removed for less heat). A dip of cool avocado crema is mandatory.
- Mediterranean Sunshine: Add 1/4 cup crumbled feta cheese and a tablespoon of chopped fresh mint or dill to the batter. Serve with tzatziki and a squeeze of lemon.
- Vegan-Friendly Version: Replace the eggs with 2 “flax eggs” (2 tbsp ground flaxseed mixed with 5 tbsp water, let sit 5 min). Use nutritional yeast instead of Parmesan, or just leave it out and add a pinch more salt.
- Add More Veggies!: Grate in a small carrot or a bit of sweet potato for extra color and sweetness. Just remember to squeeze any additional veggies you add.
Chef’s Notes: A Few Things I’ve Learned
Over the years, this recipe has become a trusty friend. I’ve made it for fancy brunches, last-minute dinners, and everything in between. A funny story: I once tried to “streamline” the process by using a food processor to grate the zucchini. It worked, but it pulverized it a bit too much, releasing even more water and making the squeeze a monumental task. Lesson learned: sometimes the old-fashioned box grater is the superior tool. Embrace the arm workout!
Also, don’t be afraid of the oil temperature. If the fritters are browning too fast on the outside but are still raw inside, your heat is too high. Medium is your sweet spot—a consistent, eager sizzle. And finally, the first batch is always a tester. Adjust your seasoning, heat, or batter consistency for the second batch. That’s not a mistake; it’s being a proactive, awesome cook.
FAQs & Quick Fixes for Fritter Success
Q: My fritters are soggy/falling apart. Help!
A: 99% of the time, this is a moisture issue. You didn’t squeeze the zucchini enough. Seriously, squeeze until you think you’re done, then squeeze 30 seconds more. Also, make sure your oil is hot enough before adding the batter. A lukewarm pan = soggy, oil-logged fritters.
Q: Can I make these ahead of time?
A: You can prep the batter (with squeezed zucchini) up to 4 hours ahead and keep it covered in the fridge. For best results, cook them fresh. If you have leftovers, re-crisp them in a 400°F oven or an air fryer for a few minutes—they’ll never be *quite* as perfect as fresh, but they’ll still be delicious.
Q: Can I bake these instead of frying?
A: You can! For a lighter version, brush both sides with oil and bake on a parchment-lined sheet at 425°F for about 20-25 minutes, flipping halfway. They’ll be more “crispy-tender” than “golden-fried,” but still very tasty.
Q: Are they freezer-friendly?
A: Absolutely! Cook them completely, let them cool, then freeze in a single layer on a baking sheet before transferring to a freezer bag. Reheat from frozen in the oven or air fryer at 375°F until hot and crispy.
Nutritional Info (Because You’re Curious!)
Let’s keep it real: this is a vegetable-forward, pan-fried treat. I’m not a dietitian, but I believe in knowing what’s in your food. Here’s a general estimate per serving (about 3 fritters), assuming you use all-purpose flour and drain on a rack (not paper towels, which absorbs more oil):
- Calories: ~180
- Carbohydrates: 8g
- Protein: 8g (Thanks, eggs and Parmesan!)
- Fat: 12g (Mostly from the oil for frying and the eggs/cheese)
Remember, these numbers can vary based on the exact size of your fritters, how much oil they absorb, and your specific ingredients. Using almond flour will lower the carbs, and baking will lower the fat. But honestly? My goal here is to get you excited about eating more vegetables in a way that feels like a celebration, not a chore. Mission accomplished.
Final Thoughts: Your New Go-To Recipe
So there you have it. Your zucchini surplus problem is officially solved, and you’ve got a recipe in your back pocket that’s guaranteed to impress. It’s more than just a fritter—it’s a lesson in texture, a canvas for creativity, and a reminder that the best food is often the simplest, made with a little bit of know-how and a whole lot of heart.
I want you to make these, mess up your skillet, and see those faces light up when you bring a platter to the table. That’s what Food Meld is all about. Now, go cook something awesome. And when you do, tag me or leave a comment. I’d love to hear how you made it your own.
Until next time, keep melding those flavors!
– Jackson


