Forget Snacking, Let’s Talk Glowing: Your New Kitchen Secret Weapon
Hey friend, Jackson here. Let’s get real for a second. How many times have you stood in front of the pantry, door open, just… staring? You want something that tastes good, makes you feel good, and doesn’t send you into a sugar coma or leave you hungry again in 20 minutes. I’ve been there more times than I can count, especially after a long day of recipe testing.
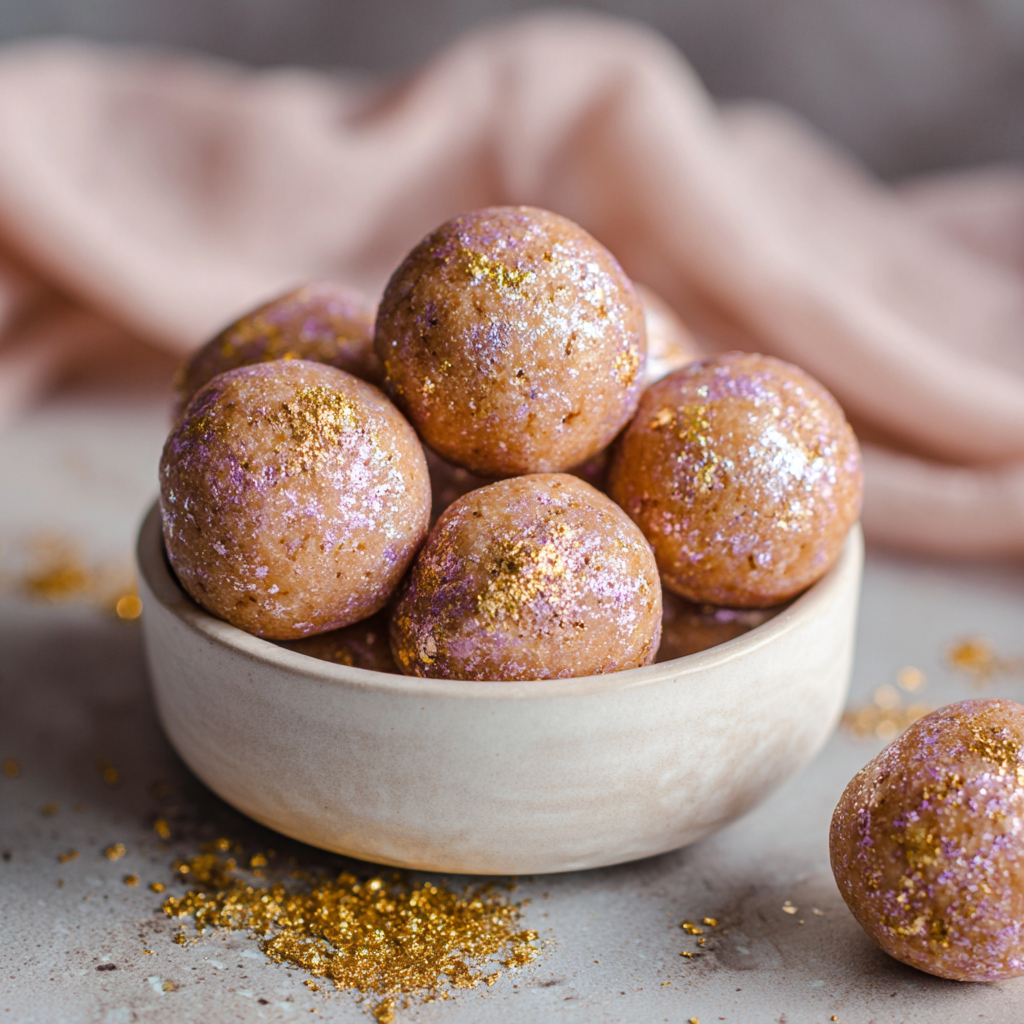
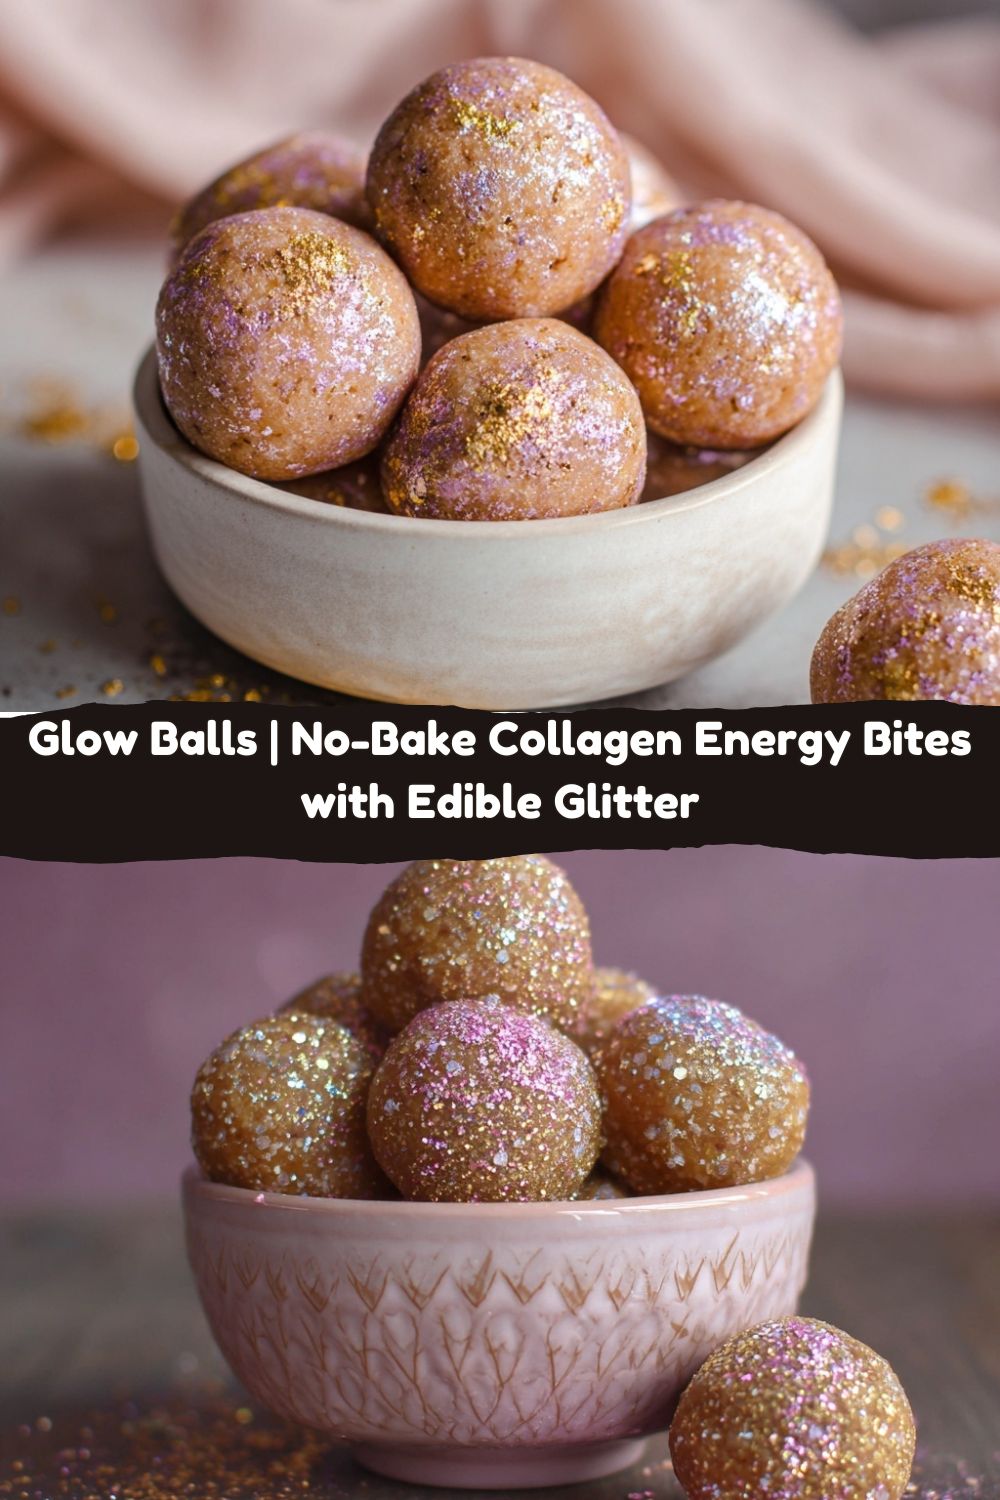
That’s exactly why I created these little spheres of magic I call Glow Balls. This isn’t just another protein ball recipe. This is your edible permission slip to have a little fun, embrace a bit of sparkle, and fuel your body with stuff that loves you back. We’re talking collagen for your skin, healthy fats for that satiated feeling, and just enough natural sweetness to hit the spot. And yes, we’re absolutely rolling them in edible glitter. Because why should cupcakes have all the fun?
Think of these as your pre-gym secret weapon, your 3 PM desk drawer savior, or that gorgeous little treat you bring to a girlfriend’s brunch that makes everyone say, “YOU made these?!” They’re unbelievably simple, require zero baking, and are packed with that “what if we tried this?” energy I live for. So, let’s ditch the boring snacks and cook up something that’s equal parts functional and fabulous. Let’s make your snack time shine.
The Sparkly Kitchen Accident That Started It All
This recipe was born from a happy little kitchen chaos moment, as the best ones often are. A few years back, I was catering a bridal shower and decided to make my classic energy bites for the gift bags. I had the dough all rolled out, ready to go, when I knocked over a brand-new jar of edible pearl dust. It went everywhere—all over the counter, my apron, and, crucially, a whole tray of these innocent little balls.
Instead of tossing them (waste not, want not!), I shrugged, finished coating them, and threw them in the fridge. When I pulled them out later, something magical happened. Under the kitchen lights, they had this ethereal, moon-dust glow. They looked expensive and special. The bridal party went nuts for them, not just because they tasted great, but because they were beautiful and made the moment feel celebratory.
It hit me: food should delight all the senses, sight included. That “mistake” reminded me of my grandma dusting her famous tea cakes with powdered sugar—it was that final, loving touch that transformed them from simple to special. Now, I intentionally add that glittery shake, not just for the ‘gram, but for that little jolt of joy. It turns a healthy habit into a tiny, delicious celebration. And who couldn’t use more of that?
Gathering Your Glow-Giving Ingredients
Here’s the beautiful part: you probably have most of this in your pantry already. This is about simple, whole ingredients coming together to create something greater than the sum of its parts. Let’s break it down:
- 1 cup almond flour: This is our base, giving the balls structure and a tender, melt-in-your-mouth texture that regular flour or oats just can’t achieve. Chef’s Insight: Make sure you’re using finely ground almond flour, not almond meal, for the smoothest texture.
- ½ cup natural nut butter: The glue that holds it all together! I love almond or cashew butter for their neutral, creamy sweetness. Pro Tip: Use the drippy, runny kind from the top of the jar. If yours is super stiff, give it a good stir or warm it slightly for easier mixing.
- ¼ cup collagen peptides: The star of the show for that inner glow. This unflavored powder blends in seamlessly, adding a protein boost that’s great for skin, hair, and nails. Don’t have it? You can sub with more almond flour, but you’ll miss the functional protein benefit.
- 2 tbsp maple syrup or honey: Just enough natural sweetness to make these feel like a treat. I love the earthy depth of maple, but honey works beautifully too. For a sugar-free version, a monk fruit syrup works in a pinch.
- 1 tsp vanilla extract: The flavor enhancer. It rounds out all the other ingredients and adds a warm, comforting aroma. Splurge on the real stuff if you can—it makes a difference.
- Pinch of sea salt: This is non-negotiable! Salt makes the sweet and nutty flavors pop. I use a flaky Maldon salt for mixing and save a tiny bit for topping if I’m feeling fancy.
- 1–2 tbsp almond milk: Our texture adjuster. You might not need it all, depending on your nut butter. We’re going for a Play-Doh-like consistency: moldable but not sticky.
- Edible glitter or shimmer dust: The fun factor! Look for “edible glitter” or “luster dust” specifically labeled for food use. I’m partial to gold or pearl, but go with whatever makes you smile.
Let’s Make Some Magic: Step-by-Step
Ready? This is the easiest 10 minutes of kitchen time you’ll spend all week. Put on some tunes, clear a little counter space, and let’s do this.
Step 1: The Dry Team Huddle. Grab a medium-sized mixing bowl. Dump in your almond flour, collagen peptides, and that all-important pinch of sea salt. Give it a good whisk with a fork. This isn’t just mixing; you’re aerating the dry ingredients so everything combines evenly later. No one wants a bite that’s all collagen or all salt! Little Chef Hack: Doing this first ensures there are no clumps of collagen, so every bite is perfectly smooth.
Step 2: Bring in the Wet Crew. Now, plop in your nut butter, maple syrup (or honey), and vanilla extract. This is where you get your hands in there (or use a sturdy spatula if you’re not a hands-on person!). Start mixing. It’ll look crumbly at first, then suddenly, it’ll start coming together into a thick, cohesive dough. Watch and Learn: If after a minute of mixing it’s still too dry and won’t hold together when you pinch it, that’s your cue.
Step 3: The Texture Tango. Add your almond milk, one tablespoon at a time. Mix thoroughly after each addition. You’re looking for a dough that holds its shape when you roll it into a ball without cracking, but doesn’t stick all over your palms. If it gets too sticky, a tiny sprinkle more almond flour will fix it. This is the “feel” part of cooking—trust your instincts!
Step 4: Roll Call! Time to portion. I use a small cookie scoop (about 1 tablespoon) for perfectly even balls, but a spoon and your hands work just fine. Roll them between your palms to smooth them out. If the dough is sticking to your hands, a super light coat of neutral oil or cold water on your palms fixes it instantly. Aim for about 1-inch balls—you should get 12-14.
Step 5: The Glitter Glam Station. Pour some edible glitter into a small shallow bowl or plate. Take each ball and gently roll it in the glitter until it’s lightly coated. You can also sprinkle it from above for a more subtle, dusted look. This is the moment! Don’t be shy. Pro Presentation Tip: Line them up on a parchment-lined plate or baking sheet. They already look incredible.
Step 6: The Chill Pill. Pop your tray of Glow Balls into the fridge for at least 15-30 minutes. This firming-up time is crucial—it allows the fats in the nut butter to set, giving you that perfect, slightly firm bite. Then, transfer them to an airtight container. They’ll keep happily in the fridge for up to a week… if they last that long!
How to Serve Your Glittering Masterpieces
Okay, you’ve made these gorgeous things—now how do you show them off? Here are a few of my favorite ways:
The Elegant Plate: For a party or gift, arrange them on a simple white platter or in a shallow bowl. Scatter a few extra pinches of edible glitter around the plate for serious wow factor. Maybe add a few fresh edible flowers if you’re feeling extra.
The On-the-Go Pack: Their true calling! Toss 2-3 in a small glass jar or reusable snack bag. They’re the perfect purse, gym bag, or desk drawer rescue. They travel like a dream and don’t need to be kept super cold for a few hours.
The Self-Care Moment: This is my favorite. Brew a cup of herbal tea (lavender or chamomile is perfect), put your feet up, and enjoy one or two Glow Balls slowly. It’s a 5-minute ritual that feels incredibly indulgent but is secretly nourishing you from the inside out.
The Brunch Star: Bring these to your next brunch potluck alongside the muffins and fruit platter. Watch them disappear first and get ready to hand out the recipe. They pair surprisingly well with a frothy cappuccino!
Mix It Up! Your Glow Ball Playground
The basic recipe is your canvas. Here’s where you can really make it yours. Try one of these twists next time:
- Chocolate Dream: Add 2 tablespoons of unsweetened cocoa powder to the dry ingredients. Roll the finished balls in cacao powder instead of glitter for a deep, rich, chocolatey version. You still glow, but now you’re a chocolate goddess.
- Tropical Twist: Swap the vanilla for ½ teaspoon of coconut extract, use coconut butter instead of nut butter, and roll the balls in unsweetened shredded coconut. Instant vacation in a bite.
- Matcha Green Glow: Whisk 1-2 teaspoons of ceremonial-grade matcha powder into the dry ingredients. The earthy matcha pairs beautifully with the sweetness and gives you a gentle caffeine boost. Roll in a mix of matcha and powdered sugar for a stunning green finish.
- Nut-Free & Seed-Powered: For a nut-free version, use sunflower seed butter and sunflower seed flour (just ground-up sunflower seeds). The flavor is fantastic and it keeps the texture perfect.
- Birthday Cake Vibes: Add a tablespoon of rainbow sprinkles to the dough along with the wet ingredients. Roll in classic gold or silver glitter. It’s a party in ball form!
Jackson’s Kitchen Notebook
This recipe has evolved more than any other on the blog, all thanks to you guys! Early on, I got so many DMs asking, “Can I use peanut butter?” (Absolutely, yes!), “What if I don’t have collagen?” (See the variations above!), and my favorite, “Is the glitter REALLY edible?” (YES! Please buy food-grade!).
One funny story: I once brought a batch to a family BBQ, and my little nephew, wide-eyed, whispered, “Uncle Jack, did you make these with fairy dust?” I just winked and said, “Maybe.” He ate three. The lesson? Sparkle is universal magic, no matter your age.
The biggest evolution was nailing the consistency tip with the almond milk. The first version was perfect in my kitchen but too crumbly for readers in drier climates. That “add 1 tbsp at a time” note was a game-changer. Cooking is about adapting, and I love that we figured it out together.
Your Questions, Answered
Q: My dough is too sticky! Help!
A: No worries, this happens. Just add more almond flour, a teaspoon at a time, until it’s manageable. Also, chilling the dough for 10 minutes before rolling can make a world of difference.
Q: My glitter won’t stick to the balls.
A: This usually means the surface is too dry. Lightly dampen your hands with water and give each ball a quick roll to create a slightly tacky surface, then immediately roll in glitter. You can also very lightly brush them with honey or maple syrup for an extra-sticky glue.
Q: Can I make these vegan?
A: You can get close! Omit the collagen (or use a vegan “beauty” protein powder blend) and use maple syrup instead of honey. The texture will be slightly different but still delicious.
Q: How long do they really last?
A: In an airtight container in the fridge, a solid 7 days. They also freeze beautifully for up to 2 months. Thaw in the fridge overnight.


