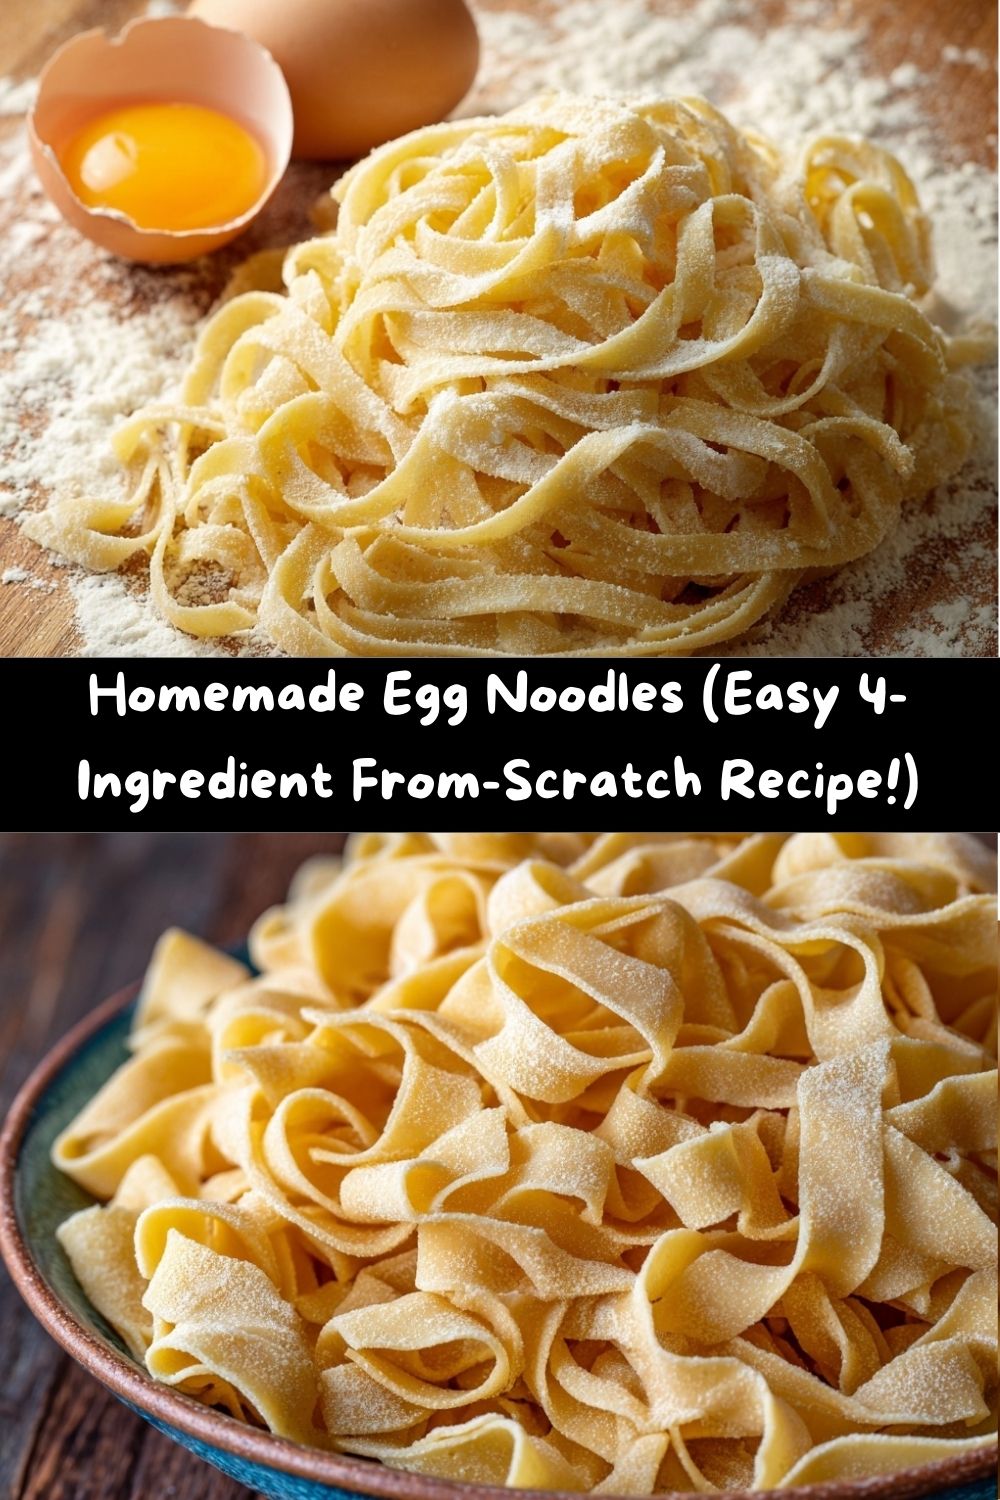
Homemade Egg Noodles from Scratch: Your New Kitchen Superpower
Hey friends, Jackson here from Food Meld. Let’s get real for a second. How many times have you stood in the pasta aisle, staring at all those boxes, and thought, “I wish this felt more… special”? Don’t get me wrong, I’ve got a box of spaghetti in my pantry right now for emergency carb situations. But there’s a different kind of magic that happens when you make pasta yourself. It’s not the fussy, requires-a-phD kind of magic. I’m talking about the simple, “holy cow, I just made NOODLES” kind of magic. The kind that makes a regular Tuesday night feel like a celebration.
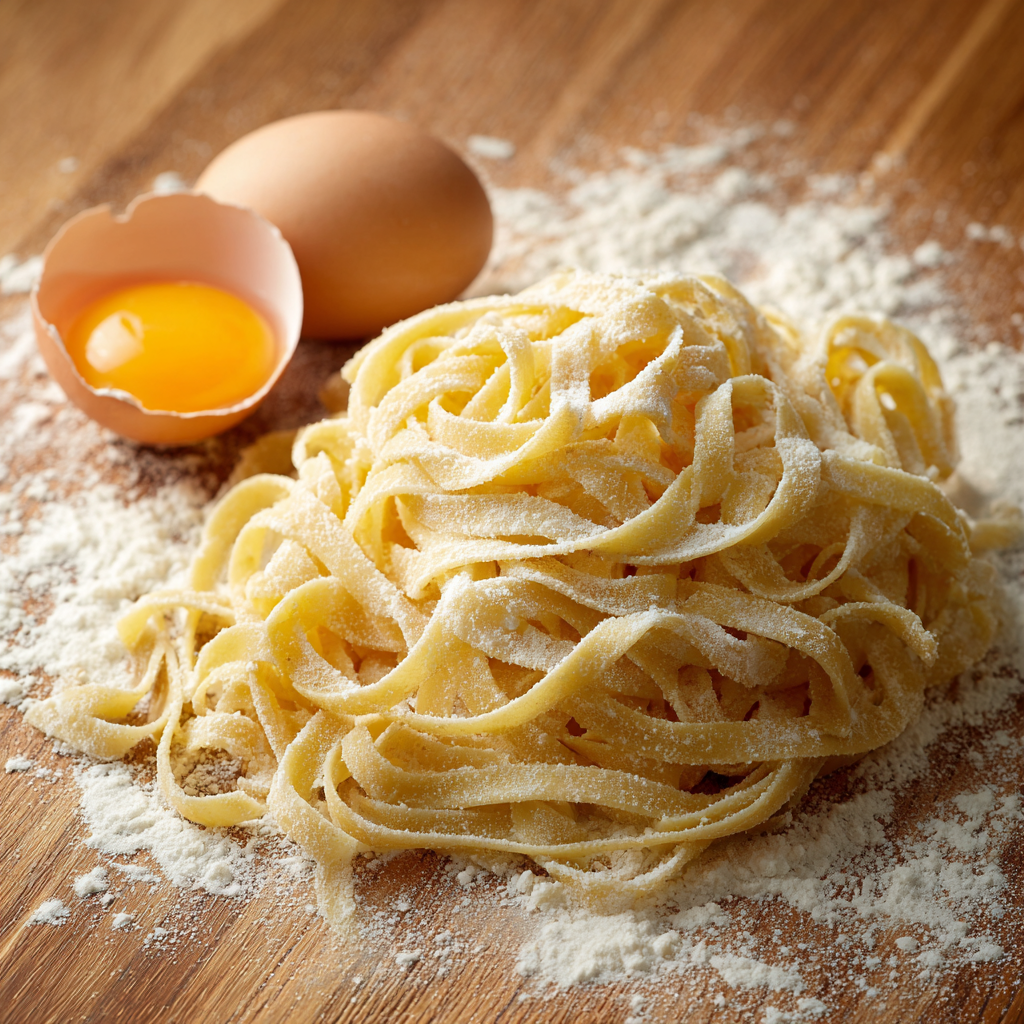
These homemade egg noodles are my gateway drug to the world of from-scratch cooking. They’re rustic, they’re rich, and they have a soul-satisfying chew that store-bought versions just dream about. We’re talking four simple ingredients you probably already have, zero fancy equipment, and about 45 minutes (most of which is just the dough chilling out). The result? Tender, golden ribbons of pure comfort that are ready to hug any sauce you throw at them—from a simple brown butter sage situation to a hearty, slow-cooked beef stroganoff.
If you’ve ever been intimidated by making pasta, this is your sign to ditch the fear. This recipe is all about feel, fun, and flavor. There’s no wrong way, only your way. So, dust off your counter, grab some flour, and let’s cook something awesome together. Welcome to the incredibly satisfying world of homemade egg noodles.
The Noodle That Started It All: A Memory from Grandma’s Table
My love for these noodles isn’t just about taste; it’s woven into my earliest food memories. Picture this: my grandma’s kitchen in Georgia, always about ten degrees warmer than the rest of the house. The air thick with the smell of simmering chicken broth. And there she’d be, at the old Formica table, her hands moving with a rhythm that seemed as natural as breathing. She’d have a mountain of flour on the tabletop, make a well, and crack in eggs from the neighbor’s chickens. No recipe, no measuring cups—just years of practice in the palms of her hands.
I’d sit there, chin barely above the table, and watch the transformation. The messy, sticky blob of dough would, under her patient kneading, become smooth and supple. Then came my favorite part: she’d hand me the rolling pin (a washed-out old bourbon bottle, truly) and let me “help.” My noodles would be comically thick and uneven, but when they hit that boiling pot of her famous chicken soup, they became the most delicious thing my six-year-old self had ever tasted. They tasted like love, like home, like being part of something real. That’s the spirit I want to bring to you. It’s not about perfection; it’s about the story you cook into your food and the pride you feel when you serve it. This recipe is that feeling, made edible.
Gathering Your Flavor Arsenal: Simple Ingredients, Big Impact
See? I told you it was simple. This is the ultimate pantry-power recipe. But let’s talk about each player and how to make them work their best for you.
- 2 cups (250g) all-purpose flour: This is our foundation. A little chef insight: if you have a kitchen scale, use it! Measuring flour by weight is the single best way to ensure consistency. If you’re using cups, fluff your flour with a spoon, spoon it into the cup, and level it off with a knife—don’t scoop directly from the bag or you’ll pack in too much. For a more luxurious, tender noodle, you can swap out ½ cup of the AP flour for “00” pasta flour.
- ½ teaspoon salt: Never, ever make unsalted pasta dough. The salt seasons the noodle from the inside out, making it flavorful even before it meets the sauce. Use fine sea salt or kosher salt.
- 3 large eggs: The heart and soul of the recipe. They provide richness, color, and binding power. For the most vibrant, golden noodles, use the best eggs you can find—farm-fresh if possible. Room temperature eggs incorporate into the flour more easily. Quick tip: if you’re out of eggs, *each egg* can be substituted with 2 egg yolks plus 1 tablespoon of water for an incredibly rich “pasta alla chitarra” style dough.
- 1 tablespoon water (plus more if needed): Our adjustable secret weapon. Start with just one tablespoon. The humidity in your kitchen and the size of your eggs will dictate if you need more. The goal is a dough that’s firm but pliable, not crumbly and not sticky. We’ll add water by the teaspoon only if we absolutely need to.
Let’s Make Some Noodles: A Step-by-Step Dance in the Kitchen
Alright, team. Clear off a big space on your counter. Put on some good music. This is where the fun begins.
Step 1: The Mound & The Well. On your clean counter or in a large wide bowl, combine your flour and salt. Make a mountain, then use your fist to create a wide, volcanic crater in the center. This “well” is going to hold our eggs and keep them from running all over the place. It feels very official and chef-like. Crack your three eggs right into that well and add the tablespoon of water.
Step 2: The Gradual Merge. Now, with a fork in one hand, start gently beating the eggs in the center, as if you’re scrambling them. With your other hand, slowly start flicking flour from the inner walls of the well into the egg pool. Little by little. This gradual incorporation prevents a floury explosion and helps form a shaggy dough. Embrace the mess—it’s part of the process!
Step 3: The Knead. Once it’s too thick for the fork, use your hands to bring everything together into a ball. Now, the kneading begins. Use the heel of your hand to push the dough away from you, then fold it back over itself, give it a quarter turn, and repeat. This isn’t gentle bread dough. You want to put some shoulder into it! Knead for a solid 8-10 minutes. What are we looking for? The dough should transform from shaggy and brittle to incredibly smooth, elastic, and almost satiny. A good test: poke it. It should spring back slowly, like a baby’s cheek. If it’s still cracking and dry after 5 minutes of kneading, add water, one teaspoon at a time, until it comes together. Chef Hack: Set a timer! It’s longer than you think.
Step 4: The Beauty Rest. Wrap your beautiful dough ball tightly in plastic wrap or pop it under an upturned bowl. Let it rest on the counter for at least 30 minutes. This is non-negotiable. It allows the gluten we just worked so hard to develop to relax, making the dough a dream to roll out instead of a springy, frustrating battle.
Step 5: Roll & Cut. Lightly flour your surface and your rolling pin. Cut the dough into 4 equal pieces. Work with one piece at a time, keeping the others covered. Roll it out. And I mean roll it thin. Aim for about 1/8-inch thick or even less—you should almost be able to see the counter pattern through it. Let the sheet of dough dry for just 2-3 minutes (this prevents sticking), then loosely roll it up like a jelly roll. Using a sharp knife, slice across the roll into your desired width—¼ inch for fettuccine, ½ inch for pappardelle. Unfurl your gorgeous homemade noodles! Toss them with a little flour to prevent sticking.
Step 6: The Quick Dip. Bring a large pot of well-salted water to a roaring boil. It should taste like the sea. Gently add your fresh noodles. They cook in a flash—usually 2 to 3 minutes. They’ll float to the top, but the best test is to taste one. It should be tender but still have a pleasant bite (al dente!). Drain immediately. Pro Tip: Reserve a cup of the starchy pasta water before draining! It’s liquid gold for thickening and emulsifying sauces.
From Pot to Plate: Serving Up Your Masterpiece
You did it! Now, let’s get these beauties to the table in style. Because they’re so fresh and delicate, these noodles are best served simply to let their flavor shine.
For the Classic Comfort move, toss them immediately with a few generous pats of good butter, a handful of grated Parmesan, a crack of black pepper, and a splash of that reserved pasta water to make a glossy, effortless sauce. This is my ultimate “taste test” method.
They are, of course, Soup’s Best Friend. Drop them directly into your favorite simmering broth (chicken, beef, or a hearty vegetable) for the last 3 minutes of cooking. They’ll thicken the soup slightly and make it incredibly hearty.
To go Bold and Beautiful, they can handle rich sauces. Think a creamy mushroom stroganoff, a slow-cooked Sunday ragù, or a garlicky Alfredo. Because the noodles themselves have such great texture and flavor, you don’t need to drown them—just coat them lovingly.
My favorite plating trick? Use tongs to give the sauced noodles a gentle twist as you lift them into a shallow bowl. It creates a beautiful, nest-like presentation that just looks professional. Top with a final sprinkle of fresh herbs—parsley, chives, or basil.
Make It Your Own: Creative Twists on the Classic
The basic recipe is your canvas. Now let’s add some color and personality!
- The Herb Garden: Add 2 tablespoons of finely chopped fresh herbs (like parsley, chives, or thyme) to the flour before making the well. You’ll get gorgeous green-speckled noodles that are amazing with lemon butter sauce.
- Vibrant Veggie Boost: Replace the 1 tablespoon of water with 2 tablespoons of vibrant veggie puree. Beet puree for shocking pink noodles, spinach puree for green, or roasted red pepper puree for a sunset hue. Just adjust flour slightly if the dough gets too wet.
- Gluten-Free Goodness: Swap the all-purpose flour for a good-quality 1:1 gluten-free flour blend. You may need an extra egg yolk or a touch more water to bind it. The rest time is even more crucial here.
- Whole Wheat Wonder: For a nuttier, more robust noodle, use half all-purpose and half whole wheat flour. They’ll be denser and more filling, perfect for a meaty bolognese.
- Citrus Zest Zing: Finely grate the zest of one lemon or orange into the flour. This adds a incredible, subtle brightness that pairs wonderfully with seafood or light cream sauces.
Jackson’s Kitchen Confidential: Notes from My Counter to Yours
This recipe has evolved from my grandma’s “a little of this” method to something I can reliably share, but the soul is the same. I’ve had my share of kitchen flops—once I added so much semolina while rolling that my noodles tasted like sandy beach pasta. Not recommended! Another time, I was impatient and skipped the rest. I spent 20 minutes fighting a dough that just kept shrinking back like a stubborn rubber band. Lesson learned: let the dough nap.
These days, I often double the batch. I’ll dry some on a baking rack for an hour, then freeze them in a single layer on a sheet pan before bagging them up. Having a bag of homemade noodles in the freezer is a weeknight victory waiting to happen. Remember, the thickness and width are totally up to you. My “rustic” often means slightly uneven—that’s where the charm and homemade heart lives. Don’t stress the perfect straight line. Stress the taste, the laughter, and the joy of making it yourself.
Your Noodle Questions, Answered
Q: My dough is too sticky! What do I do?
A: Don’t panic. Just add a little more flour, a tablespoon at a time, while kneading until it loses its tackiness. Humidity is a real factor. Conversely, if it’s too dry and crumbly, wet your hands and knead it in—the moisture will distribute.
Q: Can I make this dough in a stand mixer or food processor?
A: Absolutely! For a mixer, use the dough hook. Pulse carefully in a food processor. But I’ll be honest—for a single batch, the hands-on kneading is therapeutic and helps you learn the perfect dough feel.
Q: How thin is “thin enough”?
A: A good rule of thumb: when you think it’s thin enough, roll it a few more times. You want it almost translucent. Thick noodles are still tasty, but they’ll be doughy and chewy in a less pleasant way. Aim for 1/8-inch or less.
Q: Do I have to cook them all right away?
A: Nope! As directed, you can let the cut noodles air-dry for 2 hours and store them in the fridge for 2 days, or freeze them for 2 months. Cook frozen noodles directly from frozen—just add a minute to the cook time.
Nutritional Breakdown (Because We’re Curious!)
Let’s keep it real: this is a wholesome, from-scratch carb. One serving (about ¼ of the recipe) comes in at roughly 210 calories. You’re looking at about 8g of protein from those beautiful eggs, 35g of carbohydrates for energy, and 4g of fat. Compare that to many boxed pastas: you’re getting more protein and fewer unknown ingredients. There’s no added sugar, no preservatives—just flour, eggs, and salt. It’s a whole food. Pair these noodles with a veggie-packed sauce and a lean protein, and you’ve got a balanced, satisfying meal made entirely by you. That’s a win you can feel good about.
The Final Stir: Why This Recipe Matters
So there you have it. More than just a recipe, this is an invitation. An invitation to slow down, dust your hands with flour, and remember that some of the best kitchen moments aren’t fancy—they’re intentional. Homemade noodles are grounding. They pull you out of the rush of the day and into the rhythm of kneading, rolling, slicing… creating. With just flour, eggs, and a little patience, you craft something real, something warm and comforting in a way boxed pasta could never dream of being.
Every time I make these, I think about my grandma’s hands moving with that easy confidence born from repetition and love. And I’m reminded that good food isn’t just about technique—it’s about the history we stir into it and the people we share it with. These noodles are simple, yes, but they’re also a connection to anyone who’s ever stood at a kitchen table and thought, “Let’s make something from scratch today.”
Whether you toss them with butter, drown them in broth, or serve them with a sauce so good it deserves a standing ovation, know this: you made magic. With your own two hands. And that magic is worth celebrating.
So next time you’re tempted to reach for the boxed kind, give these a try instead. Roll out your worries. Slice through the chaos. Boil something beautiful. I promise—once you feel the pride of lifting a tangle of your very own noodles from the pot, you’ll wonder why you didn’t start making them sooner.
Here’s to creating, to remembering, and to eating well.
Until next time, keep cooking with heart—and don’t be afraid to get a little flour everywhere.
— Jackson


