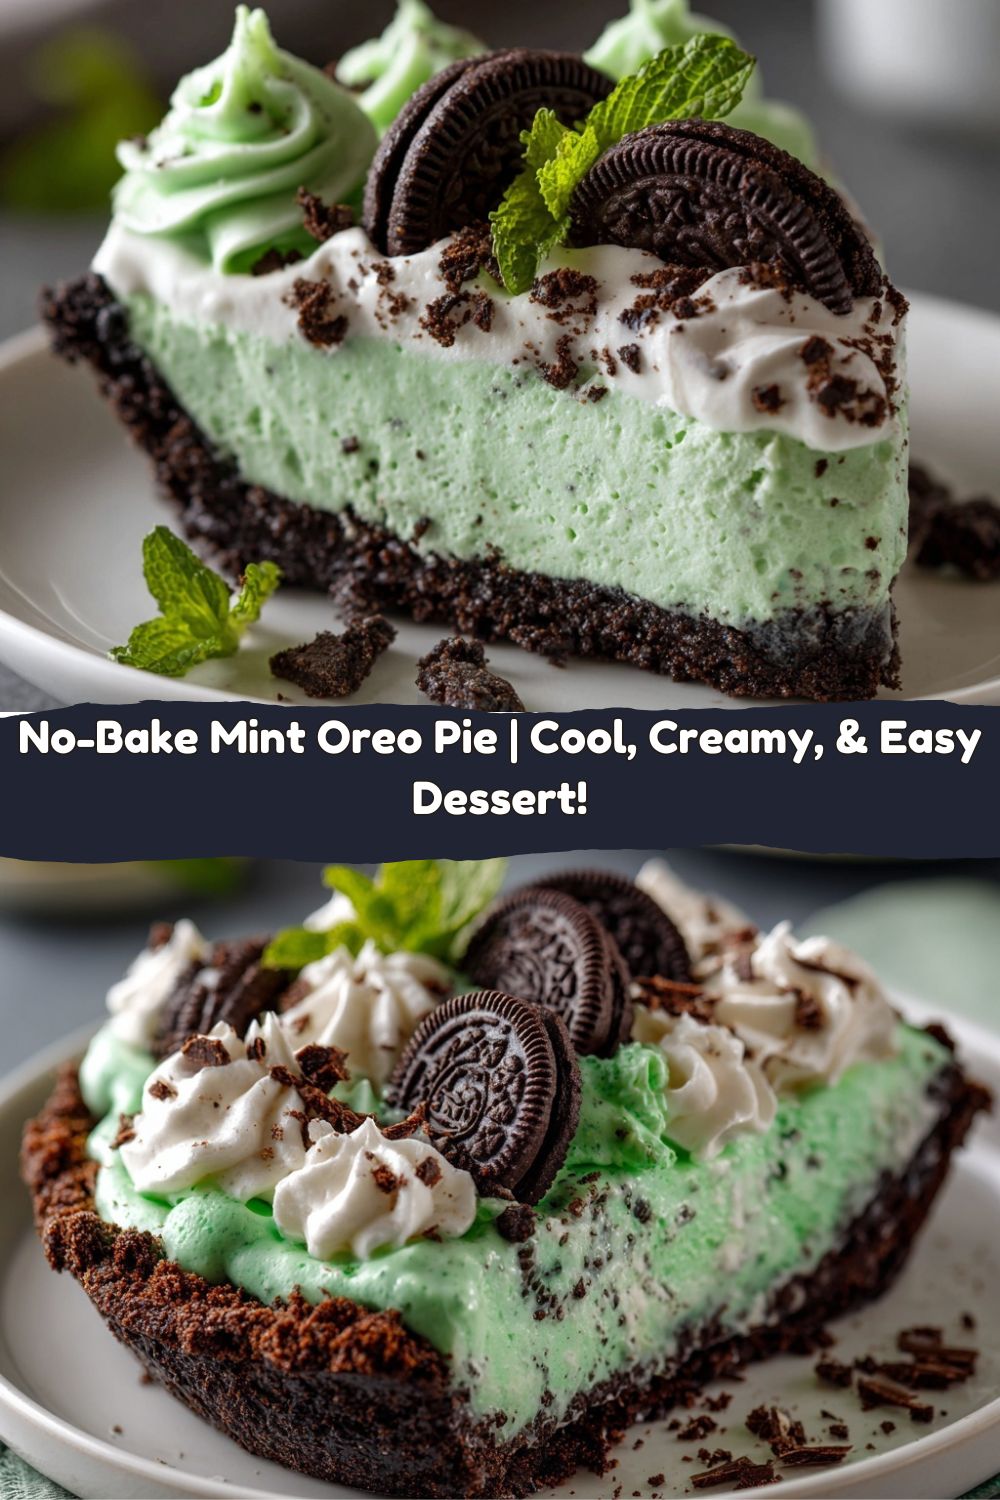
No-Bake Mint Oreo Pie with Green Whip: Cool, Creamy & Crave-Worthy
Hey there, friends! Jackson here from Food Meld. Let’s have a real talk for a second. Is there anything better than that moment when you take a bite of a dessert that’s so good, it makes you close your eyes? That’s the kind of kitchen magic I live for. And today, we’re making exactly that. I’m talking about my No-Bake Mint Oreo Pie with Green Whip—a dessert that’s less about fussy techniques and more about pure, unadulterated joy.
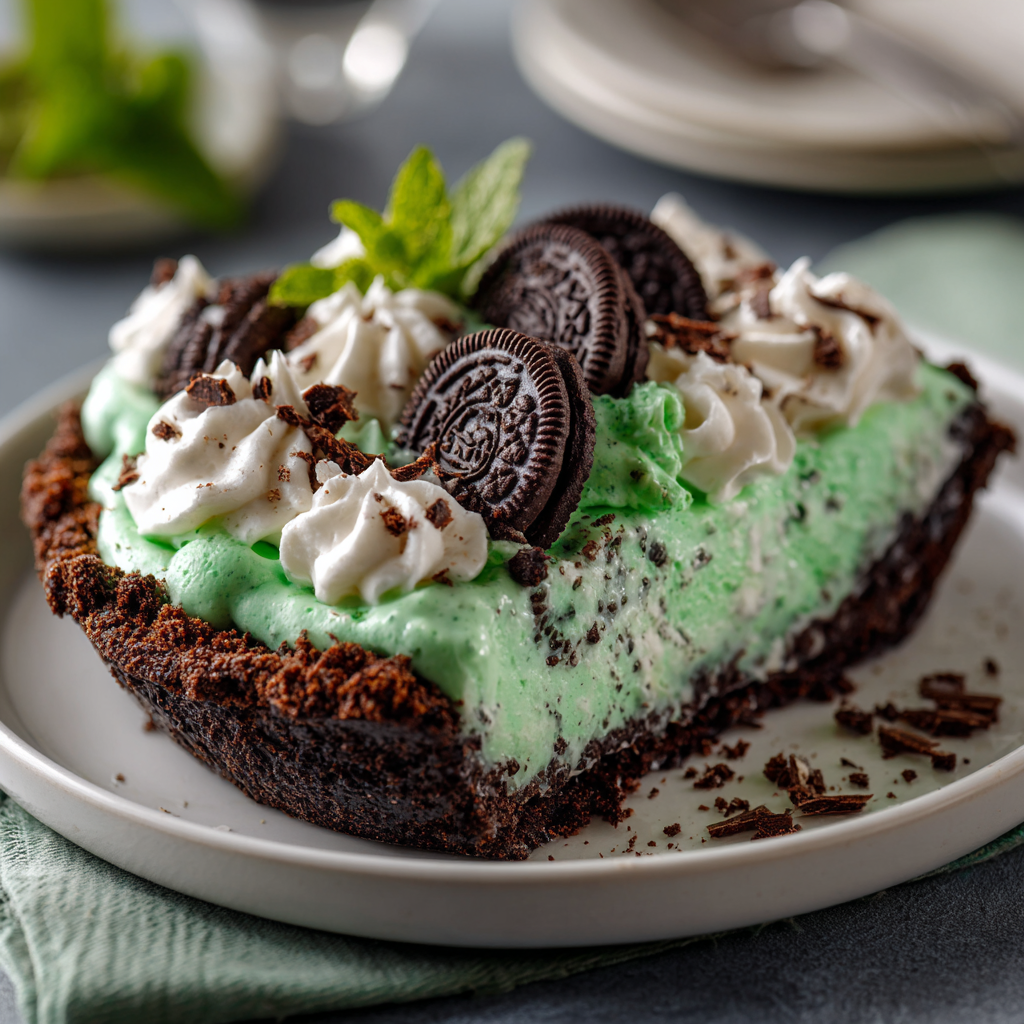
This pie is my edible love letter to fun. It’s got a crunchy, chocolatey Oreo crust, a filling so light and minty it practically floats, and a vibrant green whipped topping that just makes you smile. It’s like a party on a plate, but the best part? You don’t even need to turn on your oven. We’re talking about 20 minutes of active, totally manageable kitchen time, and the rest is just letting your fridge do the work. Perfect for when it’s hot outside, you’re short on time, or you just need a guaranteed showstopper for your table.
Whether you’re a total beginner who gets nervous around a rolling pin or a seasoned cook who’s just tired of complicated recipes, this one is for you. It’s forgiving, flexible, and packed with that “wow” factor. So, tie on your apron, grab a pack of Oreos, and let’s get ready to make a dessert that’s going to have everyone asking, “Wait, YOU made this?!” Welcome to flavor, fun, and no stress. Let’s cook something awesome together.
The Story Behind the Slice: Why This Pie Matters
I’ll let you in on a little secret: this pie is a direct descendant of my childhood. Growing up, my grandma’s signature dessert was a classic, no-bake chocolate pie. It was simple, rich, and always waiting for us in her fridge. But as a kid, I was obsessed with two things: mint chocolate chip ice cream and turning anything I could green (don’t ask about the St. Patrick’s Day incident with the mashed potatoes).
One sweltering summer afternoon, I decided to play chef and “improve” Grandma’s recipe. I swiped some mint extract from the baking cupboard, crushed up a handful of the mint Oreos I’d saved from my lunchbox, and stirred it all in. When I proudly presented my creation, my family teased me about the oddly green-tinted filling… until they took a bite. The teasing turned into a race for seconds. That moment—the surprise, the laughter, the success—stuck with me. It was my first real “Food Meld” moment, where my Southern roots of a simple, comforting dessert met my playful “what if we tried this?” energy. This pie is that memory, all grown up. It’s a reminder that the best recipes often start with a little bit of nostalgia and a whole lot of courage to play with your food.
Gathering Your Flavor Arsenal: The Ingredients
One of my core kitchen beliefs is that amazing food doesn’t require a million obscure ingredients. This pie is proof. Here’s everything you need, with a little chef-y insight on each one to make you feel like a pro.
For the Crust:
- 24 mint or regular Oreo cookies: Mint Oreos give you a double dose of that cool flavor, but classic chocolate Oreos work beautifully too. Don’t scrape out the filling—it adds flavor and helps bind the crust!
- 5 tablespoons melted butter: This is the glue that holds our crunchy foundation together. Use unsalted so you control the saltiness, but if salted is all you have, just skip any added salt later.
For the Filling (The Star of the Show!):
- 8 oz cream cheese, softened: Key word: softened. Leave it on the counter for a good hour. A lumpy cream cheese base is the enemy of a silky filling. If you forget, pop it (out of the foil!) on a plate in the microwave for 15-second bursts.
- 1/2 cup powdered sugar: It dissolves instantly, giving us sweetness without graininess. Sift it if you have lumps.
- 1/2 teaspoon peppermint extract: Start here. It’s potent! You can always add a touch more after tasting. This is what gives you that clean, refreshing mint flavor.
- 1 1/2 cups whipped topping (like Cool Whip), thawed: This is our shortcut to an airy, stable mousse-like texture. For a from-scratch feel, you can use an equal amount of freshly whipped heavy cream sweetened with a tablespoon of that powdered sugar.
- Green food coloring (optional but fun!): I prefer gel food coloring. It’s more vibrant and won’t thin out your filling. A little drop goes a long way!
- 10 crushed mint Oreos, folded in: This is the texture game-changer! It gives you little pockets of chocolatey crunch in every creamy bite. I just give them a rough chop with a knife or a few pulses in a bag.
For the Topping & Garnish:
- 1 cup whipped topping, tinted green: The color pop makes it special. Use the same whipped topping as the filling.
- Extra Oreos or chocolate shavings for garnish: This isn’t just pretty—it’s a flavor preview! A few extra crumbs or a shower of chocolate tells your guests exactly what deliciousness awaits.
Let’s Build This Beauty: Step-by-Step Instructions
Okay, team. Hands-on time is short, so let’s make every move count. Follow these steps, lean into the fun, and remember: cooking is a vibe, not a chore.
Step 1: Craft the Crust
Grab your food processor and pulse those Oreos into fine, dark crumbs. No processor? No sweat. Toss the cookies into a sturdy zip-top bag, seal it tight, and go to town with a rolling pin or a heavy saucepan. It’s a great way to work out any daily frustrations! Pour the crumbs into a bowl and drizzle in the melted butter. Mix it with a fork until it looks like wet sand and holds together when you pinch it. Now, dump it into a 9-inch pie dish and press it firmly and evenly across the bottom and up the sides. I like to use the bottom of a flat measuring cup to really tamp it down. Pop it in the fridge for 20 minutes to set. This chill time is non-negotiable—it gives our crust the strength to hold that luscious filling.
Step 2: Whip Up the Dreamy Filling
In a large mixing bowl, beat the softened cream cheese with a hand mixer (or a stand mixer with the paddle attachment) on medium speed for about 1-2 minutes, until it’s completely smooth and no lumps remain. Scrape down the sides of the bowl. This is the foundation, so don’t rush it! Add the powdered sugar and peppermint extract and beat again until fully combined. Now, here’s the trick: fold, don’t stir. Add about a third of the whipped topping to the cream cheese mixture and gently fold it in with a spatula. This lightens the dense cream cheese. Once incorporated, gently fold in the remaining whipped topping until you have a uniform, fluffy, pale mixture. Add a drop or two of green food coloring now and fold until you get a lovely minty hue. Lastly, gently fold in those crushed Oreos—you want them distributed, not pulverized.
Step 3: Assemble & Chill
Pull your chilled crust from the fridge. Spoon the minty filling into the crust and spread it out into a beautiful, even layer, making little swoops and swirls if you’re feeling artistic. Now, take that last cup of whipped topping, tint it a slightly darker or more vibrant green than the filling (for visual pop!), and spread or pipe it over the top. Get creative! Garnish with halved Oreos, more crumbs, or chocolate shavings. Now, the hardest part: patience. Cover the pie loosely with plastic wrap and chill it in the refrigerator for at least 4 hours, but overnight is truly best. This allows the flavors to meld and the pie to slice like a dream.
How to Serve It Like a Pro
Presentation is the final seasoning! To serve, dip a sharp knife in hot water, wipe it dry, and make your first slice. The clean cut makes all the difference. I love serving this on simple white plates to let that gorgeous green color shine. A little dusting of extra powdered sugar or cocoa powder around the rim of the plate adds a professional touch. This pie is rich, so keep slices on the moderate side—it’s the perfect ending to a big meal. Pair it with a cup of strong black coffee to cut through the sweetness, or a cold glass of milk for the ultimate nostalgic experience. Remember, you made this stunning thing! Set it in the middle of the table and let the “oohs” and “aahs” roll in.
Make It Your Own: Recipe Variations
The “Meld” in Food Meld means I always encourage you to twist a recipe to make it yours. Here are a few of my favorite riffs on this minty masterpiece:
- Chocolate Lover’s Dream: Add 1/2 cup of mini chocolate chips to the filling along with the crushed Oreos. You can also drizzle the top with melted dark chocolate before serving.
- Grasshopper Pie Style: Swap the peppermint extract for 1 tablespoon of crème de menthe liqueur (for adults only) for a more complex, classic cocktail flavor.
- Dairy-Free Delight: Use your favorite vegan cream cheese and coconut whipped topping. Many store-bought Oreos are accidentally vegan (check the label!), making this an easy swap.
- Peppermint Patty Vibe: Fold in 1/2 cup of chopped Andes mints instead of (or in addition to!) the crushed Oreos for a burst of creamy mint chocolate.
- Cookies & Cream Simplicity: Skip the mint extract and green coloring altogether. Use regular Oreos for a pure, classic cookies-and-cream pie that everyone will adore.
Chef’s Notes: From My Kitchen to Yours
This recipe has been my go-to for years, and it’s evolved in funny ways. I once made it for a friend’s birthday in July, and my green food coloring had… expired. Let’s just say the pie had a distinct olive-drab military hue. Still tasted incredible, but it was a good lesson: test your food coloring on a spoonful first! Over time, I’ve learned that letting the pie chill overnight isn’t just a suggestion—it’s the secret to perfect texture. The flavors get to know each other, and the slice holds its shape beautifully. Don’t be afraid to play with the garnish, either. A sprinkle of coarse sea salt on top just before serving is a game-changer for my savory-loving friends.
FAQs & Troubleshooting: Your Questions, Answered
I’ve made this pie a zillion times, and here are the questions I get most often:
Q: My filling is too soft/runny. What happened?
A: This usually means 1) your cream cheese wasn’t fully softened and created lumps, or 2) you didn’t chill it long enough. The pie needs those full 4+ hours to set up properly. If you’re in a pinch, 30 minutes in the freezer can help firm it up faster before serving.
Q: Can I use fresh whipped cream instead of Cool Whip?
A> Absolutely! Whip 1 1/2 cups of heavy cream with 2 tablespoons of powdered sugar until you get stiff peaks. Fold it in as directed. Just know that fresh whipped cream is a bit less stable, so the pie might be slightly softer and is best eaten within a day or two.
Q: How long will this pie keep in the fridge?
A: Covered tightly with plastic wrap, it stays perfect for 3-4 days. The crust may soften slightly by day 3, but the flavor will still be amazing.
Q: Can I freeze this pie?
A> You can! Wrap it very well in plastic wrap and foil. It will keep for up to 2 months. Thaw it overnight in the fridge before serving. The texture of the whipped topping may be slightly different, but it’s still delicious.
Nutritional Info (For Your Peace of Mind)
Look, this is a celebratory dessert, and it’s meant to be enjoyed fully and joyfully! That said, I believe in having the info. This nutritional breakdown is an estimate per serving (assuming 8 slices), but remember, your specific brands and any tweaks you make will cause variation. Each slice gives you that satisfying combo of carbs for energy, a little protein from the dairy, and, yes, some sugar and fat for that incredible mouthfeel and flavor we love. It’s a treat. Savor it, share it, and enjoy every single bite without a second thought.
Final Thoughts: You Did It!
And there you have it, friends—your ticket to dessert fame. This No-Bake Mint Oreo Pie is more than just a recipe; it’s a reminder of how simple ingredients, a little creativity, and a lot of heart can create something truly memorable. You didn’t just make a pie; you created an experience, a conversation starter, and a moment of pure deliciousness to share.
I hope you feel that same spark of joy I felt as a kid “inventing” this in my grandma’s kitchen. That’s what Food Meld is all about. Now, go slice that pie, pour the coffee, and bask in the compliments. You’ve earned them. And remember, I’m always here in the digital kitchen with you, ready for our next culinary adventure. Until next time, keep mixing it up and making it yours!
Jackson


