Let’s Bake a Little Sunshine
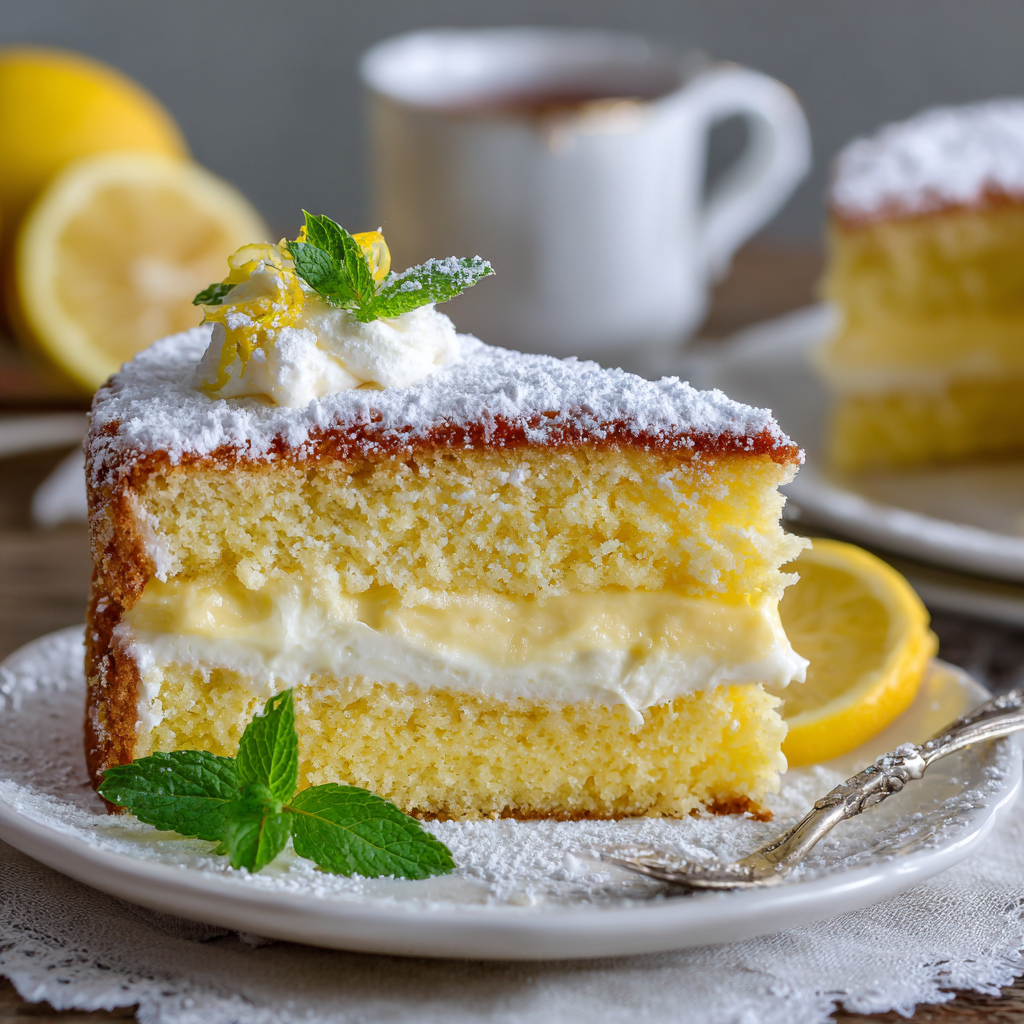
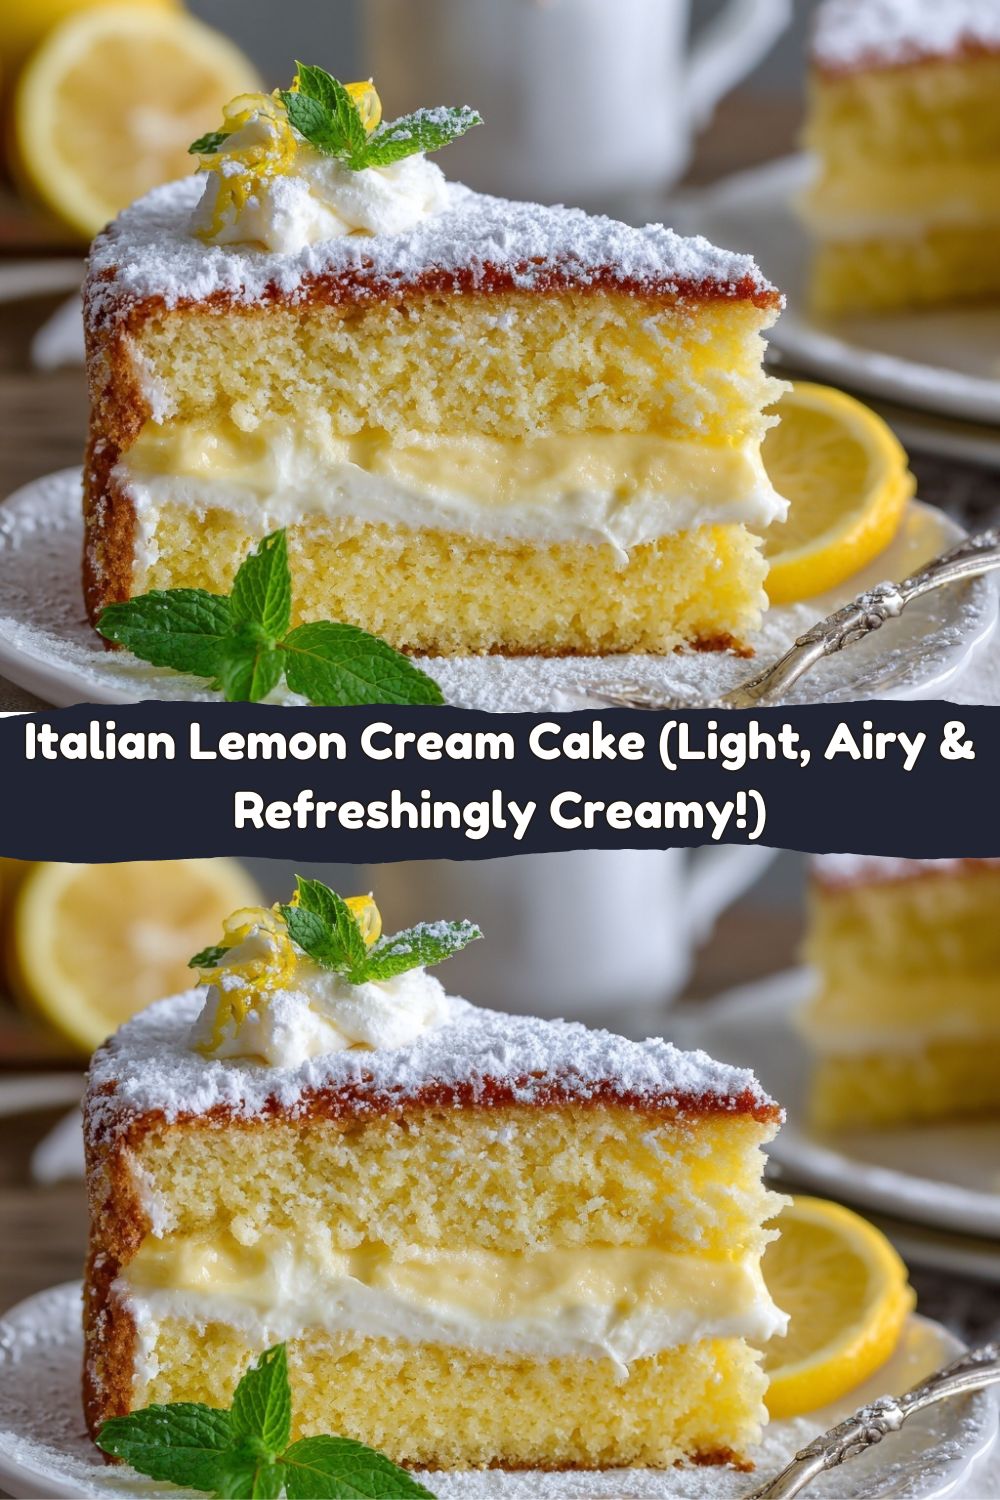
Hey friends, Jackson from Food Meld here! Let me ask you a question: have you ever had a dessert that just feels like a happy memory? The kind of cake that’s light enough to enjoy after a big meal but so decadent it makes you close your eyes and smile? That’s exactly the magic we’re whipping up today with this Italian Lemon Cream Cake.
This isn’t just any cake. This is a layered masterpiece that balances a cloud-like sponge with a silky, tangy lemon cream that’s pure bliss. It’s the kind of dessert that looks like it came from a fancy Italian bakery but is secretly totally approachable. I’m talking about a cake that’s perfect for a birthday, a holiday, or just a Tuesday when you need a little extra joy. It’s elegant, yes, but it’s also fun, a little messy to assemble (in the best way!), and guaranteed to fill your kitchen with the most incredible, fresh citrus scent.
I’ve always believed that the best recipes are the ones that bring people together, and this cake is a total people-pleaser. It’s not overly heavy or cloyingly sweet. Instead, it’s refreshing, melt-in-your-mouth tender, and packed with that “you’ve gotta try this” energy I love. So, whether you’re a baking newbie or a seasoned pro, I’m here to guide you through every step. We’re going to mix it up, make it ours, and create something truly unforgettable. Ready to fill your home with the smell of zesty lemons and sweet cream? Let’s get started!
The Lemon Tree in My Mind
This cake always takes me back to my Nonna’s best friend, Mrs. Giana, who lived down the street. She wasn’t Italian by blood, but by sheer passion. She had this tiny, sun-drenched kitchen that always smelled of garlic, rosemary, and, in the spring, lemons. The first time I tried her “Torta al Limone,” I was probably ten years old, and my mind was blown. It wasn’t a dense, heavy pound cake; it was something entirely different—airy, moist, and filled with this creamy, bright filling I couldn’t identify.
I remember sitting at her checkered tablecloth, my legs swinging, savoring every single crumb. I asked her, “What’s the white fluffy stuff?” She just winked and said, “Sunshine and dreams, caro.” It was years before I figured out it was mascarpone and whipped cream! That sense of mystery and pure delight is what I’ve tried to capture in my version. It’s my homage to Mrs. Giana’s magical kitchen and that first unforgettable bite that taught me dessert could be both light and powerfully delicious. It’s a reminder that the best food isn’t just about taste; it’s about the feeling it gives you.
Gathering Your Sunshine Squad
Here’s the lineup for our masterpiece. Using simple, quality ingredients is the key to making this cake sing. Don’t worry, I’ve got notes and swaps for you!
For the Sponge Cake:
- 1 cup all-purpose flour: The backbone of our cake. For a slightly lighter crumb, you can swap in cake flour, but all-purpose works beautifully here.
- 1 teaspoon baking powder: Our leavening agent – this is what gives the cake its lovely rise and airy texture. Make sure it’s fresh!
- ¼ teaspoon salt: Trust me, this is essential. It balances the sweetness and makes all the other flavors pop.
- 4 large eggs: Use them at room temperature! This is my #1 pro-tip. Room temp eggs whip up much fluffier, which is the secret to that perfect sponge texture.
- ¾ cup granulated sugar: Sweetens the deal. We’re not using a ton because the filling has its own sweetness.
- 2 tablespoons lemon zest: This is where the big, aromatic lemon flavor lives! Zest your lemons before you juice them. It’s easier.
- ¼ cup fresh lemon juice: Please, for the love of flavor, use fresh-squeezed juice! The bottled stuff just doesn’t have the same bright, vibrant punch.
- ½ teaspoon vanilla extract: A little warm depth to complement the sharp lemon. A chef’s secret weapon.
- ¼ cup vegetable oil: This adds moisture without making the cake heavy. A neutral oil like canola works best.
For the Lemon Cream Filling:
- 1 cup heavy whipping cream: Make sure it’s very cold. This is the key to getting it to whip up into soft, beautiful peaks.
- 8 oz mascarpone cheese: The star of the show! This Italian cream cheese is rich, silky, and not too tangy. Let it sit out for 10-15 minutes to take the chill off before mixing.
- ½ cup powdered sugar: It dissolves instantly, giving our filling a smooth texture. No gritty sugar here!
- 2 tablespoons lemon juice: More fresh sunshine to cut through the richness.
- 1 teaspoon lemon zest: We’re doubling down on that citrus flavor for a filling that’s bursting with taste.
For Topping:
- Powdered sugar, for dusting: Simple, elegant, and classic.
- Optional: thin lemon slices or candied lemon peel: For a little “wow” factor. Totally optional, but so fun!
Let’s Build This Masterpiece, Step-by-Step
Alright, team, this is where the fun begins. Put on some music, grab your bowls, and let’s create some magic. I’ll be with you for every single step.
- Preheat and Prep. Fire up that oven to 350°F (175°C). Now, let’s get our cake pans ready. Grease two 8-inch round cake pans with a little butter or non-stick spray, then line the bottoms with a circle of parchment paper. This is my non-negotiable hack for guaranteeing your cakes will release perfectly. No torn cakes on my watch!
- Combine the Dry Team. In a medium bowl, grab your whisk and give the flour, baking powder, and salt a good whisking. We’re not just mixing; we’re aerating the flour and making sure our leavening is evenly distributed. This is the foundation of a light, even crumb. Set this bowl aside.
- Whip the Eggs and Sugar. This is the most important step for that signature sponge texture! In a large bowl (or your stand mixer with the whisk attachment), add your room-temperature eggs and granulated sugar. Now, beat them on medium-high speed for a good 5-7 minutes. Don’t rush this! You’re looking for the mixture to become thick, pale yellow, and to leave a ribbon trail on the surface when you lift the whisk. This means you’ve whipped in enough air to give the cake its lift.
- Incorporate the Wet & Zesty. Now, with the mixer on low, gently stream in the vegetable oil, vanilla extract, fresh lemon juice, and all that beautiful lemon zest. Mix just until it’s combined. The mixture might deflate a little, and that’s okay! We’ve already built our structure.
- Fold in the Dry Ingredients. Time to put the mixer away. We’re going gentle now. Add the flour mixture to the wet ingredients in two or three additions. Use a spatula and fold it in with a gentle, sweeping motion, going down the middle and around the sides. Stop as soon as you no longer see streaks of flour. Overmixing is the enemy of a tender sponge! A few tiny lumps are better than a tough cake.
- Bake to Golden Perfection. Divide that beautiful, airy batter evenly between your two prepared pans. Give them a little tap on the counter to pop any big air bubbles. Slide them into your preheated oven and bake for 20-25 minutes. You’ll know they’re done when the tops are springy to the touch and a toothpick inserted into the center comes out clean. No wet batter!
- Cool Completely. (The Hardest Part!) Let the cakes cool in their pans for about 10 minutes. Then, run a knife around the edge, invert them onto a wire rack, and peel off the parchment paper. Let them cool completely, and I mean completely, before you even think about adding the filling. A warm cake will melt our lovely cream. Patience is a virtue here!
- Make the Dreamy Lemon Cream. While the cakes are cooling, let’s make the filling. First, in a chilled bowl, whip that cold heavy cream until it forms soft peaks. You don’t want it to be stiff and buttery. In another bowl, whisk together the slightly softened mascarpone, powdered sugar, lemon juice, and zest until it’s smooth and creamy. Now, take about a third of the whipped cream and fold it into the mascarpone mixture to lighten it up. Then, gently fold in the rest of the whipped cream until you have a homogeneous, fluffy, lemony cloud. Try not to eat it all with a spoon. I believe in you.
- Assemble with Love. Place one completely cooled cake layer on your serving plate. Spread the entire bowl of lemon cream filling evenly over the top, going all the way to the edges. Carefully place the second cake layer on top. Now, for the final touch: pop the whole beautiful thing into the refrigerator for at least 1 hour to chill and set. This makes it so much easier to slice.
How to Serve Your Slice of Sunshine
The moment of truth! Pull that gorgeous cake out of the fridge. I like to give it a light dusting of powdered sugar right before serving – it’s like a little snowfall of sweetness. If you’re feeling fancy, a few very thin lemon slices or a sprinkle of candied lemon peel on top looks absolutely stunning.
For slicing, use a long, thin knife. To get super clean slices, dip the knife in hot water and wipe it dry between each cut. It’s a little extra step that makes your presentation look pro-level.
This cake is a dream all on its own, but if you want to go all out, a handful of fresh berries on the side (raspberries or blueberries are perfect) or a tiny dollop of extra whipped cream never hurt anybody. Serve it with a hot cup of coffee for dessert or a glass of iced tea for a spectacular afternoon treat. However you serve it, get ready for the compliments to roll in!
Make It Your Own: Fun Flavor Twists
One of my favorite parts of cooking is playing with flavors. This cake is an amazing canvas, so don’t be afraid to get creative!
- Berry Bliss: Add a layer of fresh raspberries or macerated strawberries on top of the lemon cream before adding the second cake layer. The berry-lemon combo is a classic for a reason!
- Lemon Blueberry Swirl: Fold ½ cup of fresh or frozen (and thawed) blueberries into the cake batter right before dividing it into the pans. The bursts of berry are a wonderful surprise.
- Limoncello Lift: For an adult-only version, brush the cooled cake layers with a tablespoon or two of Limoncello liqueur before adding the cream. It adds an incredible depth of lemon flavor.
- Dairy-Free Delight: You can make this dairy-free! Use your favorite plant-based butter for greasing, and for the filling, use chilled coconut cream (just the solid part from a can) and a vegan cream cheese alternative. The flavor profile will be different but still delicious.
- Herbaceous Hint: Sound crazy? Try adding a teaspoon of very finely chopped fresh lavender or thyme to the dry ingredients for the cake. Herbs and lemon are a match made in heaven.
Jackson’s Kitchen Confidential
This recipe has evolved so much in my kitchen over the years. The first time I tried to recreate Mrs. Giana’s cake, I over-whipped the cream and my filling was almost butter! I’ve also learned the hard way that rushing the cooling process leads to a delicious but soupy mess. The chill time is non-negotiable, friends.
One of my favorite things is how this cake tastes even better the next day. The flavors have more time to meld, and the sponge becomes even more tender. So, if you can, make it a day ahead! It’s one less thing to worry about when you’re entertaining. Remember, cooking is an adventure. Embrace the little mishaps—they make for the best stories later.
Your Questions, Answered!
I’ve gotten a lot of questions about this cake over the years. Here are the ones I hear most often.
Q: My cake layers didn’t rise much. What happened?
A: The most common culprit is old baking powder. It loses its potency over time! Another reason could be overmixing the batter after adding the flour, which deflates all the air you whipped into the eggs. Remember, fold gently and just until combined.
Q: Can I make this cake ahead of time?
A: Absolutely! In fact, I highly recommend it. You can bake the cake layers a day ahead, let them cool completely, wrap them tightly in plastic wrap, and store them at room temperature. You can also assemble the entire cake and keep it refrigerated for up to 24 hours before serving.
Q: My lemon cream filling is runny. How can I fix it?
A: This usually happens if the mascarpone was too warm or the heavy cream was over-whipped and started to separate. To salvage it, pop the whole bowl of filling into the fridge for 20-30 minutes to firm up, then give it a quick whisk. If it’s really loose, you can use it as a “naked cake” drizzle, letting some drip down the sides for a rustic look!
Q: I can’t find mascarpone. What’s a good substitute?
A: A great substitute is equal parts full-fat, brick-style cream cheese and plain Greek yogurt or sour cream. Let the cream cheese soften first, then whip it with the yogurt/sour cream and sugar before folding in the whipped cream. The texture will be slightly tangier but still delicious.
Nutritional Information (Because We’re All Friends Here)
Okay, let’s keep it real—this is a celebratory dessert, and it’s meant to be enjoyed fully. But I also know many of you appreciate having the numbers, so here’s a general breakdown per slice (assuming about 10 generous slices). Keep in mind these are estimates and can vary based on your specific ingredients and brands.
-
Calories: ~360
-
Carbohydrates: ~38g
-
Total Fat: ~20g
-
Saturated Fat: ~11g
-
Protein: ~5g
-
Sugar: ~28g
-
Fiber: <1g
-
Sodium: ~120mg
This cake isn’t trying to be “light,” but it is surprisingly refreshing and not overly heavy thanks to the whipped mascarpone cream and airy sponge. It’s one of those desserts where a single slice satisfies the soul. Enjoy it, savor it, and remember—balance is the name of the game. A slice of cake and a walk around the neighborhood go hand in hand.
Now go grab a fork, because you earned this one.


