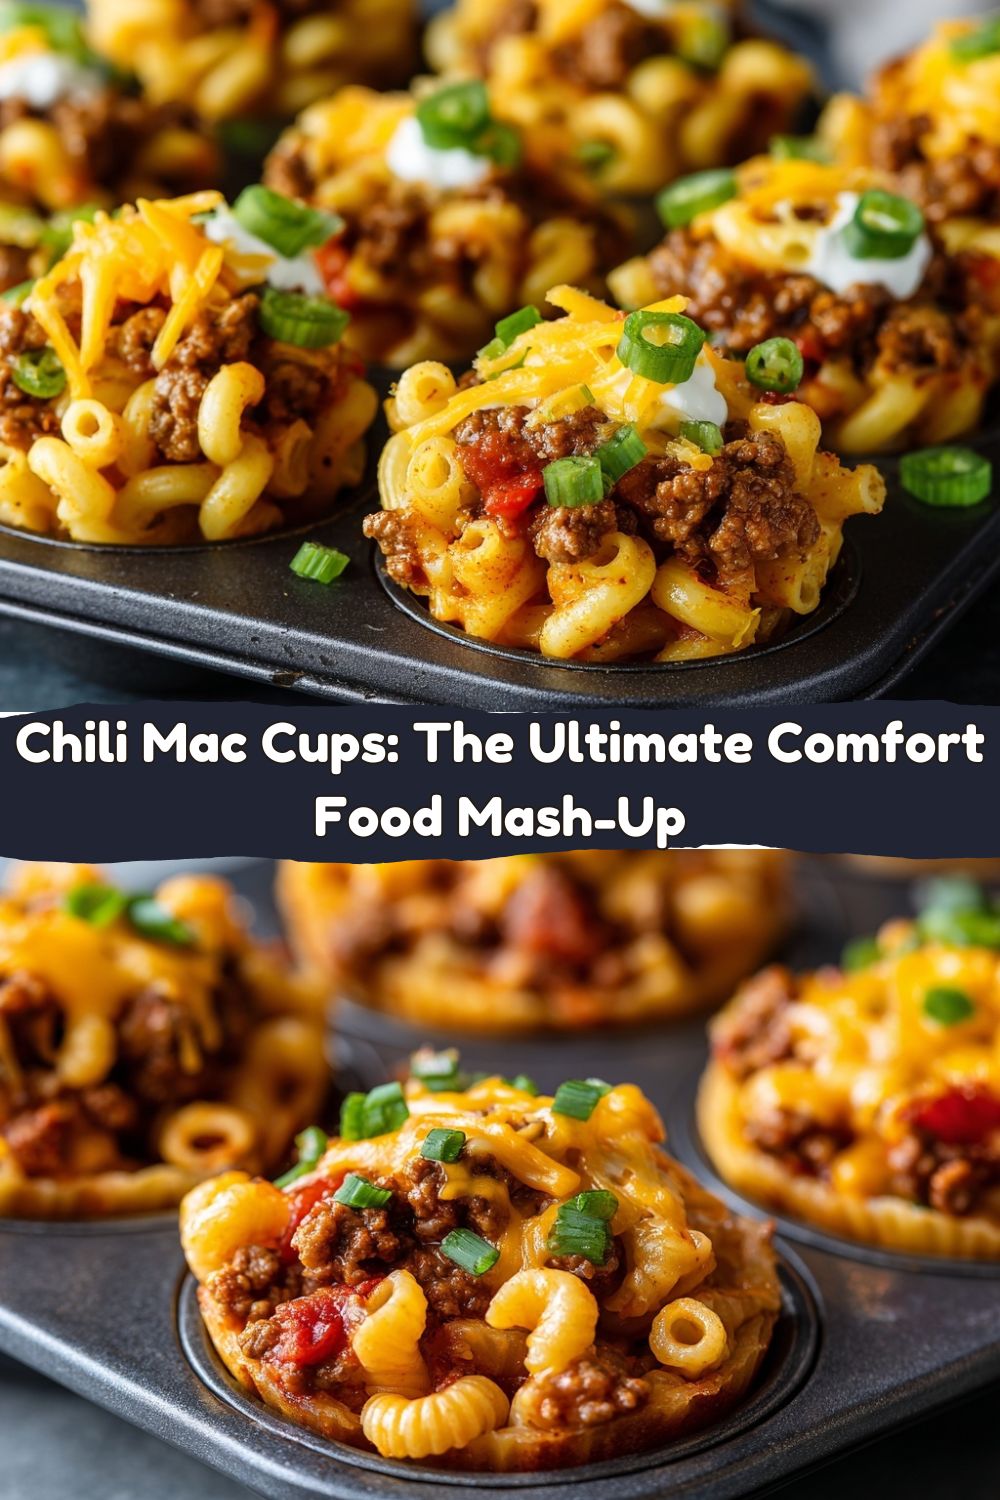
Chili Mac Cups – Cheesy, Meaty, Muffin-Tin Magic
Hey friends, Jackson from Food Meld here. Let’s get real for a second. Are you Team Chili or Team Mac & Cheese? It’s a trick question, because the only right answer is a resounding, joyful, “BOTH, PLEASE.”
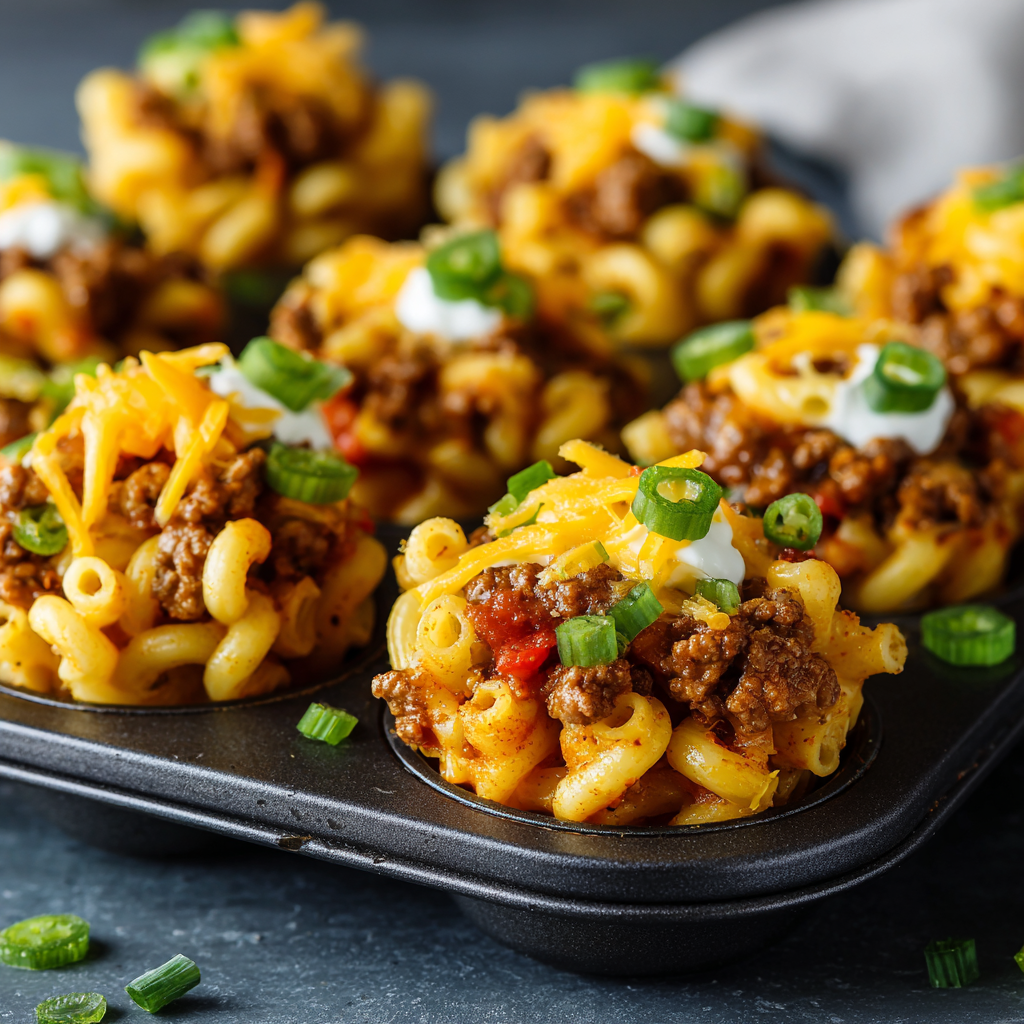
I’m all about those “why didn’t I think of that?” moments in the kitchen, where two incredible things collide to create something even more unforgettable. And that, my friends, is the entire spirit behind these Chili Mac Cups. We’re taking the soul-warming, hearty goodness of a great beef chili and marrying it to the ultimate creamy, cheesy comfort of macaroni and cheese. Then, we’re baking it all up in a muffin tin to create these perfect, portable, single-serving bites of pure joy.
Imagine this: a golden, slightly crispy exterior giving way to a tender, cheesy, and meaty center. They’re like the best part of the chili pot and the cheesiest corner of the mac & cheese pan, all in one neat little package. Whether you’re wrangling hungry kids, hosting a game-day spread that’ll have your friends cheering, or just looking for a genius way to meal-prep your lunches, these cups are your new secret weapon. They’re fun, they’re forgiving, and they deliver massive flavor with minimal mess. So, grab your favorite muffin tin and let’s cook something awesome together.
The Happy Accident That Started It All
This recipe honestly feels like it was born from a beautiful kitchen collision. Picture a younger me, back in my college days, staring into a fridge that held exactly two things: a giant Tupperware of my mom’s “leftover-for-days” chili and a half-eaten bowl of mac & cheese from the night before. Desperate times, right?
Instead of just heating them up separately, I had one of those “what if we tried this?” moments. I chopped up the mac & cheese, stirred it right into the chili, and threw the whole glorious mess into a baking dish with an extra fistful of cheddar on top. What came out of the oven was… magic. It was the ultimate comfort food mash-up, and my roommates and I devoured it in minutes, scraping the dish clean.
That messy, thrown-together casserole is the heart and soul of these Chili Mac Cups. I’ve refined it over the years, of course—tweaking the spices, perfecting the ratio, and discovering the genius of the muffin tin for perfect portioning. But every time I pull a batch of these golden cups out of the oven, it takes me right back to that tiny kitchen, laughing with friends and discovering that the best recipes often come from a little bit of fun and a whole lot of “why not?”
Gather Your Flavor All-Stars
Here’s your shopping list for this flavor party. Don’t stress if you’re missing something—I’ve got substitution ideas for you right here.
- 1 cup elbow macaroni – The classic choice! Its small shape and nooks are perfect for holding onto all that cheesy, meaty goodness. Chef’s Insight: Don’t overcook it! We want it al dente so it holds its structure during baking.
- 1 tbsp olive oil – Just enough to get our aromatics sizzling.
- 1/2 lb ground beef – I use an 80/20 blend for the best flavor, but lean beef works great too. For a twist, try ground turkey, chicken, or even a plant-based crumble.
- 1/2 cup finely chopped onion – This is our flavor foundation. If you’re not an onion fan, you can mince it super fine—it’ll practically melt into the beef.
- 1/2 cup tomato sauce – This adds moisture and a rich, tomatoey base to our “chili.”
- 1 tbsp tomato paste – The secret weapon for deep, concentrated tomato flavor. Pro Tip: Sauté it with the beef for a minute before adding the sauce to caramelize it and unlock its sweetness.
- 1 tsp chili powder – The heart of the spice blend. Feel the power!
- 1/2 tsp cumin – This is what gives it that warm, earthy, authentic chili vibe.
- Salt & pepper to taste – Never underestimate the power of this dynamic duo. Season in layers!
- 1 ½ cups shredded cheddar cheese – The glorious, gooey glue that holds our cups together. I like to shred a block myself for the best melt. Substitution: A Mexican blend or Monterey Jack would be fantastic here.
- 1 egg – Our binding agent! This is the key to making sure the cups hold their perfect little shape after baking.
- Nonstick spray – Essential for ensuring a clean release. No stuck-on cups allowed!
Optional Toppings for the Grand Finale:
- Sour cream – A cool, creamy dollop to balance the spice.
- Green onions – For a fresh, sharp crunch.
- Jalapeño slices – For my heat-seeking friends! A little kick never hurt anybody.
Let’s Build Some Magic, Step-by-Step
Ready to see how these little wonders come together? It’s easier than you think. Follow along, and I’ll share all my best hacks along the way.
- Preheat & Prep: First things first, get that oven roaring to 375°F (190°C). While it’s heating up, give your 12-cup muffin tin a really good coat of nonstick spray. Get into every nook and cranny! This is your number one tip for perfect, easy-release cups.
- Pasta Perfect: Cook your elbow macaroni according to the package directions, but here’s the key—stop cooking about one minute shy of the recommended time. We want it al dente, meaning it still has a slight bite to it. Why? Because it’s going to continue cooking in the oven, and we don’t want mushy macaroni in our final cups! Drain it and set it aside.
- Build the Chili Base: In a good skillet over medium-high heat, warm up your olive oil. Toss in the chopped onion and ground beef. Use your spoon to break up the beef as it cooks until it’s beautifully browned and the onions are soft and translucent. Now, add the tomato paste and stir it around for a solid minute. You’ll smell its flavor deepening—that’s exactly what we want! Pour in the tomato sauce, chili powder, cumin, salt, and pepper. Let it all simmer together for about 5 minutes. The whole kitchen should be smelling incredible right now.
- The Big Meld: In a large mixing bowl, it’s time for the grand unification! Combine the cooked (and drained) pasta, your flavorful chili mixture, and one cup of the shredded cheddar cheese. Crack in the egg. Now, roll up your sleeves and mix it all together until every single piece of macaroni is coated in that cheesy, meaty goodness. The egg will disappear into the mix, and that’s fine—it’s working its binding magic behind the scenes.
- Fill & Top: Using a spoon or a cookie scoop, divide the mixture evenly among the 12 prepared muffin cups. Press the mixture down lightly with the back of your spoon—this helps them hold together. Now, sprinkle the remaining 1/2 cup of cheese over the top of each cup. This is what gives them that gorgeous, golden, bubbly cheese crust.
- Bake to Perfection: Slide the muffin tin into your preheated oven and bake for 15-18 minutes. You’re looking for the tops to be set, the edges to be slightly golden, and the cheese to be perfectly melted and bubbly.
- The Patience Payoff: This might be the hardest step, but it’s crucial! Let the Chili Mac Cups cool in the pan for at least 5 minutes. This allows them to set up and firm up, making them much easier to remove. Then, gently run a butter knife around the edges to loosen them and pop them out!
How to Serve These Little Cups of Joy
Okay, you’ve got a tray of gorgeous, golden-brown Chili Mac Cups. Now what? The fun is in the serving!
For a casual family dinner, I love piling them high on a big platter and letting everyone grab their own. It’s interactive and just plain fun. Set up a little topping bar with small bowls of cool sour cream, freshly sliced green onions, pickled jalapeños for a kick, and maybe even some diced avocado or a side of crisp, refreshing salad to cut through the richness.
If you’re the MVP of game day, these are your new go-to. They are the ultimate finger food—no forks required! Just arrange them on a board or platter and watch them disappear. They’re sturdy, not messy, and packed with flavor that pairs perfectly with a cold drink.
And for my meal-preppers, these are a godsend. Let them cool completely, then store them in an airtight container in the fridge. They reheat like a dream in the microwave for a quick and satisfying lunch all week long.
Make It Yours: 5 Fun Twists on the Classic
The basic recipe is a solid 10/10, but you know I love to play around. Here are a few of my favorite ways to mix it up.
- Spicy Fiesta: Kick up the heat! Add a finely diced jalapeño (seeds and all for maximum fire) to the beef as it cooks. Swap the chili powder for a chipotle powder and use a Pepper Jack cheese for a smoky, spicy punch.
- BBQ Bacon Bliss: Swap the tomato sauce for your favorite BBQ sauce. Stir in about 1/3 cup of cooked, crumbled bacon into the mixture before baking. Trust me on this one.
- Turkey Taco Twist: Use ground turkey instead of beef and swap the chili powder and cumin for a packet of your favorite taco seasoning. Top with a mix of cheddar and Monterey Jack cheese and serve with salsa for dipping.
- Veggie-Packed Powerhouse: Go meatless! Skip the beef and sauté a cup of finely chopped mushrooms and bell peppers with the onion. A can of drained and rinsed black beans would be an awesome addition here for protein and fiber.
- Breakfast-for-Dinner Delight: Yep, you read that right. Use cooked breakfast sausage instead of beef, and leave out the tomato sauce and spices. Mix the pasta with the sausage, cheese, egg, and maybe even a little chopped spinach. A whole new world of deliciousness!
Jackson’s Kitchen Notes
This recipe has been a fun one to evolve. I’ve learned that the type of pasta really matters—short shapes with grooves or holes work best. I once tried it with linguine leftovers… let’s just say it was more of a “Chili Mac Nest” situation. Tasty, but not the cute cup we’re going for!
Also, don’t be afraid to really pack the mixture into the muffin cups. A firm press ensures they hold together beautifully. And my final piece of wisdom? Always, always make a double batch. The first time I made a single batch for a party, they were gone in 60 seconds flat, and I was left with a very sad, empty platter. Learn from my mistakes!
Your Questions, Answered!
I’ve gotten a lot of questions about this recipe over time. Here are the most common ones to help you out.
- Can I make these ahead of time? Absolutely! You can assemble the cups completely, cover the muffin tin tightly with plastic wrap, and refrigerate for up to 24 hours. When you’re ready, just bake them straight from the fridge, adding maybe 2-3 extra minutes to the baking time.
- My cups fell apart when I took them out. What happened? The most common culprit is not letting them cool enough. That 5-minute resting period is non-negotiable—it lets the egg and cheese set up. Also, make sure you’re using the egg as your binder! If you skipped it, they won’t hold together as well.
- Can I freeze these? You bet! Let them cool completely, then place them in a single layer on a baking sheet to “flash freeze” for an hour. This prevents them from sticking together. Then, transfer the frozen cups to a freezer bag. They’ll keep for up to 3 months. Reheat from frozen in the oven at 350°F until warm throughout, or in the microwave in 30-second bursts.
- My cheese on top burned a little. How can I prevent that? Ovens can be tricky! If you find your cheese is browning too quickly, you can tent the muffin tin loosely with aluminum foil for the last 5 minutes of baking. This will protect the top while the inside finishes cooking.

Chili Mac Cups : Cheesy, Meaty, Muffin-Tin Magic
- Total Time: 35 minutes
- Yield: 12 cups 1x
Description
These Chili Mac Cups turn two comfort food favorites—chili and mac & cheese—into a fun, handheld bite. Baked in a muffin tin, they’re cheesy, meaty, and totally portable. Whether you’re feeding kids, hosting game night, or meal prepping, these little cups bring big flavor with zero mess.
Ingredients
1 cup elbow macaroni
1 tbsp olive oil
1/2 lb ground beef
1/2 cup finely chopped onion
1/2 cup tomato sauce
1 tbsp tomato paste
1 tsp chili powder
1/2 tsp cumin
Salt & pepper to taste
1 ½ cups shredded cheddar cheese
1 egg
Nonstick spray
Optional Toppings:
Sour cream
Green onions
Jalapeño slices
Instructions
Preheat oven to 375°F (190°C). Spray a 12-cup muffin tin with nonstick spray.
Cook macaroni just until al dente. Drain and set aside.
In a skillet, heat oil and sauté onion and beef until browned. Stir in tomato paste, sauce, chili powder, cumin, salt, and pepper. Simmer 5 minutes.
In a large bowl, mix cooked pasta, chili mixture, cheese (reserve a little for topping), and the egg.
Spoon mixture into muffin cups, pressing down slightly. Top with remaining cheese.
Bake 15–18 minutes, until set and golden. Let cool 5 minutes before removing from pan.
Garnish with sour cream and green onions if desired.
- Prep Time: 15 minutes
- Cook Time: 20 minutes
Nutrition
- Calories: 180 / Cup
- Fat: 10g / Cup
- Carbohydrates: 12g / Cup
- Protein: 9g / Cup
Quick Nutritional Breakdown
Okay, let’s talk numbers. I’m not a nutritionist, but here’s a general estimate per cup (without optional toppings) to help you plan. Remember, these can vary based on the specific ingredients you use, like the fat content of your beef or the type of cheese.
Per Cup (Approximate):
- Calories: ~180
- Fat: 10g
- Protein: 9g
- Carbohydrates: 12g
These are a fantastic, balanced bite! You’re getting a good hit of protein from the beef and cheese, energy from the carbs in the pasta, and let’s be honest, a whole lot of happiness from the flavor. To lighten them up, feel free to use lean ground beef or turkey and a reduced-fat cheese.
Your New Go-To Comfort Food
And there you have it! From my college kitchen to yours, the recipe for the most fun, satisfying, and downright delicious Chili Mac Cups. This is what Food Meld is all about—taking the familiar, adding a creative twist, and creating something that’s not just a meal, but an experience.
It’s a recipe that’s built for sharing, for laughing over, and for making your own. I can’t wait for you to try it. Tag me on social @FoodMeld when you make them—I love seeing your kitchen creations! Now go forth, melt some cheese, and enjoy every single bite.
Happy cooking,
Jackson


