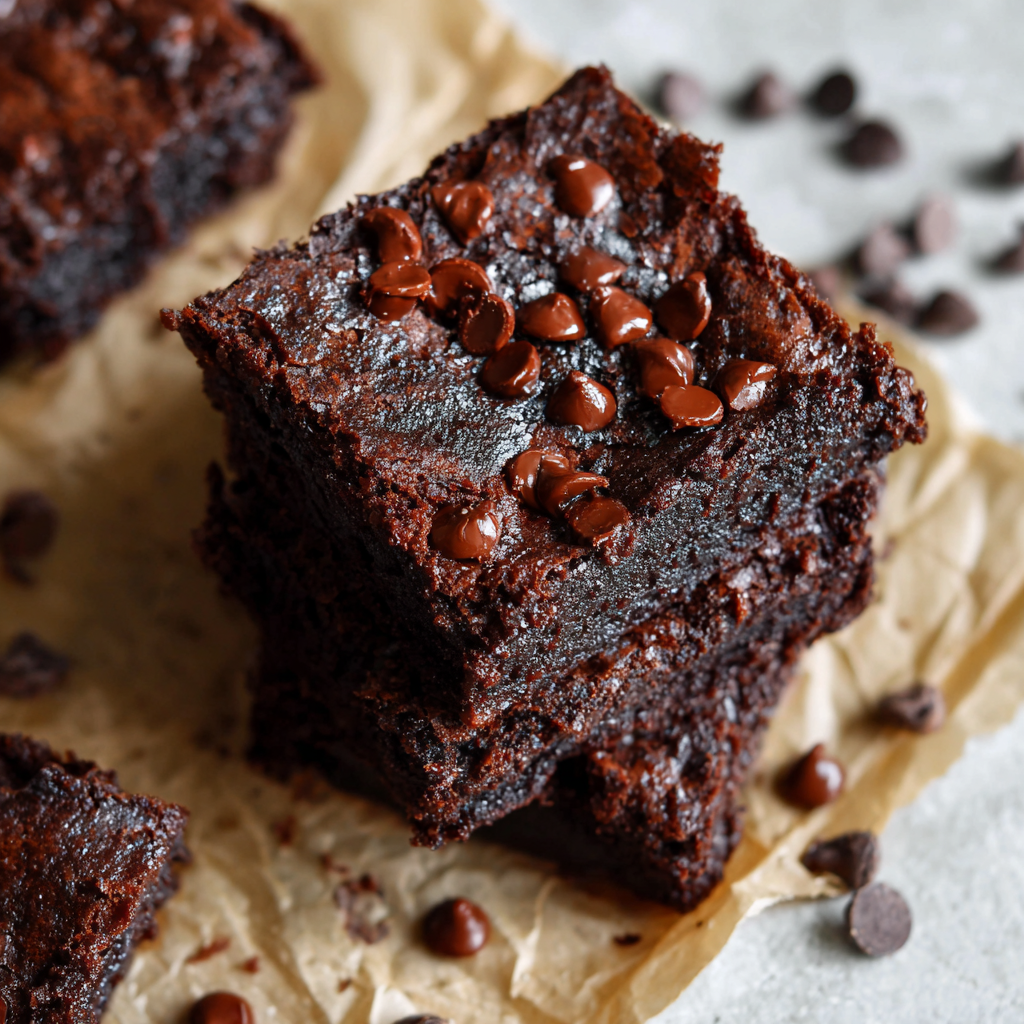
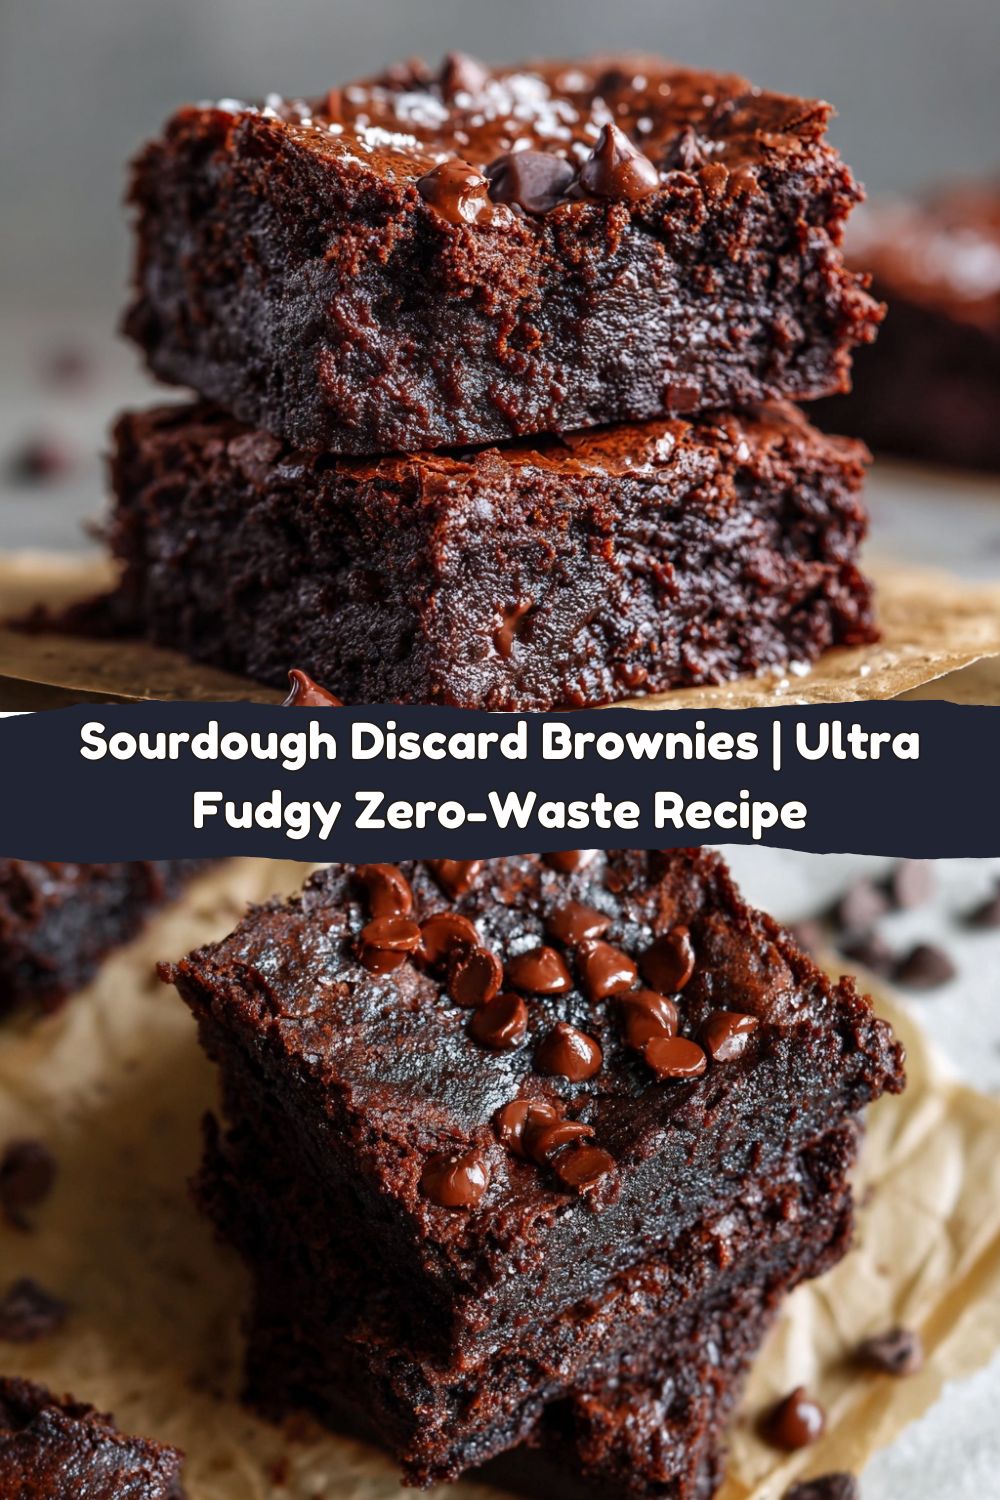
Your Sourdough Starter’s Secret Superpower: Fudgy Brownies
Hey friends, Jackson from Food Meld here. Let’s have a real kitchen talk for a second. You know that moment when you’re feeding your sourdough starter, and you’re staring at that jar of discard, feeling a little pang of guilt? Do you toss it? Do you find yet another jar to stuff in the already-packed fridge? I’ve been there more times than I can count. It’s the eternal struggle of the sourdough baker.
But what if I told you that same discard is the secret key to the fudgiest, richest, most intensely chocolatey brownies you’ll ever make? I’m talking about brownies with a crackly top, a melt-in-your-mouth center, and a depth of flavor that will have everyone begging for the recipe. No one—and I mean no one—will guess the secret ingredient.
Today, we’re throwing guilt out the window and embracing the magic of “waste not, want not” with these Easy Sourdough Discard Brownies. This isn’t just a recipe; it’s a game-changer. It’s my mission to show you that cooking (and baking!) should be fun, a little messy, and always, always lead to something delicious. So, grab that jar of discard, and let’s turn what might have been trash into a total treasure. Let’s cook something awesome together.
The Happy Accident That Started It All
This recipe was born from a classic “Jackson in the kitchen” moment. A few years back, I was in one of my manic sourdough phases, feeding my starter “Bubba” like clockwork. My counter was littered with jars of discard, and my partner finally said, “You have to do something with that, or it’s going to develop its own ecosystem.” Challenge accepted.
I was also craving brownies—but not just any brownies. I wanted that dense, fudgy, almost-underbaked kind that sticks to the roof of your mouth. As I was melting the butter, my eyes landed on a jar of discard. A crazy thought hit me: “What if we tried this?” Sourdough in brownies? It sounded wild. But I remembered that the acidity in starter can tenderize baked goods, and its unique tang can make chocolate taste even richer. I took the leap, stirred it in, and crossed my fingers.
The smell that filled my kitchen was pure magic. And when I pulled them out? Perfection. They were everything I dreamed of, with an extra layer of complex flavor I couldn’t quite place. That happy accident is now a staple in my home, and it’s the recipe I’m most proud of sharing. It proves that the best dishes often come from a little courage and a willingness to play with your food.
Gather Your Ingredients: The Dream Team
Here’s the lineup for your new favorite brownies. Don’t be fooled by the simplicity; each ingredient is playing a crucial role in creating chocolate nirvana.
- 1 cup sourdough discard (unfed): This is our star! The hero of our zero-waste story. It doesn’t need to be active or bubbly—straight from the fridge is perfect. It adds a subtle tang that makes the chocolate pop and creates an incredibly tender crumb.
- ½ cup unsalted butter, melted: The foundation of richness. I use unsalted so we can control the salt level. Melting it first makes for a super fudgy texture, not cakey.
- 1 cup granulated sugar: For sweetness and that classic brownie structure.
- ½ cup brown sugar: My little secret weapon. The molasses in brown sugar brings a deeper, caramel-like flavor and helps create that gorgeous, moist, chewy texture.
- 2 large eggs: Our binding agents, bringing everything together and adding to the rich structure.
- 1 teaspoon vanilla extract: The flavor enhancer. It rounds out the chocolate and makes the whole thing smell like a bakery dream.
- ¾ cup unsweetened cocoa powder: Use the best you can get your hands on! This is where the primary chocolate flavor comes from, so don’t skimp. A good, dark cocoa powder will give you the most intense results.
- ½ cup all-purpose flour: Just enough to give the brownies structure without making them cakey. We’re going for fudgy, remember?
- ½ teaspoon salt: Crucial. Salt is chocolate’s best friend. It cuts the sweetness and makes the chocolate flavor more complex and pronounced.
- ½ cup chocolate chips (plus more for topping): Because more chocolate is always the answer. These create melty pockets of joy throughout the brownies.
- Optional twist: ¼ teaspoon espresso powder: My pro chef move. You won’t taste coffee, I promise. It just deepens and amplifies the chocolate flavor in a way that’s absolutely magical.
Let’s Make Some Magic: Step-by-Step Brownie Bliss
Ready? This is where the fun begins. No fancy equipment needed—just a couple of bowls, a whisk, and some good old-fashioned elbow grease.
- Preheat and Prep. Fire up that oven to 350°F (175°C). Take an 8×8-inch baking pan and line it with parchment paper, leaving some overhang on two sides. This is my number one hack for perfect brownies—it creates a sling so you can lift the entire batch out of the pan for super clean, easy slicing later. No more wrestling with the first broken corner piece!
- Create the Wet Base. In a large bowl, combine your melted butter, granulated sugar, and brown sugar. Whisk it like you mean it! You want to whisk for a good minute or two until it’s smooth, glossy, and well-combined. This step helps dissolve the sugar a bit, which contributes to that shiny, crackly top we all love.
- Add the Eggs and Vanilla. Crack in the two eggs and add the vanilla extract. Now, whisk again until the mixture is thick, pale, and beautifully creamy. You’re incorporating air here, which is part of the secret to that perfect texture.
- Welcome the Discard! Now for the main event. Plop in your cup of sourdough discard. Don’t be shy! Switch to a spatula or wooden spoon and mix it in until it’s fully incorporated. The batter might look a little funky, but trust the process.
- Bring in the Dry Goods. It’s time for the cocoa powder, flour, salt, and that optional espresso powder. Dump them all right on top of the wet ingredients. Here’s a chef hack: mix the dry ingredients right on top with a fork *before* you stir them into the wet. This ensures everything is evenly distributed, so you don’t get a pocket of salt or flour. Gently fold everything together until you see no more dry streaks. Do not overmix! Overmixing is the enemy of fudgy brownies, as it develops gluten and can make them tough.
- The Chocolate Chip Finale. Fold in that half-cup of chocolate chips. This is like adding little treasure chests of molten chocolate throughout your brownies.
- Pan and Bake. Scrape every last bit of that thick, luxurious batter into your prepared pan. Use your spatula to smooth the top into an even layer. For a professional, bakery-style finish, sprinkle a few more chocolate chips over the top. They’ll look gorgeous once baked. Slide the pan into the center of your preheated oven and bake for 28-32 minutes.
- The Toothpick Test for Fudgy Perfection. Here’s the most important part: do not overbake! Start checking at the 28-minute mark. The brownies are done when a toothpick inserted into the center comes out with a few moist crumbs attached. If it comes out completely clean, they’re overdone. We want fudgy, not dry! Remember, they’ll continue to cook a bit as they cool in the pan.
- The Hardest Part: Wait. I know, I know. The smell is intoxicating. But you must let the brownies cool completely in the pan on a wire rack. This is non-negotiable for that dense, rich, fudgy texture and for getting those clean slices. I usually let mine cool for at least 2 hours. For the ultimate experience, I sometimes even pop them in the fridge for an hour after they’ve cooled. It makes them extra fudgy and even easier to cut.
Serving Up the Good Stuff
Okay, they’re cooled, and you’ve sliced them into beautiful, fudgy squares. Now what? These brownies are incredible all on their own, but if you want to take them to a whole new level, here are a few of my favorite ways to serve them:
- The Classic: A tall, cold glass of milk is the undisputed champion pairing. It’s a match made in heaven.
- À la Mode Excellence: Warm a brownie slightly in the microwave for 15 seconds and top it with a scoop of high-quality vanilla bean ice cream. The contrast of warm, fudgy brownie and cold, creamy ice cream is a religious experience.
- Gourmet Drizzle: For a dinner party, drizzle the plates with a little caramel or raspberry sauce, place a brownie square in the center, and dust with a tiny bit of powdered sugar. Instant elegance.
- With Your Favorite Brew: Serve them alongside a strong cup of coffee or espresso. The bitterness of the coffee complements the sweetness of the brownie perfectly.
Make It Yours: Fun Flavor Twists
Once you’ve mastered the base recipe, the playground is open! Here are a few of my favorite ways to mix it up and make these brownies uniquely yours.
- Salted Caramel Swirl: Before baking, dollop ½ cup of store-bought or homemade salted caramel sauce over the batter. Use a knife or skewer to swirl it dramatically through the top layer. Sweet, salty, and stunning.
- Peanut Butter Pocket: Drop spoonfuls of creamy peanut butter onto the batter and swirl it in. You could even fold in ½ cup of chopped Reese’s Peanut Butter Cups for the ultimate peanut butter-chocolate fix.
- Mint Chocolate Chip: Replace the vanilla extract with ½ teaspoon of peppermint extract and use mint chocolate chips. It’s like a sophisticated, fudgy version of your favorite ice cream.
- Gluten-Free Goodness: Simply swap the all-purpose flour for a 1:1 gluten-free baking blend. The sourdough discard works its magic just the same!
- Rocky Road: After baking, while the brownies are still warm, scatter a handful of mini marshmallows and chopped walnuts over the top. Pop them back in the oven for 2-3 minutes to get the marshmallows toasty and melty.
Chef’s Notes: From My Kitchen to Yours
This recipe has evolved so much since that first “what if” moment. I’ve learned that using room temperature eggs, while not a deal-breaker, gives you a slightly better emulsion with the butter and sugar. I’ve also played with using browned butter, which adds a nutty, incredible depth, but for simplicity’s sake, regular melted butter is perfect.
A funny story: I once brought these to a potluck and didn’t tell anyone about the secret ingredient. A friend, who is a self-proclaimed “sourdough snob,” ate three and spent twenty minutes trying to figure out what gave them such an intriguing, complex flavor profile. The look on his face when I told him was absolutely priceless. That’s the Food Meld spirit right there—bringing flavors together in a way that surprises and delights.
FAQs & Troubleshooting: Your Questions, Answered
Q: My brownies came out cakey, not fudgy. What happened?
A: The most common culprits are overmixing the batter after adding the flour (which develops gluten) or overbaking. Remember, we’re folding, not beating, once the dry ingredients are in. And always err on the side of underbaking—a few moist crumbs on the toothpick are your goal!
Q: Can I use active, bubbly starter instead of discard?
A: You absolutely can! The recipe works just fine. The main difference is that an active starter might make the brownies rise a tiny bit more, potentially making them a touch less dense. But the flavor will still be fantastic.
Q: My discard is really thick/hydrated. Does that matter?
A: A little variation is okay! If your discard is super thick (like a dough), the brownies might be a bit denser. If it’s very liquid (like a thin pancake batter), they might be a touch more moist. For the most consistent results, I aim for a discard that’s about the thickness of pancake batter. But honestly, I’ve made it with all consistencies, and it’s always turned out delicious.
Q: Can I freeze these brownies?
A: Yes! They freeze beautifully. Let them cool completely, then slice and wrap them tightly in plastic wrap and place them in a freezer bag. They’ll keep for up to 3 months. Thaw at room temperature or warm them up in the microwave straight from the freezer.
Nutritional Info (Because We’re Curious!)
Okay, let’s be real—we’re not eating brownies for our health. We’re eating them for joy. But I know some of you like to keep track, so here’s a rough estimate per brownie (based on 16 servings). This is just an approximation, as ingredients can vary.
- Calories: ~210
- Carbohydrates: 28g
- Fat: 10g
- Protein: 3g
- Sugar: 20g
Remember, the sourdough discard doesn’t add significant nutritional content in this context since it’s not fermented for a long bake, but it does add that amazing texture and flavor complexity without any extra “weird” ingredients. It’s a win for your taste buds and a win for reducing food waste!
Final Thoughts: A Sweet End to Food Waste
And there you have it, friends. What started as a way to avoid throwing something away has become one of my most beloved recipes. These brownies are a perfect example of what Food Meld is all about: taking simple, comforting ideas and giving them a creative, “why didn’t I think of that?” twist.
They prove that you don’t need to be a professional pastry chef to make something unforgettable. You just need a little curiosity and a willingness to see potential where others might see waste. I hope this recipe brings as much joy to your kitchen as it has to mine. It’s more than a dessert; it’s a little high-five for using It’s more than a dessert; it’s a little high-five for using what you’ve got and making something extraordinary out of it.
So the next time you feed your starter and hear that quiet whisper of guilt, remember this moment. Remember that inside that jar is the power to turn “leftovers” into something rich, indulgent, and unforgettable. These brownies aren’t just fudgy, chocolate-packed squares of happiness — they’re a reminder that creativity and resourcefulness can work delicious magic in the kitchen.
Keep experimenting, keep playing with flavors, and keep letting curiosity lead the way. That’s the Food Meld spirit. And if you whip up a batch of these beauties, tag me @FoodMeldKitchen — I want to see every glossy, crackly-topped masterpiece you create.
Until next time, stay bold, stay curious, and stay hungry for moments that make you smile.
—Jackson 🧡🍫


