Your New Favorite Kitchen Rescue Mission
Hey friends, Jackson from Food Meld here. Let’s talk about a universal truth: 3:00 PM happens to all of us. That dreaded hour when your energy tanks, your focus wavers, and your stomach starts sending out serious SOS signals. It’s the moment you find yourself staring into the pantry abyss, willing a magical, delicious, and actually good for you snack to materialize out of thin air.
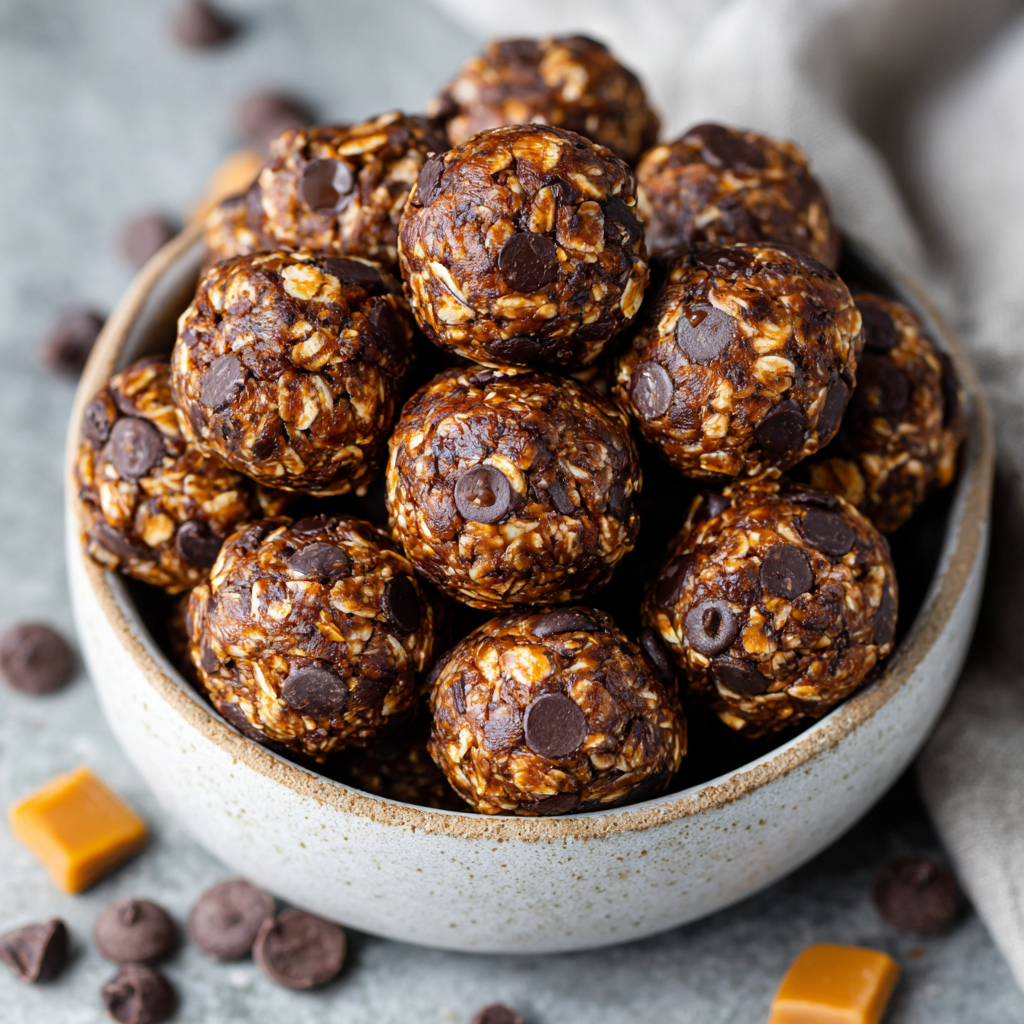
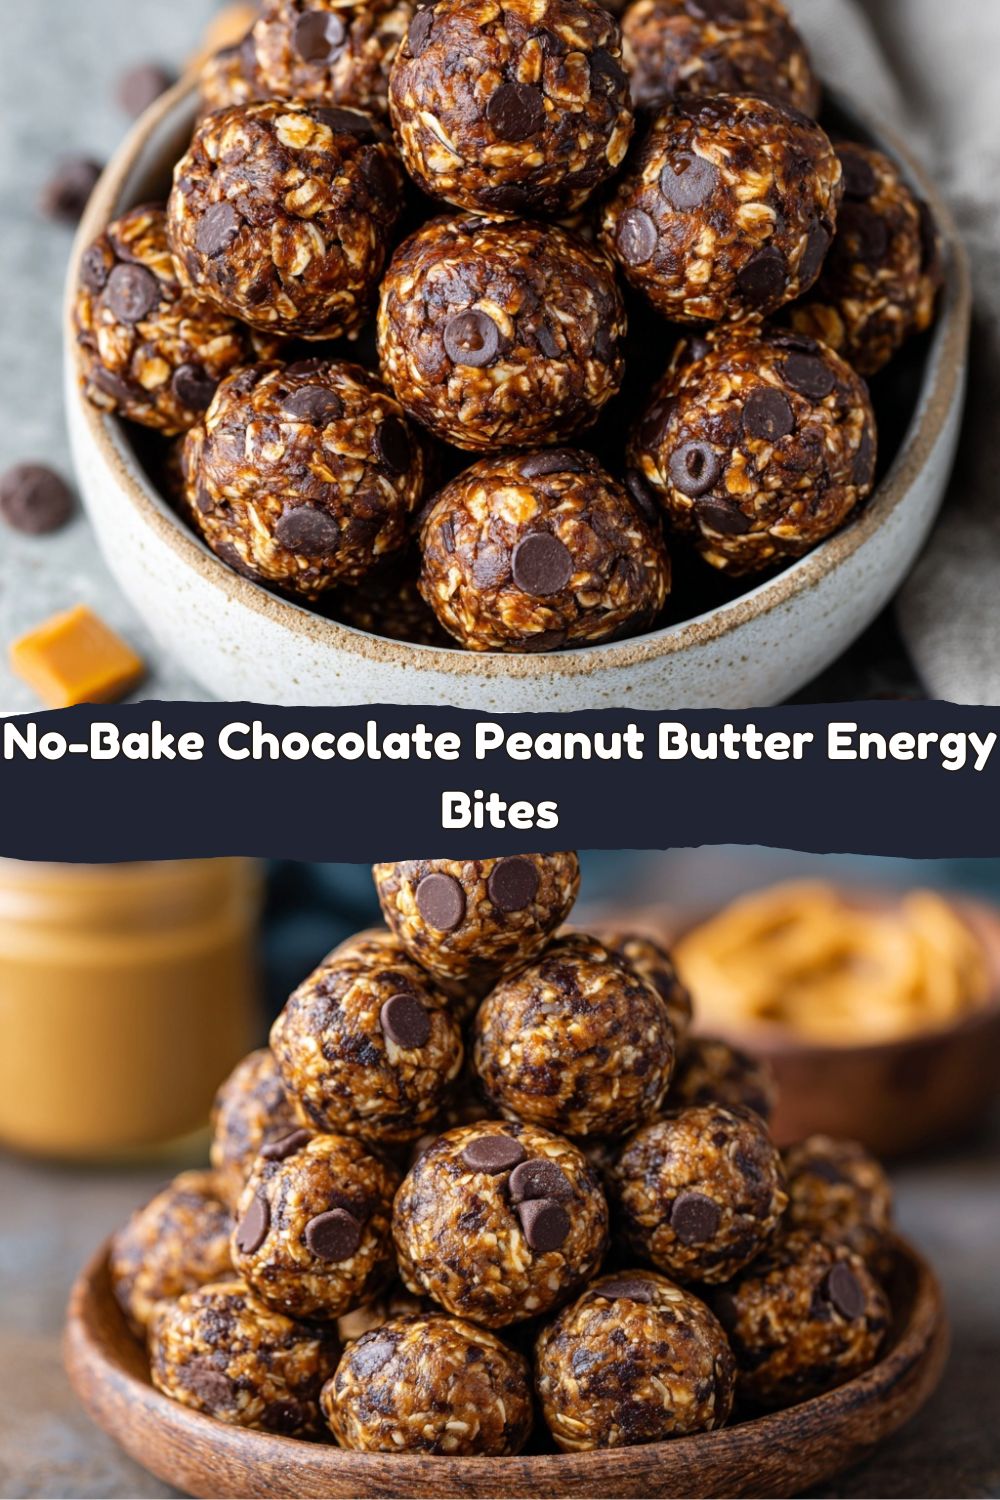
Well, consider this your official rescue mission. I’m about to hand you the keys to the easiest, most satisfying snack you’ll ever make. We’re talking about my No-Bake Chocolate Peanut Butter Energy Bites. These little powerhouses are the answer to your midday slump, your pre-workout fuel needs, and your late-night sweet tooth—all without turning on your oven.
Imagine this: chewy oats, rich cocoa, creamy peanut butter, and sweet, melty chocolate chips, all rolled into one perfect, bite-sized package. They’re like the best parts of a cookie dough, but packed with enough protein and fiber to keep you going strong. I’m not just sharing a recipe; I’m sharing a kitchen hack that will change your snacking game forever. So, grab a bowl and let’s create some “you’ve gotta try this” magic together.
A Spoonful of Nostalgia (With a Side of Peanut Butter)
This recipe takes me right back to my grandma’s kitchen. She wasn’t a fancy chef, but she was a wizard with simple, comforting ingredients. Her solution to any problem, from a scraped knee to a bad day at school, was a thick slice of bread slathered with peanut butter and a sprinkle of chocolate chips. It was our special thing.
One rainy afternoon, we decided to get creative. We mixed that iconic peanut butter and chocolate duo into a bowl of oats and honey, rolled them into messy little balls, and let them chill on the counter. We called them our “Power Pucks.” They were a bit crumbly, definitely not perfect, but we felt like we had discovered a secret the rest of the world needed to know. These energy bites are the grown-up, refined, and absolutely foolproof version of that childhood experiment. Every time I make them, I get a little taste of that same joy—the fun of creating something delicious out of simple, real food.
Gathering Your Flavor Arsenal
Here’s the beautiful part: you probably have most of this in your pantry right now. This is all about simple, whole ingredients working in perfect harmony.
- 1 cup Rolled Oats (Old-Fashioned): This is our base, giving these bites their satisfying, chewy texture and a great dose of fiber. Chef’s Insight: Don’t use instant or quick-cook oats here—they’re too fine and can make the bites mushy. If you’re gluten-free, just make sure your oats are certified GF!
- ½ cup Peanut Butter: The glue that holds it all together! I prefer an unsweetened, natural peanut butter for the best pure peanut flavor. Substitution Tip: Any nut or seed butter works beautifully. Almond butter, cashew butter, or even sunflower seed butter are all fantastic alternatives.
- ¼ cup Honey or Maple Syrup: Our natural sweetener. Honey gives a rich, floral sweetness, while maple syrup offers a deeper, caramel-like note. Chef’s Insight: This also acts as a binder. If your mixture seems too dry, add an extra tablespoon until it comes together easily.
- 2 Tbsp Cocoa Powder: This is where that deep, rich chocolate flavor comes from. Use a good-quality unsweetened cocoa powder for the best results.
- 1 tsp Vanilla Extract: The flavor enhancer! A splash of vanilla rounds out all the other flavors and adds a warm, comforting aroma. Don’t skip it!
- ½ cup Mini Chocolate Chips: Because every great bite needs a few melty chocolate pockets! The mini chips distribute the chocolatey goodness perfectly. Substitution Tip: Feel free to use dark chocolate chips, cacao nibs for a less sweet crunch, or even chopped-up pieces of your favorite chocolate bar.
Let’s Get Rolling: Your Foolproof Guide
See? I told you this was easy. We’re talking one bowl, one spoon, and about 10 minutes of active time. Let’s do this.
- The Big Mix. Grab a large mixing bowl and dump in your rolled oats, peanut butter, honey (or maple syrup), cocoa powder, and vanilla extract. Chef’s Hack: To make mixing a breeze, I like to gently warm my peanut butter and honey for about 15 seconds in the microwave first. This makes them much easier to stir and helps everything incorporate smoothly without overworking the mixture.
- Fold in the Chocolate. Once your base mixture is well-combined and looks like a thick, fudgy dough, it’s time for the star of the show: the mini chocolate chips. Gently fold them in until they’re evenly distributed. Chef’s Tip: If the dough feels too sticky to handle at this point, don’t panic! Just pop the whole bowl into the fridge for 15-20 minutes. This will firm up the fats and make the next step much cleaner.
- The Perfect Roll. Using a tablespoon or a small cookie scoop, portion out the dough. Then, get your hands in there and roll each portion into a smooth, tight ball. Chef’s Story: This is the fun part—and a great one to get kids involved in! If the mixture is sticking to your palms, a very light dab of water or oil on your hands will work wonders. Place the rolled bites on a baking sheet or plate lined with parchment paper.
- The Chill Factor. This is the most crucial “cooking” step, even though we’re not using an oven. You must let these bites chill in the refrigerator for at least 30 minutes. This allows the oats to soften slightly, the fats to firm up, and all the flavors to meld together into one cohesive, perfect bite. Trust me, it’s worth the wait!
How to Serve & Savor Your Creation
Okay, the timer has beeped. You’ve waited (mostly) patiently. Now, it’s time to enjoy the fruits of your incredibly simple labor!
I love keeping a container of these right at the front of my fridge for a grab-and-go breakfast with my morning coffee or a quick pick-me-up before I hit the gym. They’re the perfect companion for a long afternoon of recipe testing in the Food Meld kitchen.
For a next-level snack plate, serve a couple of these energy bites alongside a piece of fresh fruit, like apple slices or a banana. The combination of the chewy, chocolatey bite with the crisp, sweet fruit is absolutely divine. They also make a fantastic, healthier dessert option. Pop two on a small plate after dinner for a sweet treat that won’t leave you feeling sluggish. However you eat them, just enjoy every single bite!
Make It Yours: Fun Flavor Twists
The basic recipe is a total winner, but half the fun of cooking is making a recipe your own. Here are a few of my favorite ways to mix it up.
- The Tropical Escape: Swap the peanut butter for almond butter, and mix in ¼ cup of unsweetened shredded coconut and 2 tablespoons of chopped dried mango or pineapple.
- The Double Chocolate Crunch: For the ultimate chocoholic, replace 2 tablespoons of the oats with an extra tablespoon of cocoa powder and add ¼ cup of cacao nibs along with the chocolate chips.
- The Cookie Duelist: Add ¼ teaspoon of cinnamon and use maple syrup as your sweetener. It creates a flavor that’s eerily similar to the inside of a snickerdoodle cookie!
- The Protein Power-Up: Stir in a scoop of your favorite chocolate or vanilla protein powder. You may need to add an extra tablespoon of peanut butter or honey to keep the mixture from getting too dry.
- The Trail Mix Twist: Fold in 2 tablespoons of chopped nuts (like almonds or walnuts) and 2 tablespoons of dried cranberries or raisins along with the chocolate chips.
Jackson’s Kitchen Notes
This recipe has been a staple on Food Meld for years, and it’s evolved thanks to all of you! The original version was a bit too sweet for my taste, so I dialed back the honey just a touch. I’ve also learned that the quality of your peanut butter makes a huge difference. The ones with added oils and sugars can make the bites overly sweet and greasy. Sticking with a natural, stir-well kind gives you the purest flavor and perfect texture.
A funny story: I once tried to make a giant, energy bite “loaf” and slice it, thinking I was a genius saving time. Let’s just say it turned into more of an energy “crumble” that we had to eat with a spoon. Not my finest moment, but still delicious! Sometimes, the simple, rolled-by-hand method is the best.
Your Questions, Answered!
I’ve seen all your comments and messages over the years, so here are the answers to the most common questions.
- My mixture is too dry and won’t stick together. What did I do wrong? This usually means your peanut butter was a bit thick or your oats were extra thirsty. The fix is easy! Just add more binder. Add an extra tablespoon of peanut butter OR honey/maple syrup, one at a time, until the mixture holds together when you pinch it.
- Can I make these vegan? Absolutely! It’s a super simple swap. Just use maple syrup instead of honey, and make sure your chocolate chips are vegan-friendly (many dark chocolate chips are).
- How long will these really last? Stored in an airtight container in the fridge, they’ll stay fresh and delicious for up to 2 weeks. You can also freeze them for up to 3 months! They thaw in just a few minutes.
- Why do I have to use rolled oats? Can I use a different kind? Rolled oats provide the perfect chewy texture. Instant oats will absorb too much moisture and become mushy, and steel-cut oats are too hard and won’t soften enough. Stick with old-fashioned rolled oats for the best result.
Straight Talk on Nutrition
Now, I’m not a nutritionist, but I am a chef who cares about fueling my body with real food. Let’s break down what’s in these tasty bites. Each one is a solid source of sustained energy, thanks to the complex carbohydrates from the oats. The healthy fats and protein from the peanut butter help keep you full and satisfied, preventing that sugar crash you’d get from a candy bar.
The fiber from the oats is great for digestion, and using natural sweeteners means you’re avoiding refined sugars. Remember, these are a snack or a supplement, not a meal replacement. They’re a powerful tool in your healthy eating arsenal, giving you a delicious and wholesome option when a craving strikes. The nutritional info is an estimate, but it’s a great guideline to see the balance of macros you’re getting in every single bite.
Ready to Meld Some Flavor?
And there you have it! Your complete guide to making the easiest, most delicious snack that will forever banish your 3 PM hunger monster. This is what Food Meld is all about: taking simple, bold flavors, adding a little creative energy, and ending up with something truly unforgettable that anyone can make.
I hope these Chocolate Peanut Butter Energy Bites become a regular in your kitchen rotation. They’re a testament to the fact that cooking doesn’t have to be complicated to be incredible. So, get in that kitchen, get your hands a little messy, and taste just how awesome simple can be.
– Jackson


