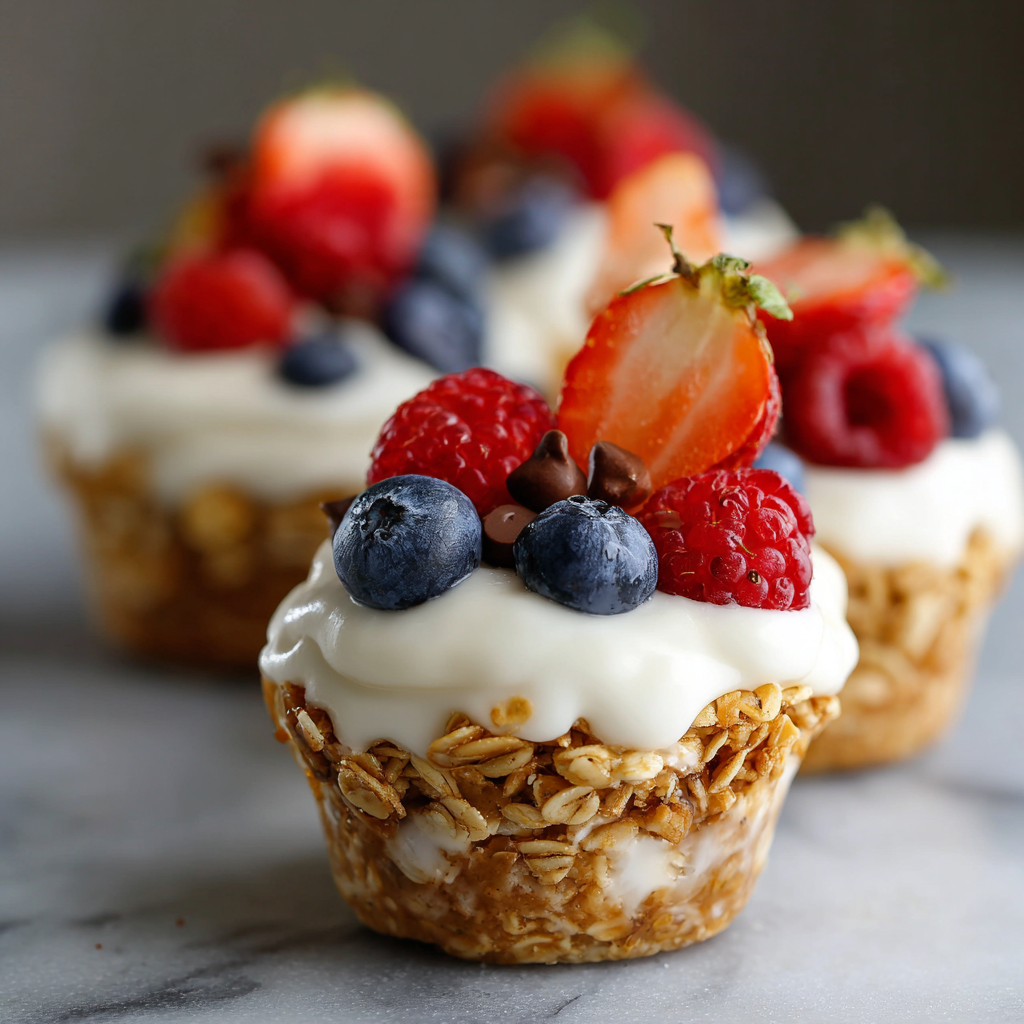
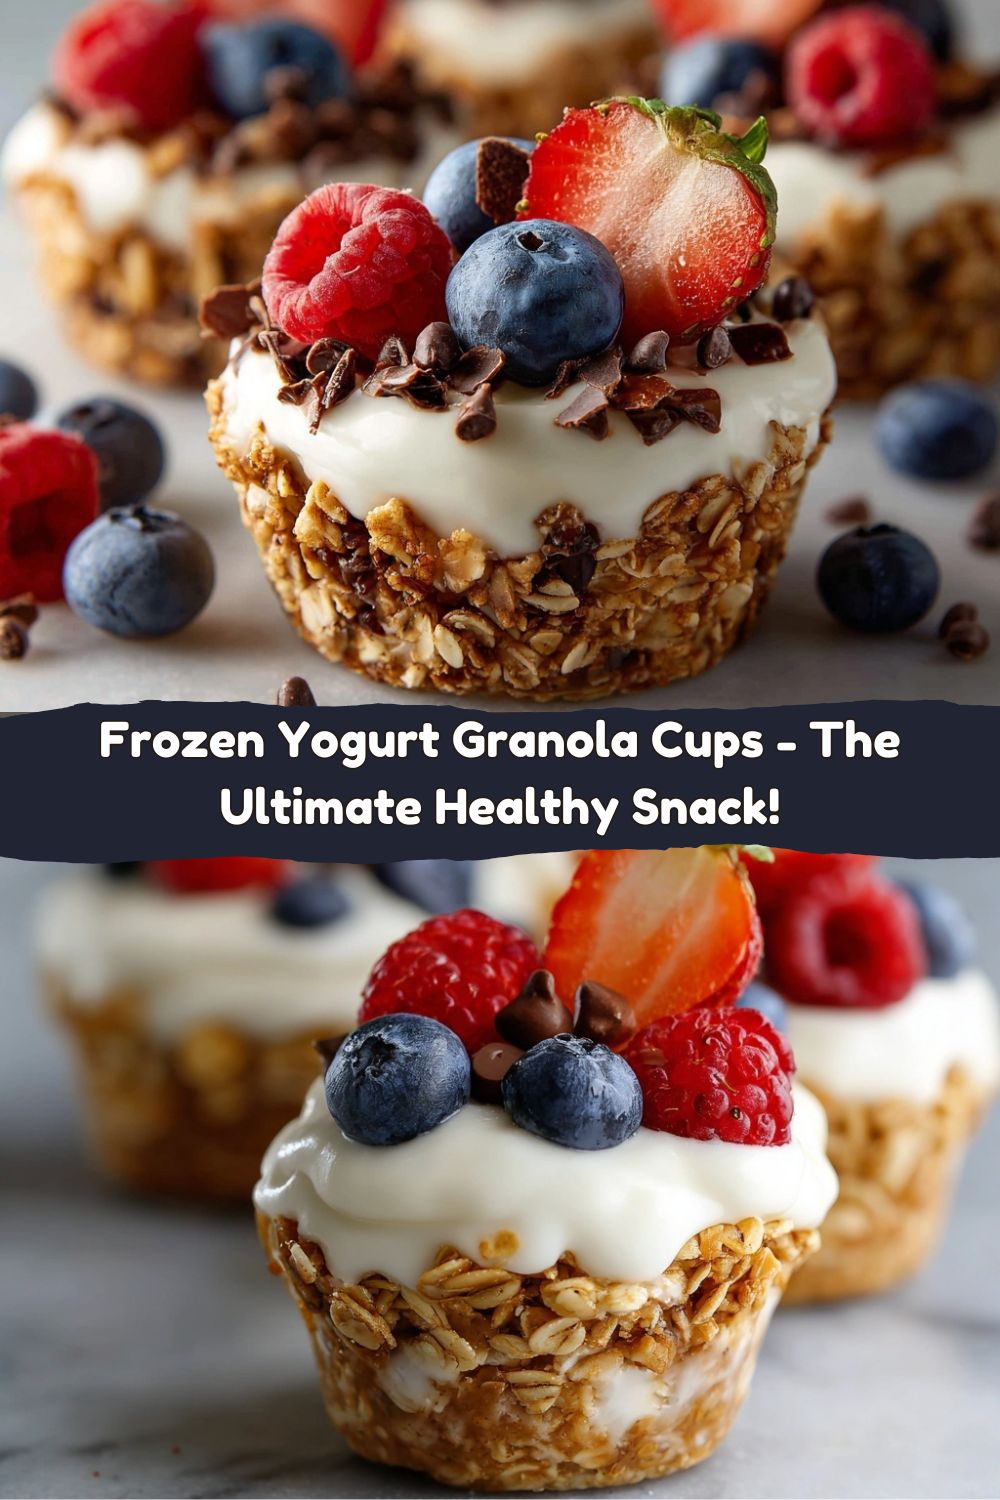
Frozen Yogurt Granola Cups – Easy Healthy Snack with Greek Yogurt
Hey friends, Jackson from Food Meld here. Let’s be real for a second. How many times have you stood in front of the open fridge, looking for something that’s both satisfying and doesn’t make you feel like you need a nap afterward? You want a snack that’s cool, a little creamy, has a bit of a crunch, and honestly, just makes you happy. I’ve been there more times than I can count, especially after a long day of recipe testing.
That’s exactly why I’m so pumped to share these Frozen Yogurt Granola Cups with you today. Think of them as the superhero version of your favorite yogurt parfait, but portable, freezable, and seriously impossible to mess up. They’re the ultimate make-ahead win for busy mornings, a killer post-workout refuel, or that 3 PM slump when a cookie is calling your name but you know your energy levels will thank you for something better.
We’re talking a crunchy granola base, a thick and creamy Greek yogurt middle that’s tangy and sweet, all topped with a burst of juicy berries. The best part? You are the boss of these cups. You get to pick your favorite granola, your go-to yogurt, and whatever toppings make your taste buds do a little dance. So, let’s ditch the boring snack routine and cook up something awesome that’s waiting for you in the freezer whenever a craving strikes.
A Popsicle Meltdown and a Kitchen Revelation
This recipe takes me right back to sweltering Southern summers at my grandma’s house. She always had a freezer stocked with those neon-colored, sugar-loaded popsicles. Don’t get me wrong, we loved them, but by the third one, you’d be buzzing so hard you could power the ceiling fan yourself. I’ll never forget one particularly hot afternoon, trying to eat a grape popsicle faster than it could melt all over my hands. It was a sticky, purple mess, and my grandma just laughed and said, “Jackson, there has to be a better way.”
That phrase has stuck with me forever. Years later, deep in my “what if we tried this?” kitchen energy phase, I was making a big batch of granola and had a tub of Greek yogurt staring me down. I thought about those popsicles and that sticky mess, and I had a lightbulb moment. What if I combined the two? What if I made a frozen treat that was actually substantial, packed with protein, and wouldn’t leave you in a sugar coma? I pressed some granola into a muffin tin, piled in the yogurt and berries, and crossed my fingers. A few hours later, I pulled out the most perfect, grab-and-go frozen cup. It was the “better way” my grandma was talking about, all those years ago. No mess, all the flavor, and 100% of the fun.
Gathering Your Flavor Arsenal
One of my core cooking beliefs is that simple ingredients, when you choose them well, create the most unforgettable food. Here’s everything you’ll need to build your own batch of these frozen wonders. This isn’t a fussy list—it’s a launchpad for your creativity!
- 2 cups 5% Greek Yogurt (or at least 2%): I’m a big advocate for using full-fat Greek yogurt here. That bit of extra fat gives you an incredibly creamy, rich texture that doesn’t turn into an icy brick in the freezer. It’s the difference between a satisfying bite and a frosty one. If you only have low-fat, it’ll still work, but the texture will be a bit firmer.
- 2 tbsp Honey or Maple Syrup (optional): This is your sweetness dial. I like a little honey for its floral notes, but pure maple syrup is a fantastic vegan option. Taste your yogurt first! If your granola is already plenty sweet or you’re using super ripe fruit, you might not need any extra sweetness at all.
- 1 ½ cups Granola of Choice: This is where you can really define the flavor profile. Love clusters? Use a clustery one! Want a nutty base? Go for a nut-packed granola. My pro-tip: avoid super oily granolas, as they can make the base a little greasy once frozen. A nice, toasty oat-based one is perfection.
- 1 cup Mixed Fresh or Frozen Berries: Berries are my go-to because they’re naturally low in moisture compared to other fruits (looking at you, watermelon), which means they freeze beautifully without making the yogurt watery. If using frozen, no need to thaw—just toss them in straight from the bag!
- Optional Toppings (The Fun Part!):
- Mini Chocolate Chips: Because a little chocolate makes everything better.
- Coconut Flakes: Toasted or raw, they add a wonderful chewy texture and tropical vibe.
- Chia Seeds: For a tiny boost of fiber and omega-3s.
- Nut Butter Drizzle: A swirl of almond or peanut butter over the top before freezing is a GAME CHANGER.
Let’s Build These Flavor Cups!
Alright, team, time to get our hands a little messy. This is the fun, no-stress part of the process. I’ll walk you through each step with a few of my favorite chef hacks to ensure your yogurt cups are absolute perfection.
- Prep Your Station. First things first, grab a standard 12-cup muffin tin and line it with silicone or paper liners. I’m a huge fan of silicone liners for this because they peel off like a dream and are reusable, but paper works just fine. A little spritz of cooking spray in the paper liners can help prevent any sticking, but it’s not always necessary. Chef’s Hack: If you only have a 6-cup muffin tin, no worries! Just work in batches or make bigger, more substantial cups.
- Create the Crunchy Base. Now, scoop 1 to 2 tablespoons of your chosen granola into the bottom of each muffin cup. Take the back of a spoon or your fingers and press it down gently to form a solid, even layer. You don’t want to pack it into a brick, but a firm press will help it hold together once frozen. Think of it as building the foundation for your flavor house!
- Whip Up the Yogurt Filling. In a medium bowl, plop in your gorgeous, thick Greek yogurt. Add your honey or maple syrup if you’re using it. Now, grab a whisk or a spatula and give it a good, vigorous stir until everything is smooth and combined. This is also the time to fold in any mix-ins like chia seeds or even a sprinkle of cinnamon. Taste it! This is your chance to make sure the flavor is exactly where you want it.
- The Big Fill & Top It Off. Using a spoon or a small cookie scoop, dollop the yogurt mixture over the granola base, dividing it evenly among the 12 cups. Now, for the artistic flourish: press your berries and other toppings gently into the surface of the yogurt. If you’re adding a nut butter drizzle, now’s the time! A little swirl on top looks gorgeous and adds a ripple of flavor. Chef’s Hack: Pressing the toppings in just a bit ensures they don’t fall off when you take a bite.
- The Deep Freeze. Carefully transfer your loaded muffin tin to the freezer. We’re looking for a solid freeze here, which will take at least 2 to 3 hours. I like to let them go for a full 4 hours or, even better, overnight. Patience, my friend! You’re so close to snack heaven.
- The Grand Finale: Enjoy! When that frozen yogurt craving hits, simply pull out as many cups as you need. Let them sit on the counter for about 5 minutes to thaw slightly. This is the key to a perfect texture—it softens the yogurt just enough so you can bite into it without challenging your teeth to a duel. Then, peel off the liner and dig in!
How to Serve & Savor Your Creation
Okay, you’ve waited patiently, and now you’re holding a perfectly frozen yogurt cup. Now what? The beauty of these is in their versatility. For a quick breakfast, I’ll grab one as I head out the door and let it thaw in my lunch bag for about 20-30 minutes. By the time I’m ready for a break, it’s the ideal soft-serve consistency.
Want to get a little fancy for a healthy dessert? Plate one or two on a small dish next to a hot cup of coffee. The contrast of the warm coffee and the cool, creamy cup is just *chef’s kiss*. If I’m feeding a crowd for brunch, I’ll make a whole platter of these, maybe with a few different topping varieties so everyone can pick their favorite. They look so vibrant and impressive, and no one needs to know how ridiculously easy they were to make.
Mix It Up! Creative Twists on the Classic
This is my favorite section because it’s where your “what if we tried this?” energy gets to shine. Once you’ve mastered the basic blueprint, the flavor world is your oyster. Here are a few of my favorite spins:
- Tropical Vacation: Swap the berries for diced mango and pineapple. Use a coconut granola and mix a tablespoon of coconut cream into the yogurt. Top with toasted coconut flakes. Close your eyes, and you’re basically on a beach.
- Chocolate Peanut Butter Cup: Use a chocolate-flavored granola for the base. Mix a tablespoon of peanut butter powder into the yogurt and sweeten with a touch of maple syrup. Top with mini chocolate chips and a drizzle of melted peanut butter. It’s a healthy-ish take on a candy bar!
- Cherry Almond Delight: Fold chopped dark sweet cherries (frozen work great) into the yogurt. Use an almond-based granola and top with slivered almonds. The cherry-almond combo is a classic for a reason.
- Vegan Powerhouse: Super easy! Use a plant-based yogurt (coconut or almond yogurt work well) and maple syrup. Ensure your granola is vegan-friendly, and load up on the fruit, nuts, and seeds.
Jackson’s Kitchen Notes & Stories
This recipe has evolved so much since that first experimental batch. I used to worry about getting the granola-to-yogurt ratio perfect, but I’ve learned it’s pretty forgiving. My dog, Biscuit, is a huge fan of recipe testing days, mainly because he’s on high alert for any rogue blueberries that might hit the floor. (Spoiler alert: he always gets them.)
The biggest lesson? Don’t overthink it. The first time I made these, I tried to melt and mix the honey into the yogurt while the yogurt was still cold from the fridge. It was a clumpy, frustrating mess. Now I know: if your honey is super thick, just warm it for 10 seconds in the microwave before mixing. It blends in like a dream. Little hacks like that are what make cooking fun, not a chore.
Your Questions, Answered!
I’ve gotten a lot of DMs and comments about these cups over time, so I’ve gathered the most common questions here to help you out.
- Q: Why is my yogurt super icy and hard?
A: This usually comes down to the yogurt fat content. Non-fat or low-fat yogurts have a higher water content, which forms ice crystals when frozen. Using a full-fat Greek yogurt (5% is ideal) gives you that creamy, soft-serve texture because the fat prevents it from freezing solid. It’s worth the upgrade!
- Q: Can I make these without a muffin tin?
A: Absolutely! A mini-muffin tin will make adorable, bite-sized treats. You can also use small paper cups on a baking sheet if you’re in a real pinch. They might not hold a perfect shape, but they’ll taste just as amazing.
- Q: How long do these last in the freezer?
A: They are freezer champions! Stored in an airtight container or a large freezer bag, they’ll keep their best texture and flavor for up to 2 months. After that, they might start to develop a little freezer burn, but they’ll likely be long gone by then.
- Q: My granola base is falling apart! What did I do wrong?
A: No worries! This can happen if the granola doesn’t have enough inherent “clumpiness.” Next time, try mixing a tiny bit of melted coconut oil or a spoonful of nut butter into the granola before pressing it into the cups. This acts as a glue and helps the base hold its shape beautifully.
A Quick Bite on Nutrition
I’m not a nutritionist, just a chef who loves food that makes you feel good. Here’s a general breakdown of what you’re getting in one of these power-packed cups (approximate, based on using 5% Greek yogurt and a standard oat-and-nut granola).
Each cup is roughly: 120 Calories | 7g Protein | 14g Carbs | 5g Fat
What I love about these numbers is the balance. That 7 grams of protein from the Greek yogurt is what makes these so satisfying and great for keeping you full. The carbs give you a clean energy boost, and the fat from the yogurt and granola helps with satiety and makes the whole experience creamy and delicious. It’s a snack that truly fuels you, without any of the junk.
Let’s Keep the Fun Going!
And there you have it! Your complete guide to conquering the grab-and-go snack game with these unbelievably easy Frozen Yogurt Granola Cups. I love this recipe because it embodies everything Food Meld is about: bold, comforting flavors (that creamy yogurt!), a creative twist (a parfait you can hold in your hand!), and a whole lot of fun.
I really hope you give these a try. They’ve been a total game-changer in my kitchen and for my readers. When you make them, I’d love to see your creations! Tag me on Instagram @FoodMeld and show me your favorite flavor combinations. Your twist might just inspire my next batch.
Now get in that kitchen, embrace the mess, and freeze up something awesome. Until next time, friends—keep cooking boldly!
— Jackson