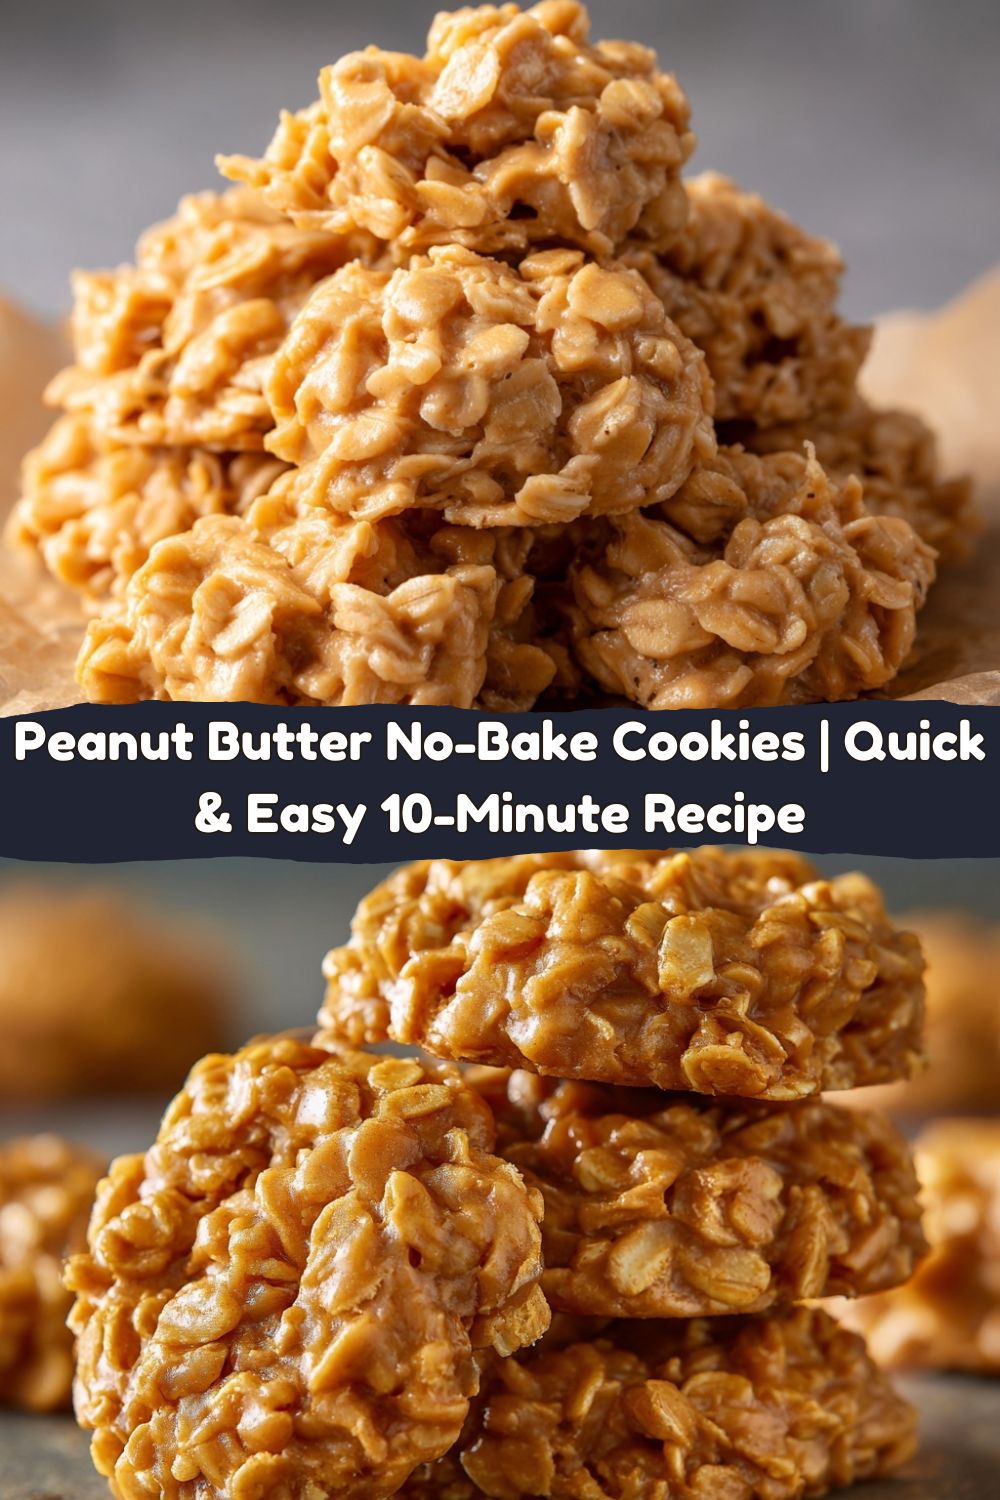
Your New Go-To Sweet Fix: Peanut Butter No-Bake Cookies
Hey friends, Jackson from Food Meld here. Let’s be real for a second. We’ve all been there. It’s 8 PM, the day has been a whirlwind, and a serious cookie craving hits you like a freight train. The thought of hauling out the mixer, sifting flour, and waiting for an oven to preheat feels like climbing a mountain. You need something sweet, stat, and you need it to be absolutely zero fuss.
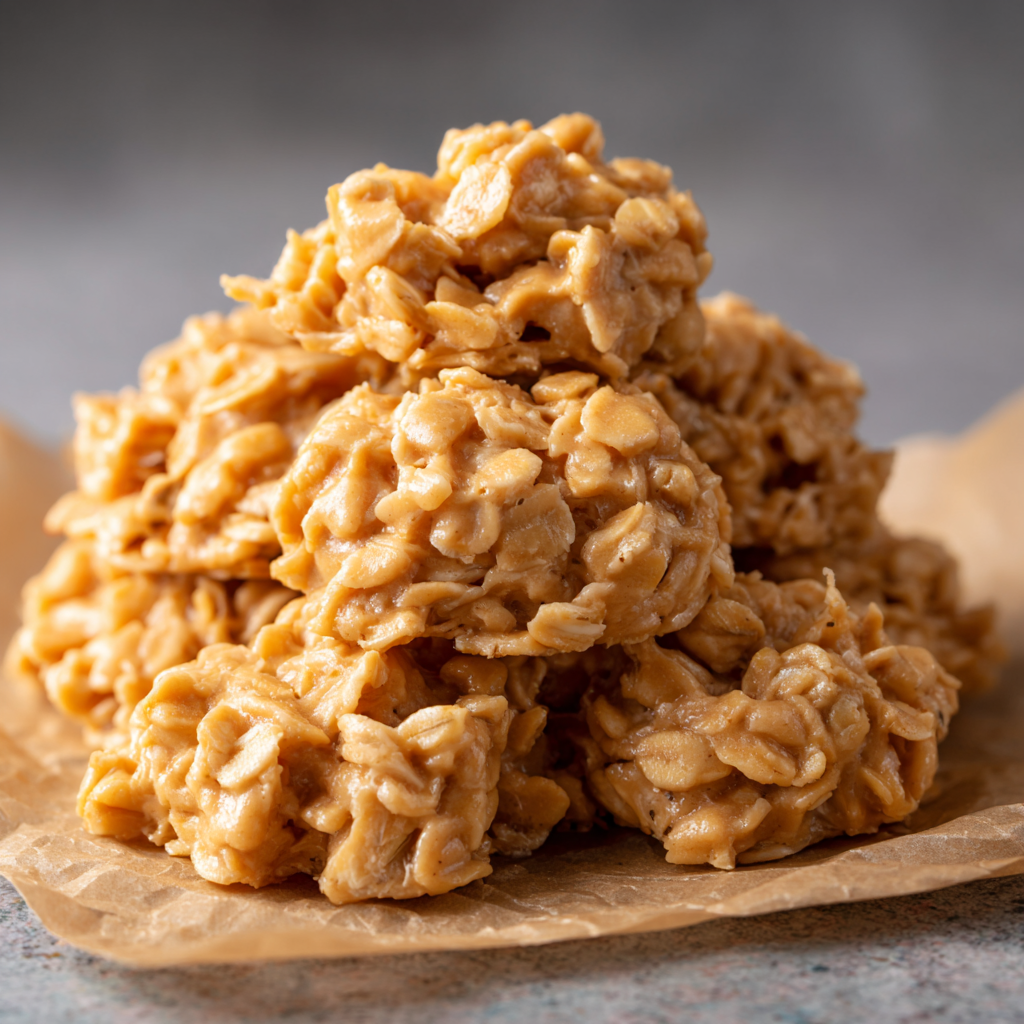
Well, my friend, you have just stumbled upon your kitchen’s new secret weapon. These Peanut Butter No-Bake Cookies are the answer to your prayers. They’re the ultimate expression of my cooking philosophy: bold, comforting, and packed with that “you’ve gotta try this” energy. We’re talking about a recipe that requires just one saucepan, a handful of pantry staples, and about 10 minutes of your time. No oven, no complicated techniques, just melt, mix, and scoop.
The result? A batch of unbelievably creamy, chewy, and peanut-buttery cookies that will have everyone thinking you slaved away for hours. They’re the perfect treat for a last-minute potluck, a quick lunchbox surprise, or when you need to satisfy that late-night sweet tooth without the commitment of a full-blown baking session. So, tie on your apron, grab your favorite saucepan, and let’s cook up some pure, uncomplicated joy. Welcome to flavor town, the no-bake way.
The Magic of Mamaw’s Kitchen
This recipe takes me right back to my Mamaw’s kitchen in the heart of Georgia. Her house always had this incredible smell—a mix of fresh-baked biscuits, simmering greens, and, on the best days, the sweet, toasty aroma of these no-bake cookies coming together on her stovetop. I’d perch on a stool at her counter, watching her work her magic with a wooden spoon and a well-loved saucepan.
She called them her “emergency cookies.” Unexpected company? Emergency cookies. Grandkids having a meltdown? Emergency cookies. Just because it’s Tuesday? You get the idea. I was always mesmerized by the alchemy of it all. One minute it was a pot of bubbling, buttery syrup, and what felt like just seconds later, we were dropping spoonfuls of this thick, glorious mixture onto wax paper. The hardest part was the agonizing wait for them to set up, but Mamaw always let me scrape the pot clean. That warm, gooey, peanut-buttery residue was my reward, and I swear it tasted like pure happiness. This recipe is hers, through and through, and every time I make it, I’m eight years old again, covered in a bit of sugar and feeling completely loved.
Gathering Your A-Team: The Ingredients
One of the best things about this recipe is its beautiful simplicity. You probably have most of this stuff in your pantry right now! Let’s break down the all-star cast of characters that makes these cookies so unforgettable.
- 1/2 cup Butter: This is our flavor and texture foundation. I use unsalted butter so I can control the salt level, but salted works just fine and adds a nice sweet-and-salty kick. For a dairy-free version, a high-quality vegan butter substitute works wonders.
- 2 cups Granulated Sugar: This sweetens the deal and, crucially, helps the cookies set up with that perfect chewy texture. It dissolves into the milk and butter to create our syrupy base.
- 1/2 cup Cold Milk: The liquid that brings everything together. Using cold milk is a little chef’s hack—it helps cool the hot syrup down a bit when you add the peanut butter and oats, preventing them from getting too soft. Whole milk gives the richest flavor, but 2% or even your favorite non-dairy milk like oat or almond will do the trick.
- 1/2 cup Peanut Butter: The star of the show! I highly recommend using a standard creamy peanut butter, not the natural kind that separates. The stabilizers in conventional peanut butter help the cookies set up properly and give them that classic, creamy texture. If you’re a crunchy peanut butter fan, feel free to use it for a bit of extra texture!
- 1 tablespoon Vanilla Extract: Don’t be shy here! A full tablespoon might seem like a lot, but it adds a deep, warm aroma that makes the peanut butter flavor pop. It’s the secret weapon that makes everyone say, “Wow, what’s in these?”
- 3 1/2 cups Quick-Cooking Oats: The heart and soul of our cookie. Quick oats are essential because they absorb the hot syrup perfectly and soften just enough, giving you that ideal chewy-but-tender bite. Do not use old-fashioned rolled oats—they are too thick and won’t soften properly, leaving you with a crumbly, dry texture.
Let’s Get Cooking: Your Foolproof Steps
Ready to see some kitchen magic happen? Follow these steps, and you’ll be a no-bake pro in no time. I’m adding my favorite chef hacks and commentary along the way to make sure you get perfect results every single time.
- Prep Your Landing Zone. Before you even turn on the stove, line two baking sheets with parchment paper or wax paper. This is your non-negotiable first step! Once that hot mixture is ready, you need to move quickly, and you don’t want to be scrambling for a place to drop your cookies. Chef’s Hack: A small ice cream scoop or two spoons is perfect for creating evenly-sized cookies.
- Melt and Combine. Grab a medium-sized saucepan (a heavy-bottomed one is best for even heating) and combine the butter, sugar, and cold milk. Place it over medium heat and stir frequently until the butter melts and everything is combined. This is not a “set it and forget it” situation—we want to dissolve the sugar completely to avoid graininess.
- The All-Important Boil. Now, bring the mixture to a full, rolling boil. Once it’s bubbling across the entire surface, start your timer. Let it boil for exactly 1 minute and 30 seconds, stirring constantly. This timing is crucial! Boiling for less time can prevent the cookies from setting, and boiling for too long can make them hard and crumbly. I use the timer on my phone so I don’t have to guess.
- Off the Heat & The Big Stir. After your 90 seconds are up, immediately remove the pan from the heat. This is where the magic happens! Quickly stir in the peanut butter and vanilla extract. You’ll see it melt into the syrup, creating a smooth, glossy, heavenly-smelling mixture. Keep stirring until it’s completely uniform.
- Bring in the Oats. Now, dump in all 3 1/2 cups of quick oats. Use a sturdy spoon or spatula to mix everything together, making sure every single oat is fully coated in that delicious peanut butter syrup. The mixture will thicken up quickly as you stir.
- Scoop and Shape. Working relatively quickly (the mixture sets as it cools), drop rounded tablespoonfuls of the cookie dough onto your prepared baking sheets. If you want them a little prettier, you can gently shape them with your fingers. Don’t worry, they’re not too hot to handle! Chef’s Hack: If the mixture gets too firm to scoop, you can add a tiny splash of milk and stir it in to loosen it up.
- The Patience Test. Now, the hardest part: let the cookies sit at room temperature for about 30 minutes to firm up. Don’t refrigerate them, as this can cause them to sweat and get sticky. They’re done when they hold their shape and are firm to the touch. Then, it’s time to dig in!
Sharing the Love: How to Serve ‘Em Up
Okay, the cookies are set. The aroma in your kitchen is incredible. Now, how do you make the moment even better? Here are a few of my favorite ways to serve these crowd-pleasers.
For a classic, homey feel, just pile them high on a simple plate or in a rustic wooden bowl. They speak for themselves. If I’m taking them to a gathering, I love to drizzle a little melted chocolate or a simple powdered sugar glaze over the top for a little extra pizzazz. A tiny sprinkle of flaky sea salt right after scooping is *chef’s kiss*—it heightens the peanut butter flavor beautifully.
These are the ultimate potluck cookie because they travel like a dream. Tuck a few into a lunchbox for a sweet surprise, or serve them alongside a scoop of vanilla bean ice cream for an insanely easy dessert. A cold glass of milk is, of course, their best friend forever. However you choose to serve them, just get ready for the recipe requests to start rolling in.
Mix It Up: Creative Twists on the Classic
Once you’ve mastered the basic recipe, the fun really begins. This is where we bring in that “what if we tried this?” energy. Here are a few of my favorite ways to mix it up and make this recipe your own.
- Chocolate Peanut Butter Paradise: Stir in 1/4 cup of unsweetened cocoa powder along with the butter and sugar at the very beginning. You’ll end up with a rich, fudgy cookie that’s basically a cross between a cookie and a fudge brownie.
- The Tropical Twist: Swap out the vanilla extract for 1/2 teaspoon of coconut extract and stir in 1/2 cup of shredded coconut with the oats. It’s like a no-bake version of a classic Girl Scout cookie!
- Crunch Time: For extra texture, fold in 1/2 cup of your favorite add-ins with the oats. Chopped peanuts, toasted pecans, or even crispy rice cereal are fantastic options.
- Other Nut & Seed Butters: Not a peanut fan? No problem! This recipe is incredibly versatile. Try it with almond butter, cashew butter, or even sunflower seed butter for a school-safe version. The flavor will be different, but just as delicious.
- Gluten-Free Friendly: To make these gluten-free, just ensure you’re using certified gluten-free oats. That’s it! The rest of the ingredients are naturally gluten-free.
Jackson’s Kitchen Notes & Stories
This recipe has been with me through thick and thin. I once made a double batch for a tailgate, only to realize I’d accidentally used old-fashioned oats. Let’s just say we had a pan of “no-bake granola” instead of cookies! It was still tasty, but it taught me to always check the oat container. Live and learn, right?
Over the years, I’ve found that the weather can actually affect these cookies. On a really humid day, they might be a bit softer and take longer to set. If that happens, just be patient, or you can pop the baking sheet in the fridge for 10 minutes to help them along. The recipe is forgiving, I promise. The most important thing is to have fun and not stress. Cooking should be a joy, not a chore, and this recipe is the embodiment of that.
Your Questions, Answered!
I’ve gotten a lot of questions about this recipe over the years, so I’ve gathered the most common ones here to help you troubleshoot like a pro.
Q: My cookies didn’t set! They’re still sticky and gooey. What happened?
A: This is the number one question. It usually comes down to the boil time. If you didn’t bring the mixture to a full, rolling boil, or if you didn’t boil it for the full 90 seconds, the sugar doesn’t get hot enough to create the structure needed to set. Don’t worry, all is not lost! You can scoop the mixture back into the saucepan, reheat it, bring it back to a boil for the full time, and try again.
Q: Why are my cookies dry and crumbly?
A: The opposite problem! This typically means the mixture was boiled for too long, causing too much liquid to evaporate. Next time, be strict with that 90-second timer. You can also try adding an extra tablespoon of milk or peanut butter to the mixture before scooping to add back a bit of moisture.
Q: Can I use honey or maple syrup instead of sugar?
A: I don’t recommend it for this specific recipe. Granulated sugar is key for the chemical reaction that allows the cookies to set without baking. Liquid sweeteners will change the structure entirely and you’ll likely end up with a sticky, soupy mess. This is one time where sugar is the way to go.
Q: How long do they last, and how should I store them?
A: Store your cooled cookies in an airtight container at room temperature. They’ll stay perfect for about a week (if they last that long!). I don’t recommend refrigerating them, as it can cause condensation and make them sticky.
Quick Nutrition Breakdown
Now, I’m all about balance. Life’s too short not to enjoy a cookie, but I also believe in knowing what you’re eating. Here’s a quick, approximate look at the nutritional info per cookie (based on a batch of 24). Remember, this is an estimate and can vary based on the specific brands you use.
- Calories: 180
- Fat: 9g
- Sugar: 15g
- Carbohydrates: 22g
- Protein: 3g
- Sodium: 60mg
- Fiber: 1g
These are a treat, for sure, but they also pack a bit of protein and fiber from the peanut butter and oats, which is a nice bonus. The key, as always, is to enjoy them mindfully as part of a fun, flavorful life!
Your New Kitchen Staple Awaits
And there you have it! Your complete guide to the easiest, most satisfying cookies you’ll ever make. This recipe is more than just a list of ingredients; it’s a ticket to creating those fun, messy, and “you’ve gotta try this” moments I’m always talking about. It’s a recipe you can pass down, customize, and rely on for years to come.
I hope this becomes a back-pocket favorite in your home, just like it is in mine. It’s a little piece of my Southern roots and a whole lot of my “let’s make something awesome” energy, all rolled into one perfect, no-bake bite. So, the next time a cookie craving strikes, you know exactly what to do.
Did you try a fun variation? Have a kitchen story of your own? I’d love to hear about it! Drop a comment below and let me know how your no-bake adventure turned out. Now go forth and melt, mix, and scoop your way to cookie bliss. Until next time, happy cooking!
— Jackson


