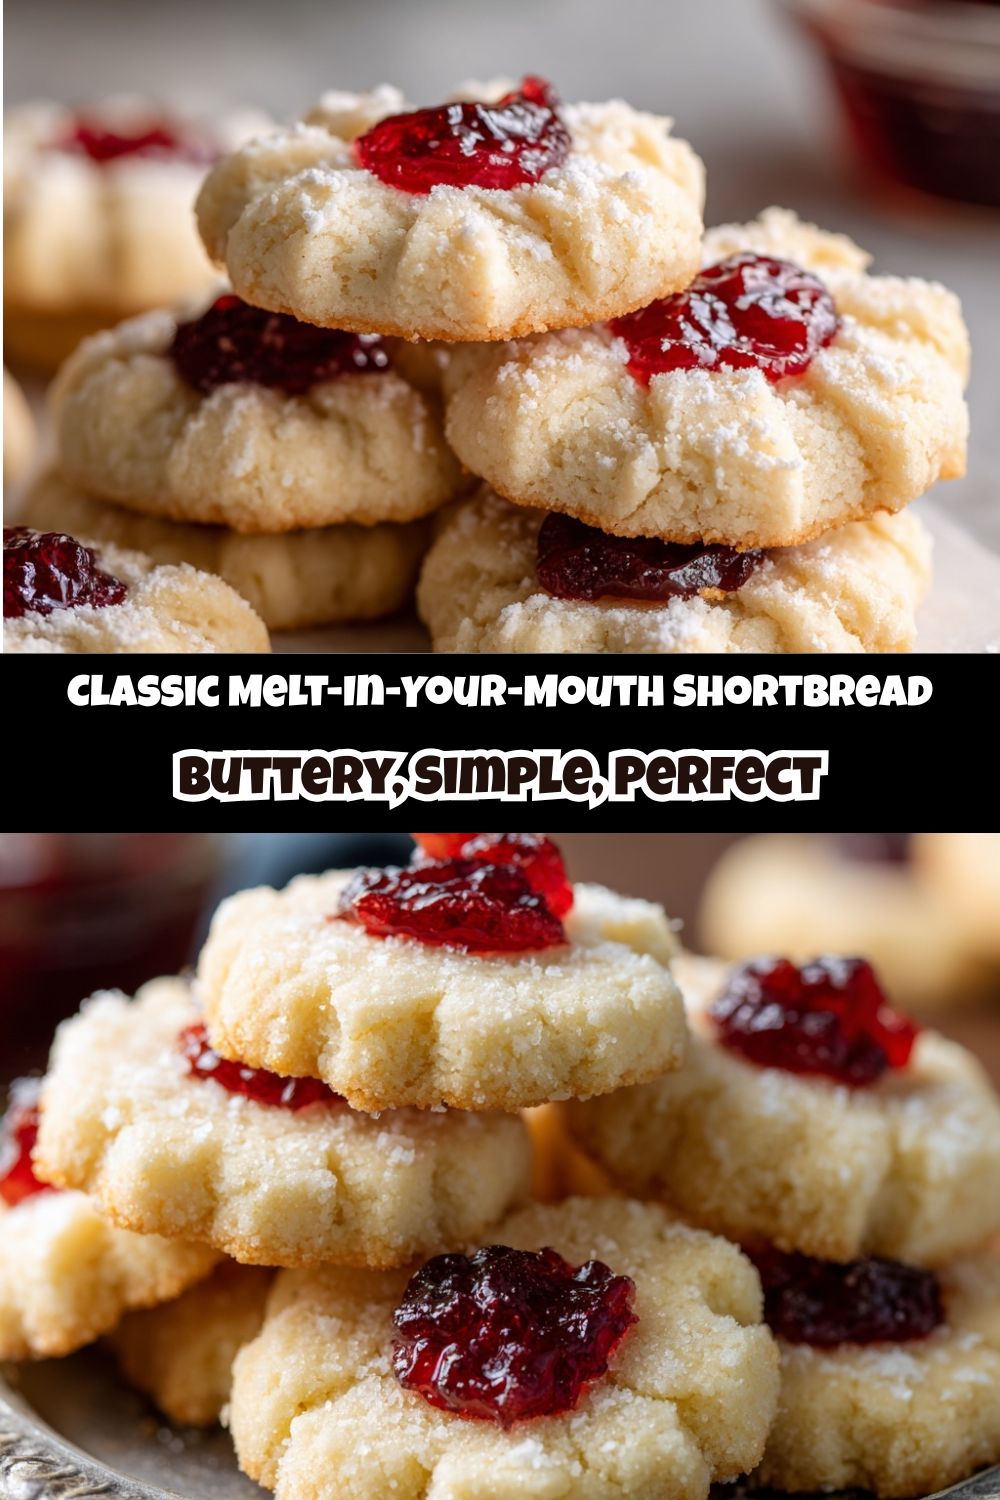
The Cookie That Started It All: My Melt-In-Your-Mouth Shortbread
Hey friends, Jackson from Food Meld here. Let’s get one thing straight right off the bat: I’m a savory guy at heart. Give me a sizzling skillet of spicy jambalaya or a perfectly seared steak any day of the week. But every year, as the air gets crisp and the holiday lights start twinkling, a specific, undeniable craving hits me. It’s not for a complex, five-layer cake or a fussy French pastry. No, it’s for something profoundly simple, deceptively elegant, and so buttery it practically dissolves on your tongue the second it touches it. I’m talking about the humble, the glorious, the absolute legend of the cookie tin: Classic Shortbread.
This isn’t just another cookie recipe. This is a culinary hug. It’s the cookie you bake when you want your kitchen to smell like a warm, cozy, buttery haven. It’s the treat you proudly place on a platter at a party, knowing it will be the first to disappear. And the best part? It’s laughably easy. We’re talking four simple ingredients you probably have in your pantry right now. No eggs, no leavening, no fancy techniques—just pure, unadulterated flavor magic.
So, whether you’re a baking newbie feeling a little intimidated or a seasoned pro looking for that *perfect* base recipe, you’ve come to the right place. I’ve tested, tweaked, and tasted this recipe more times than I can count, and I’m giving you the ultimate, never-fail version. We’re going to whip up a batch of these tender, sandy-textured wonders that are so good, they’ll make your grandmother nod in approval. So, tie on your apron, grab your favorite mixing bowl, and let’s cook something awesome together. Let’s make some memories, and some truly unforgettable shortbread.
The Tin That Told a Thousand Stories
My love affair with shortbread started not in a fancy bakery, but on my Granny Eleanor’s floral-print couch in Georgia. Every Christmas, without fail, a specific, slightly dented tartan tin would appear on her coffee table. Opening it was a ritual. You’d pry off the lid, and that first whiff of sweet butter and toasted flour would hit you—it was the official scent of the holidays for me.
Inside, nestled on wax paper, were her perfect, golden-brown shortbread fingers. They were never iced, never decorated with sprinkles. Their magic was in their simplicity. My brother and I would each take one and immediately perform the “Shortbread Test.” You’d press it gently to the roof of your mouth with your tongue. The goal? To see how quickly it would begin to melt. The best ones would start dissolving almost instantly, leaving behind a rich, sweet, buttery film that you’d savor for minutes after the cookie was gone. We’d sit there, quietly, in a state of buttery bliss, while the adults chatted. That tin, and those cookies, were more than a treat; they were a promise of family, comfort, and joy. This recipe is my homage to that feeling.
Your Shortbread Shopping List (It’s a Short One!)
See what I did there? “Short” list? I crack myself up. But seriously, the beauty of this recipe is in its short and sweet ingredient list. Quality is key here, folks. Since there are so few components, each one truly gets a chance to shine.
- 1 cup (2 sticks) Unsalted Butter, Softened – This is the star of the show, the headliner, the lead singer. I insist on using unsalted butter so you have complete control over the salt level. For the best texture, take it out of the fridge about an hour before you start. You should be able to press your finger into it easily and leave an indentation. Chef’s Insight: If you’re feeling fancy, European-style butter with a higher fat content will make these cookies even more decadently tender.
- 1/2 cup Confectioners’ Sugar – Also known as powdered sugar. We use this instead of granulated sugar because its fine texture gives the shortbread that signature melt-in-your-mouth, delicate crumb. It incorporates seamlessly into the butter, creating a smooth, non-grainy dough.
- 1/4 cup Cornstarch – This is the secret weapon! Cornstarch is the key to that incredibly tender, almost sandy texture that makes true shortbread so unique. It lightens the flour and ensures the cookie just dissolves on your tongue. There’s no direct substitute for this one—it’s essential for the magic.
- 1 1/2 cups All-Purpose Flour – The workhorse. It provides the structure. Just spoon your flour into the measuring cup and level it off with a knife—don’t scoop directly from the bag! Scooping packs the flour down and can lead to a dry, tough cookie. Substitution Tip: For a gluten-free version, a 1:1 gluten-free all-purpose flour blend works beautifully here.
Let’s Make Some Magic: The Step-by-Step
Ready? This is where the fun begins. I’m walking you through every step, with all my best chef hacks, so you end up with a perfect batch. No stress, just good vibes and great cookies.
- Preheat and Prep. First things first, get that oven preheating to 375°F (190°C). This might seem a touch high for shortbread, but trust me, it gives us a perfect lift without spreading. Now, here’s a pro move: do not grease your cookie sheet. The butter in the dough provides all the release we need, and an ungreased sheet helps the cookies keep their shape. Chef’s Hack: If you’re super worried about sticking, you can line the sheet with a piece of parchment paper.
- The Butter Whisperer. In a large bowl, add your beautifully softened butter. Now, we’re not just going to mix it; we’re going to whip it. Using an electric mixer on medium-high speed, beat that butter for a good 2-3 minutes until it’s pale, light, and fluffy. You’re incorporating air, which is what gives our shortbread its lovely lift and delicate texture. This step is non-negotiable for that “melt-in-your-mouth” quality!
- The Dry Team Assembles. In a separate bowl, whisk together your confectioners’ sugar, cornstarch, and all-purpose flour. Giving these dry ingredients a quick whisk ensures the cornstarch and salt are evenly distributed throughout the flour, so every single cookie is perfectly consistent.
- Bringing It All Together. Add your dry ingredients to the whipped butter. Start your mixer on low speed for about a minute. This prevents a powdery cloud from exploding all over your kitchen! Once it’s roughly combined, crank that mixer up to high and let it go for 3-4 minutes. I know it seems like a long time, but you’re looking for the dough to become very light, fluffy, and almost like a thick, pipeable frosting. This extended mixing is another secret to that heavenly texture.
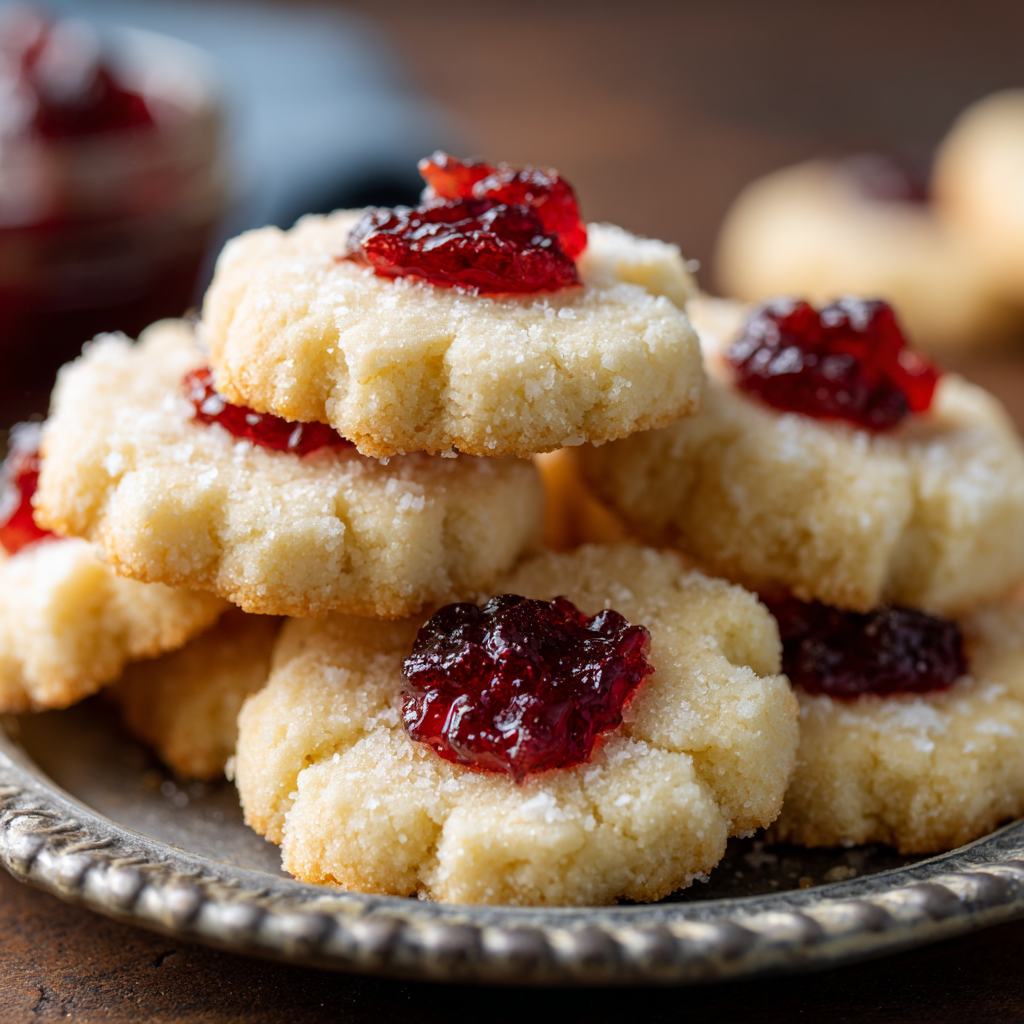
- Shape and Bake! You have options here! For a rustic look, drop the dough by rounded spoonfuls onto your ungreased cookie sheet, spacing them about 2 inches apart. For a fancy, bakery-style finish, spoon the dough into a piping bag fitted with a large star tip and pipe pretty rosettes. Now, the classic touch: take a small piece of candied cherry or about 1/4 teaspoon of your favorite jam (raspberry is killer) and gently press it into the center of each cookie.
- The Watchful Eye. Pop those beauties into your preheated oven and bake for 12-15 minutes. Now, be a hawk. We do NOT want these to brown. The second you see the very bottoms and the tips of the cookies turn the faintest, most delicate golden color, they’re done. The tops will still look pale. Pull them out! They will continue to firm up as they cool.
- The Patience Test. Let the cookies cool on the baking sheet for about 5 minutes before you ever think about moving them. They are incredibly delicate when hot. Then, ever so gently, transfer them to a wire rack to cool completely. I know it’s hard, but wait until they are fully cool to eat one. The flavor and texture fully set as they cool, and it is 100% worth the wait.
How to Serve These Buttery Gems
Okay, you’ve resisted eating them all straight off the cooling rack (mostly). Now, how do you serve them like a pro? Shortbread is incredibly versatile.
For the ultimate, classic experience, serve them alongside a hot cup of coffee or a pot of strongly brewed tea. The slight bitterness of the drink is the perfect counterpoint to the sweet, rich cookie. It’s a pairing that’s been perfect for centuries.
Want to dress them up for a party? Create a gorgeous dessert platter. Arrange the shortbread with some dark chocolate truffles, a few pieces of candied orange peel, and some toasted nuts. It looks incredibly elegant with minimal effort.
And my personal favorite? Crumble a cookie or two over a bowl of vanilla bean ice cream or a simple fruit compote. The buttery crumbs add an amazing texture and flavor that will make you feel like a kitchen genius.
Get Creative: Food Meld Your Shortbread!
This classic recipe is your perfect canvas. Once you’ve mastered the base, it’s time to get creative and add your own twist! Here are a few of my favorite ways to “Meld” it up:
- Citrus Zest Zing: Add the finely grated zest of one lemon or orange to the butter during the whipping stage. The bright, aromatic oils will perfume the entire batch with a sunny, fresh flavor.
- Spiced Chai Twist: Whisk 1 teaspoon of ground cinnamon, 1/2 teaspoon of ground cardamom, and a pinch of black pepper into your dry ingredients. It tastes like the holidays in a cookie.
- Chocolate-Dipped Delight: Once the cookies are completely cool, melt some high-quality dark or semi-sweet chocolate. Dip one half of each cookie in the chocolate, let the excess drip off, and place them on parchment paper. Sprinkle with a little sea salt before the chocolate sets.
- Earl Grey Elegance: Take the leaves from 2-3 Earl Grey tea bags (about 1 tablespoon) and grind them into a fine powder using a spice grinder or mortar and pestle. Whisk this into your dry ingredients for a sophisticated, bergamot-kissed cookie.
- Brown Butter Bliss: This is a game-changer. Before you start, melt your butter in a saucepan over medium heat. Swirl the pan until the butter foams, turns a golden amber color, and smells nutty. Pour it into a bowl and chill it until it’s solid but soft again. Then proceed with the recipe. The depth of flavor is unbelievable.
Jackson’s Kitchen Notes & Funny Stories
This recipe has been through some things with me. I remember one time, early in my blogging days, I was filming a video for this very shortbread. I was talking to the camera, being all charming, and I accidentally used granulated sugar instead of confectioners’ sugar. I didn’t realize it until I bit into a finished cookie and got a crunchy, gritty texture. Total facepalm moment! It was a hilarious (and deliciously buttery) failure that taught me to always, always label my sugar containers clearly.
Over the years, I’ve learned that the “high and fast” bake at 375°F is the trick to avoiding spreading. Lower temperatures can make the cookies grease out. And that long whipping time? I learned that from watching my Granny Eleanor. She never used a mixer, but she’d cream that butter and sugar by hand for what felt like an hour, telling stories the whole time. That’s where the love gets mixed in.
Your Shortbread Questions, Answered!
I’ve gotten thousands of comments and questions on this recipe over the years. Here are the most common ones, so you can bake with confidence.
Q: My shortbread spread too much! What happened?
A: The usual culprits are butter that was too warm or an oven that wasn’t hot enough. Make sure your butter is just softened, not melted or greasy. And trust that 375°F temperature—it sets the edges quickly to prevent spreading.
Q: Why is my shortbread tough and not “melt-in-your-mouth”?
A: You probably over-mixed after adding the flour, or you measured your flour by scooping. Over-mixing develops the gluten in the flour, leading to a tougher cookie. Always mix just until combined and fluffy, and spoon-and-level your flour!
Q: Can I make this dough ahead of time?
A: Absolutely! You can wrap the dough tightly in plastic wrap and refrigerate it for up to 3 days. Let it come back to a pipeable/ scoopable consistency before baking. You can also freeze the shaped dough on a sheet pan, then transfer the frozen dough balls to a bag. Bake from frozen, adding 1-2 minutes to the baking time.
Q: The center of my cookie seems a little underdone. Is it safe?
A: Yes! Remember, there are no eggs in this recipe. The “soft” center is just the characteristic tender texture of shortbread. It will firm up significantly as it cools on the wire rack.
Let’s Talk Nutrition (The Real Talk)
Look, we’re all friends here. This is a cookie. It’s a treat, a moment of joy, a buttery celebration. I’m not going to pretend it’s a health food. It’s made of butter, sugar, and flour, and it’s glorious because of it.
That said, enjoying treats mindfully is part of a happy food life. This recipe makes about two dozen cookies, so a single cookie is a perfectly portioned bit of indulgence. Each one comes in at roughly 110 calories, with about 7g of fat (that’s the good, flavorful butter!), 11g of carbs, and 4g of sugar. They contain about 1g of protein.
The key is to savor it. Don’t inhale it while scrolling on your phone. Sit down with your cookie and that cup of coffee. Taste the rich butter, feel the delicate, sandy texture as it melts away. One of these, truly enjoyed, is far more satisfying than a handful of something you don’t even remember eating. That’s the Food Meld philosophy: enjoy every single, amazing bite.
Your New Go-To Cookie Recipe
And there you have it! My heart and soul, poured into one perfect shortbread recipe. This is more than just a list of instructions; it’s an invitation to create your own kitchen memories. This cookie has been with me through holiday chaos, quiet Sunday afternoons, and everything in between. It’s a recipe you can count on, a recipe you can make your own, and a recipe that will never, ever let you down.


