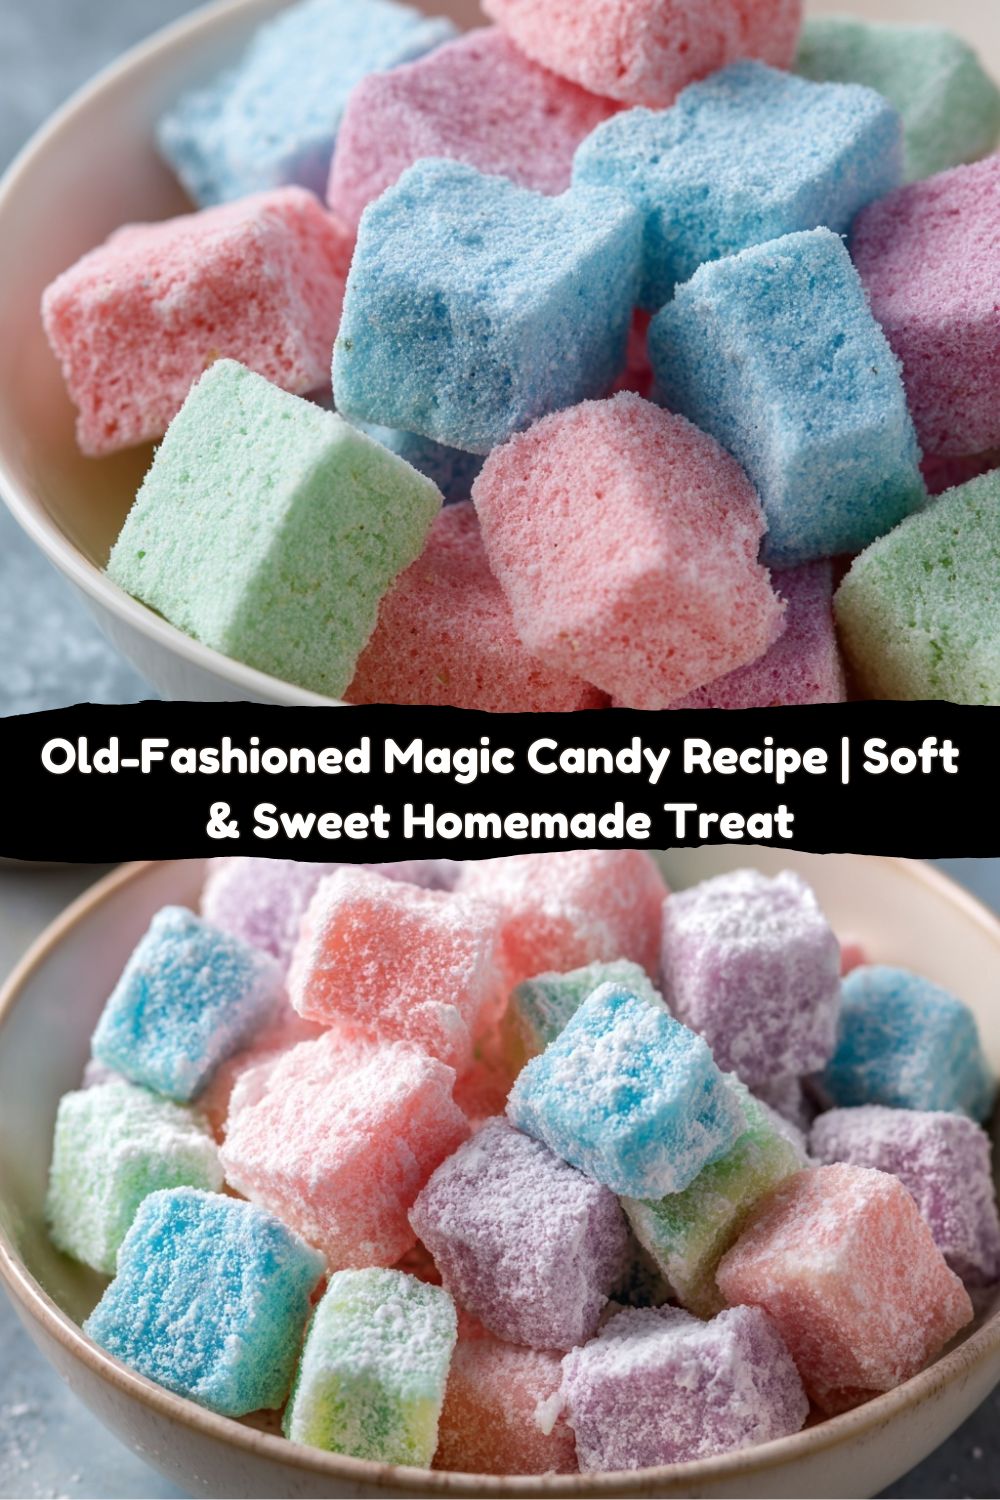
Old-Fashioned Magic Candy: Your New Favorite Sweet Escape
Hey friends, Jackson from Food Meld here! Let’s get real for a second. Aren’t you just a little tired of the same old desserts? The chocolate chip cookies, the brownies, the sheet cakes… don’t get me wrong, I love a classic as much as the next guy, but sometimes your soul craves a little bit of whimsy. A little bit of, well, magic.
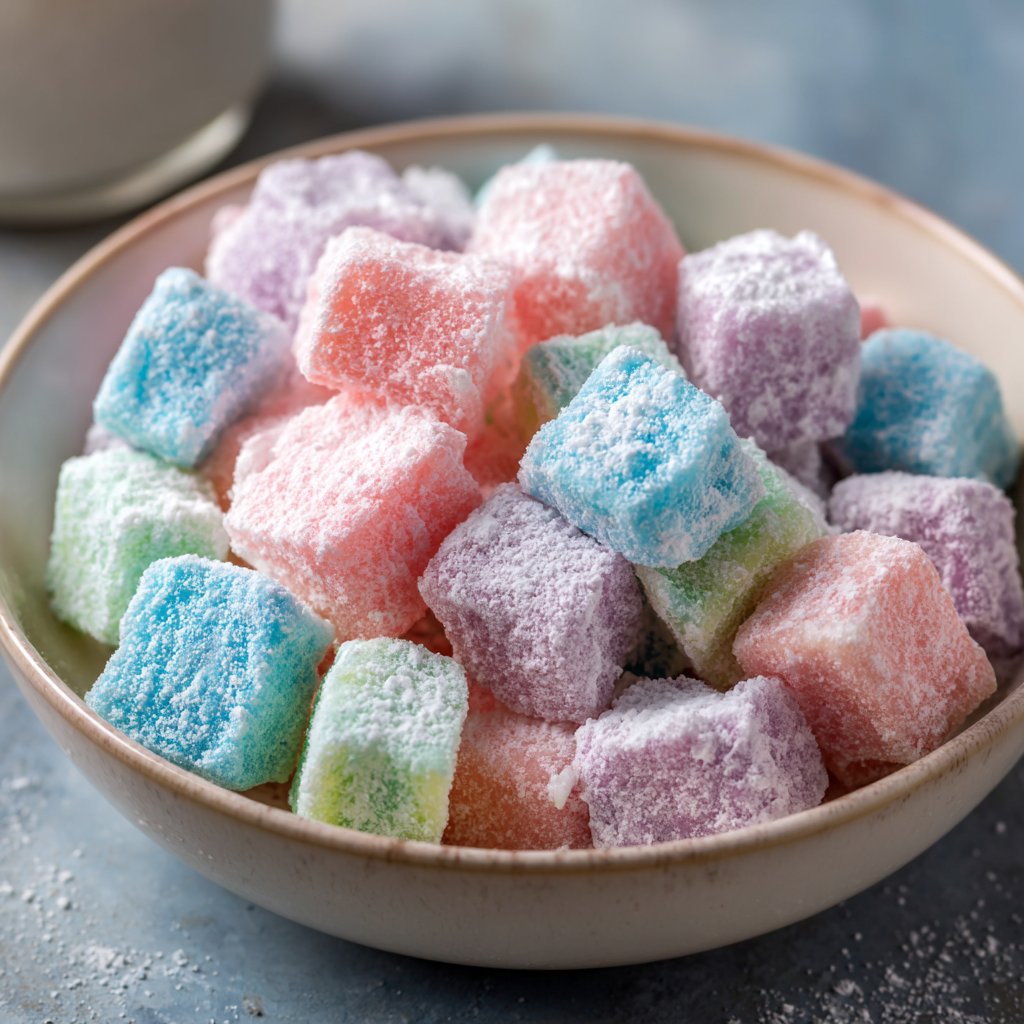
That’s exactly what we’re cooking up today. We’re diving headfirst into a batch of Old-Fashioned Magic Candy. Now, if you’ve never had these, you’re in for a treat that’s straight out of a storybook. Imagine soft, pastel sugar cubes that don’t just sweeten your tea—they melt on your tongue in the most delightful, ethereal way. They’re sweet, they’re stunning, and they have this incredible, delicate crunch that gives way to pure, sugary bliss.
I know what you might be thinking: “Jackson, candy-making sounds intimidating!” But trust me on this one. This isn’t some fussy, temperamental recipe that requires a culinary degree. This is simple, straightforward, and so much fun to make. It’s the perfect project for a lazy weekend, a fun activity to do with kids (or just your inner child), and an absolutely show-stopping addition to holiday gift boxes or party favors. So, grab your saucepan and that “what if we tried this?” energy I’m always talking about. We’re about to cook something awesome, and I promise, you’ve got this. Let’s make some magic together.
A Sprinkle of Nostalgia: Why This Candy is Magic to Me
This recipe takes me right back to my grandma’s kitchen, a place that always smelled like cinnamon and unconditional love. She wasn’t a fancy pastry chef; she was a master of simple, heartfelt treats. One overcast Saturday, when I was probably about eight, she pulled out her old, slightly warped saucepan and declared we were making “fairy candy.”
My eyes widened as I watched plain white sugar transform into a bubbling, clear lava. She let me choose the color—I, of course, went with a vibrant sky blue—and I remember the sheer wonder of watching her pour that liquid jewel into a pan. The wait for it to cool felt like an eternity, but the reward was unforgettable. That first piece, a slightly irregular cube coated in sparkling sugar, wasn’t just candy. It was a tiny, edible piece of joy. It was the taste of her patience, her creativity, and her love for making ordinary moments extraordinary. That’s the real magic of this recipe—it’s not just about the sugar; it’s about the sweet memories you create while you’re making it.
Gathering Your Magical Ingredients
One of the best things about this recipe is the short and sweet ingredient list. You probably have most of this in your pantry right now! Here’s what you’ll need and why each one is a star player.
- 2 cups Granulated Sugar: This is the foundation of our magic candy. It’s what creates that beautiful crystalline structure and that classic, clean sweetness. Don’t try to substitute with brown sugar here—we need the pure, neutral canvas of white sugar for the perfect hard crack stage.
- 1/2 cup Light Corn Syrup: Now, I know some folks like to avoid corn syrup, but in candy-making, it’s our best friend. It’s an “interfering agent” (in the best way possible!), which means it prevents the sugar from re-crystallizing into a grainy, crunchy mess. It’s the secret to that gloriously smooth, glass-like texture. If you must, you can use golden syrup as a substitute, but it will add a slight buttery, caramel note.
- 1/2 cup Water: Simple H2O is our vehicle for dissolving the sugar evenly. It helps us control the temperature climb and ensures we don’t burn the sugar before it’s fully dissolved.
- Food Coloring (Your Choice!): This is where the fun begins! Gel food coloring is my top choice because it’s highly concentrated and won’t water down your sugar syrup. But liquid coloring works just fine, too. Go for pastels for a dreamy look or bold primaries for a pop of fun.
- Flavor Extracts (Optional but Awesome): While the classic version is pure sugar, a drop of extract can take it to a whole new level. Think peppermint for a holiday vibe, vanilla for warmth, strawberry for a fruity kick, or even orange or almond. A little goes a long way!
- Extra Sugar for Coating: This final roll in granulated sugar isn’t just for looks. It creates that beautiful, frosty, “candy” appearance and, more practically, keeps the pieces from sticking together in one big, magical lump.
Brewing the Magic: Your Step-by-Step Guide
Okay, team. This is where the magic happens. Read through all the steps once before you start, and remember: confidence is your best ingredient! Let’s do this.
- Combine and Dissolve: In a medium-sized, heavy-bottomed saucepan (this ensures even heating and prevents hot spots), combine your sugar, corn syrup, and water. Attach your candy thermometer to the side now, making sure the tip is submerged in the liquid but not touching the bottom of the pan. Turn the heat to medium and stir gently but consistently with a wooden spoon or heatproof spatula until the sugar has completely dissolved. You’ll know it’s ready when the liquid goes from cloudy to perfectly clear. Chef’s Hack: Brush down the sides of the pan with a wet pastry brush to dissolve any sugar crystals clinging to the sides—this is a pro move to prevent graininess!
- The Boil and The Wait: Once the mixture comes to a rolling boil, stop stirring. I know it’s tempting, but you have to resist! Stirring now can cause the syrup to crystallize. Let it bubble away and keep a close eye on that candy thermometer. We’re waiting for it to hit 300°F, also known as the hard crack stage. This can take 10-15 minutes, so be patient. Safety First: This sugar syrup is dangerously hot—think molten lava. Keep little hands and paws away from the stove!
- Color and Flavor Burst: The second your thermometer hits 300°F, immediately remove the pan from the heat. Working quickly but carefully, stir in your chosen food coloring and flavor extracts (if using). The mixture will bubble vigorously when you add the extract, so be ready. Stir just until the color is uniform.
- The Pour: Have a baking sheet ready, either lightly greased with a neutral oil or lined with parchment paper. Carefully pour the hot candy syrup onto the prepared pan. Tilt the pan gently to spread it into an even layer, about 1/4 to 1/2 inch thick. Chef’s Insight: Don’t spread it too thin, or your candies will be fragile; too thick, and they’ll be chunky. This is the Goldilocks zone!
- The Strategic Score: Now, here’s a crucial step for perfect cubes. Let the candy cool for just a few minutes, until the top has started to set but is still warm and slightly pliable. Using a sharp knife or a bench scraper, lightly score the surface into a grid of small cubes. Don’t try to cut all the way through yet—you’re just creating fault lines. This makes breaking them apart later a total breeze.
- The Final Break and Sugar Coat: Walk away. Let the candy cool completely at room temperature. This might take a full hour, but it’s worth the wait. Once it’s hard and cool to the touch, take your scored slab and gently snap it apart along the lines you created. Now, toss all those beautiful, jewel-like pieces in a bowl with your extra sugar until they’re evenly coated. This is the final, magical transformation!
Sharing the Sweetness: How to Serve Your Magic Candy
You’ve made this gorgeous, homemade candy—now let’s show it off! Presentation is part of the fun. I love piling these pastel cubes into a beautiful glass jar or a vintage candy dish. They catch the light so beautifully and instantly become a kitchen counter centerpiece.
For parties, consider placing small bowls of them around as edible decor. They’re a fantastic, elegant alternative to regular sugar cubes for sweetening coffee or tea. For gifting, get some small cellophane bags, tie them with a pretty ribbon, and you have a heartfelt, handmade present that’s infinitely better than anything from a store. My favorite thing to do? Just leave a bowl out and watch the smiles appear as friends and family discover this little bite of sugary joy.
Make It Yours: Fun Flavor Twists & Swaps
The basic recipe is a blank canvas, so let your creativity run wild! Here are a few of my favorite ways to mix it up.
- The Citrus Zest: Add a tablespoon of finely grated lemon, lime, or orange zest along with the extract. The little specks of zest look incredible and add a bright, tangy punch.
- The Swirl: For a marbled effect, don’t fully mix in your food coloring. Give it one or two quick stirs to create swirls of color before pouring.
- The “Buttered” Almond: Use 1/2 teaspoon of almond extract and a tiny drop of butter flavoring (if you have it) for a candy that tastes just like old-fashioned butter almonds.
- The Spiced Chai: Stir in 1/4 teaspoon of cinnamon and a tiny pinch of cardamom and ginger with the sugar at the very beginning. Use a deep orange or brown coloring for a cozy, autumnal treat.
- The Confetti Funfetti: After pouring the syrup into the pan, immediately sprinkle with nonpareils or rainbow sprinkles for a festive, crunchy top.
Jackson’s Kitchen Notes & Stories
This recipe has evolved a bit in my kitchen over the years. The first time I made it as an adult, I was so nervous about the thermometer I must have checked it a dozen times. I also learned a very important lesson: do NOT, under any circumstances, taste-test the hot syrup. A tiny drop on my finger felt like it bonded with my skin permanently. Let’s just say I now have the patience of a saint when it comes to cooling time.
I’ve also found that a silicone baking mat is even better than parchment paper for an easy release. And don’t stress if your first batch isn’t perfect! My early attempts were a mix of gorgeous gems and… well, “abstract art” pieces. They all taste just as sweet. The goal is to have fun and enjoy the process.
Your Magic Candy Questions, Answered!
I’ve gotten a lot of questions about this recipe over the years, so here are the answers to the most common ones.
Q: My candy turned out sticky and didn’t get hard. What happened?
A: This almost always means the syrup didn’t reach the full 300°F hard crack stage. The temperature is non-negotiable for the right texture. A good candy thermometer is your best investment here. Also, make sure you’re not stirring after it comes to a boil, as that can cause crystallization and a softer set.
Q: Can I make this without a candy thermometer?
A: You can, but it’s a true test of your candy-making intuition! The cold water test is the old-school method: drop a small bit of the syrup into a bowl of very cold water. At the hard crack stage, it will form hard, brittle threads that snap when bent. But for accuracy and peace of mind, I highly recommend using a thermometer.
Q: Why did my candy have a yellowish tint?
A: If you were going for a pure white or pastel, a yellow tint usually means the sugar got just a little too hot or cooked for a bit too long. It’s still perfectly edible and delicious! Just try pulling it off the heat the very second it hits 300°F next time.
Q: How should I store this, and how long does it last?
A: Store your magic candy in an airtight container at room temperature. Kept away from moisture and humidity, it will stay perfectly fresh and snappy for 2-3 weeks. If it starts to feel sticky, it’s absorbing moisture from the air.
Nutritional Info & Prep Details
Let’s be real—this is a pure, simple, sugary treat. It’s all about indulgence in moderation! Here’s the quick breakdown on what you’re making.
- Prep Time: 10 minutes
- Cook Time: 15 minutes
- Cooling Time: 1 hour
- Total Time: ~1 hour 30 minutes
- Servings: About 80 small cubes
Nutrition (per cube, approximate): Calories: ~25 | Fat: 0g | Sugar: ~6g | Protein: 0g
This is a naturally fat-free and gluten-free treat. The primary ingredient is sugar, so it’s a great little pick-me-up, but definitely one to enjoy as part of a balanced diet.
Your Sweet Finale
And there you have it! You’re now officially a candy-making wizard. This Old-Fashioned Magic Candy is more than just a recipe; it’s a experience. It’s a chance to slow down, play with your food, and create something truly special with your own two hands.
I hope this recipe brings as much joy and sweetness to your kitchen as it has to mine. Remember, cooking is an adventure. It should be fun, a little messy, and always, always full of flavor. So break a piece of this candy, let it melt on your tongue, and savor that little moment of magic.
I’d love to see your creations! Tag me on social @FoodMeld and show me your colorful candy masterpieces. Until next time, keep cooking, keep experimenting, and keep making life delicious.


