Your New Favorite Dessert is Just an Air Fryer Away
Hey friends, Jackson here from Food Meld. Let’s be real for a second. We’ve all been there. It’s 8 PM, the day is finally winding down, and a monster of a dessert craving hits. You want something warm, gooey, and profoundly comforting, but the thought of preheating the oven, dragging out the mixer, and waiting for what feels like an eternity? Yeah, hard pass.
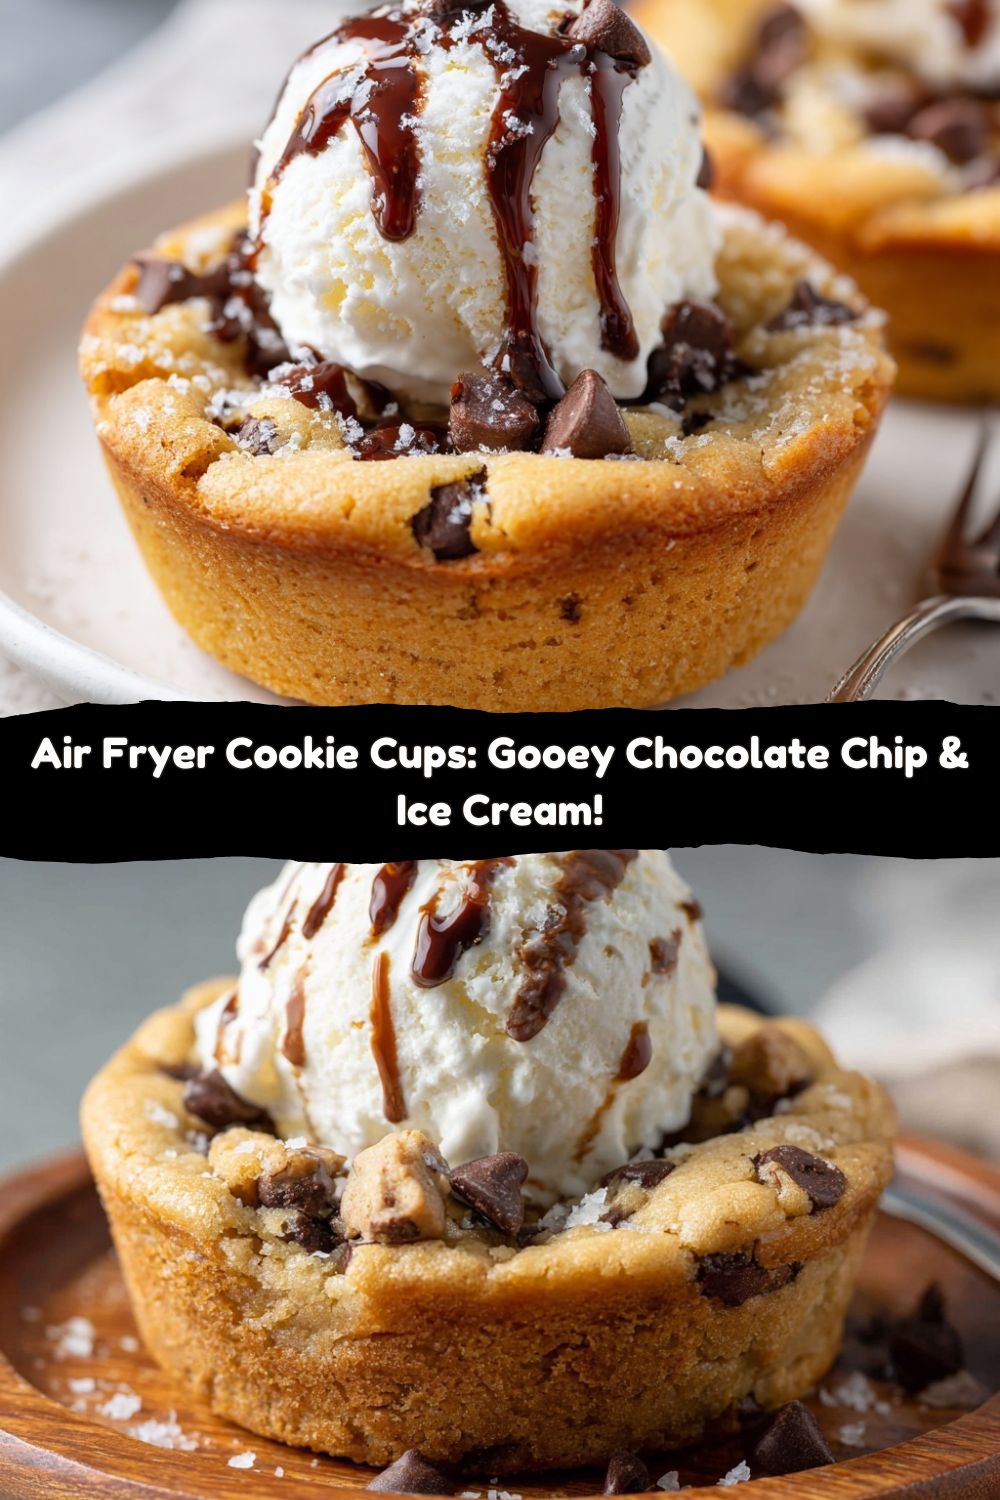
What if I told you that your dessert salvation is sitting right on your countertop? That’s right, we’re talking about your air fryer. This magical machine isn’t just for crispy fries and chicken wings—it’s a secret weapon for creating the most incredible, personal-sized desserts you’ve ever tasted. And today, we’re making my absolute favorite: Air Fryer Cookie Cups.
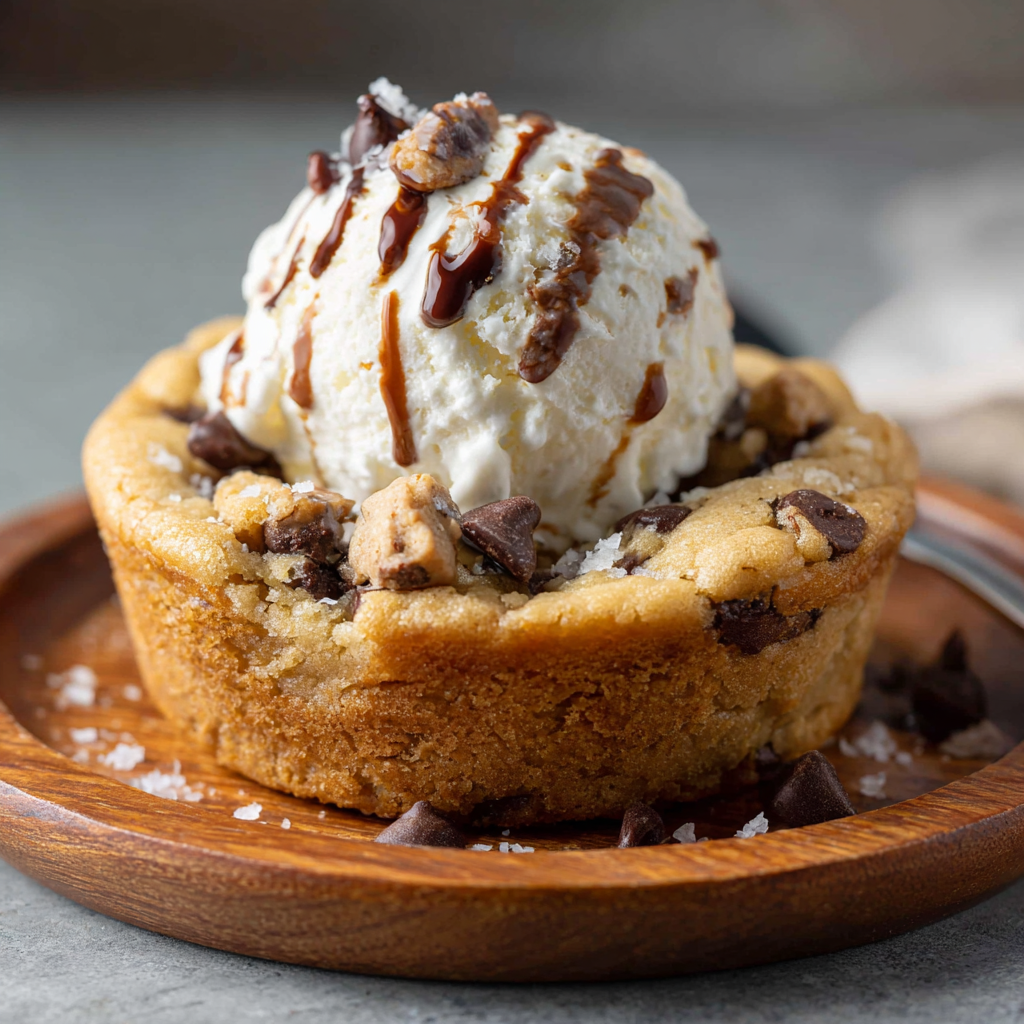
Imagine this: a perfectly baked chocolate chip cookie, but with a soft, almost molten center, baked right inside a cute little ramekin. We pull it out, still bubbling, and immediately crown it with a cold, creamy scoop of vanilla ice cream. The ice cream starts to melt instantly, creating a river of sweet cream that cascades into the warm, chocolatey crevices of the cookie. It’s a textural masterpiece—warm and cool, soft and slightly crisp, all in one single, glorious bite. This isn’t just a recipe; it’s a 15-minute ticket to dessert heaven. Let’s make some magic.
The Lure of the Gooey Center
This recipe takes me right back to my grandma’s kitchen. She was a powerhouse of a woman who believed a meal wasn’t complete without a little something sweet. Her signature move was a giant, cast-iron skillet chocolate chip cookie, which she’d bring to the table with a tub of ice cream and a bunch of spoons. It was a free-for-all. My brother and I would race to dig into the middle, fighting for the prized, under-baked, gloriously gooey center piece.
That fight for the gooey center is the entire soul of this recipe. I wanted to recreate that magic, that feeling of getting the best bite every single time, without any fighting required. By baking individual portions in a ramekin, we’re engineering the perfect ratio of slightly set edges to a melt-in-your-mouth, fudgy center. It’s my grown-up, slightly more elegant (but just as fun) tribute to those chaotic, happy, ice-cream-dripping-down-our-chins evenings at Grandma’s. Every bite is the best bite.
Gather Your Gear: It Doesn’t Get Much Simpler Than This
Here’s the beautiful part: you only need a handful of things to create pure joy. This is about simplicity leading to something spectacular.
- 1 package (16 oz) Nestlé Toll House Chocolate Chip Cookie Dough: This is our MVP. It’s reliable, delicious, and available everywhere. Chef’s Insight: I like the “break-apart” style bars because they make portioning a breeze, but the tub-style works great too! Feel free to use your favorite store-bought brand here—this is a no-judgment zone.
- 4 Ramekins (6 oz size is perfect): These are our little baking vessels. Chef’s Insight: The ceramic material heats evenly and creates the perfect environment for that gooey center we’re after.
- Nonstick Spray (optional but recommended): A quick spritz ensures your cookie cup slides out easily if you want to plate it. Substitution Tip: A tiny dab of butter or coconut oil wiped around the inside works just as well.
- 1 pint of High-Quality Vanilla Ice Cream: This is the crown jewel. Chef’s Insight: Don’t skimp here! The vanilla bean flavor is the classic, perfect partner for the chocolate. Of course, you do you—caramel or coffee ice cream are also incredible choices.
Let’s Build Your Cookie Masterpiece: Step-by-Step
Ready? This is where the fun begins. I’ll walk you through every step, with a few of my favorite chef hacks sprinkled in to guarantee your success.
- Preheat Your Air Fryer to 300°F (150°C). Chef’s Commentary: I know, I know, preheating can feel like an extra step, but trust me on this one. Starting with a consistent, hot environment is the key to getting that perfect bake—crispy edges and a gooey center. It usually takes about 3-5 minutes for most models to come to temp.
- Prepare Your Ramekins. Give the inside of each ramekin a light but thorough coating of nonstick spray. Chef’s Hack: Even with spray, I like to use my fingertips to make sure I’ve coated every nook and cranny, right up to the rim. This little bit of effort pays off big time later.
- Fill ‘Em Up! Take your cookie dough and fill each ramekin about ¾ of the way full. Don’t pack it down too hard! Chef’s Hack: I like to tear the dough into small chunks and loosely pile them in. Then, I give it one gentle press with my fingers just to create a relatively flat top. This loose packing allows for hot air to circulate and creates those lovely, textured pockets of goo.
- Air Fry to Perfection. Carefully place the ramekins in the air fryer basket. You might need to cook in two batches depending on the size of your air fryer—don’t overcrowd them! Cook for 13 minutes. Chef’s Commentary: When you pull them out, they will look puffed up, golden, and maybe even a little jiggly in the middle. That’s EXACTLY what you want. They might look underdone, but they will continue to set up as they cool. This is the secret!
- The Most Important Step: Let Them Rest. Carefully remove the ramekins (they’re hot!) and place them on a heat-safe surface. Let them cool for 3-5 minutes. Chef’s Hack: This rest period is non-negotiable. It allows the molten center to settle and firm up just enough so it’s luxuriously gooey instead of straight-up liquid. It also keeps you from burning the roof of your mouth—a true act of self-care.
- The Grand Finale: Top and Serve! Now, for the moment we’ve all been waiting for. Plop a generous scoop of that cold vanilla ice cream right into the center of the warm cookie cup. Chef’s Commentary: Listen for the sizzle. That’s the sound of happiness. Serve it immediately with a spoon and watch faces light up.
How to Serve These Bad Boys
Presentation is part of the fun! You’ve got a couple of awesome options here. The classic, no-fuss way is to serve the cookie cup right in the ramekin. It’s rustic, charming, and means less cleanup. Place the ramekin on a small plate or a cute napkin to catch any drips.
Want to get a little fancy? After the cookie cup has cooled for about 5 minutes, you can run a butter knife around the edge and gently invert it onto a plate. You’ll get a beautiful, free-standing cookie cup that shows off its lovely shape. Then, add your ice cream and drizzle with toppings. This is a great move if you’re impressing guests or just treating yourself to a restaurant-style dessert at home.
Speaking of toppings, don’t be shy! Set up a little topping bar with hot fudge, caramel sauce, a sprinkle of flaky sea salt, some chopped nuts, or even a handful of fresh berries. Let everyone build their own ultimate dessert.
Mix It Up! Creative Twists on the Classic
Once you’ve mastered the basic, let your creativity run wild! The ramekin is your canvas. Here are a few of my favorite ways to mix it up:
- The Peanut Butter Paradise: Before baking, press a tablespoon of creamy peanut butter right into the center of the cookie dough. As it bakes, it melts into a hidden, savory-sweet core that is absolutely mind-blowing.
- Salted Caramel Delight: Drizzle a little store-bought salted caramel sauce over the top of the cookie dough before it goes in the air fryer. It bakes into the top, creating a chewy, sweet-and-salty crust.
- The S’mores Upgrade: Add a handful of mini marshmallows and some crushed graham crackers to the cookie dough. Bake as usual. You get all the nostalgic campfire flavor without any of the smoke.
- Double Chocolate Brownie Cup: Swap the cookie dough for your favorite pre-made brownie batter! Fill the ramekins halfway and bake for the same amount of time. You’ll get the fudgiest, most decadent brownie you’ve ever had.
- Gluten-Free & Vegan Friendly: The beauty of this recipe is its adaptability. Simply use your favorite store-bought gluten-free or vegan cookie dough. The cooking time and method remain exactly the same!
Jackson’s Kitchen Notes & Stories
This recipe has become my go-to for so many occasions. It’s saved me during last-minute potlucks (“Oh, this old thing? I just whipped it up!”) and been the hero of more than one “I need chocolate NOW” emergency. It’s evolved from that first experimental batch where I wondered if it would even work, to a foolproof formula I can make with my eyes closed.
One of my favorite kitchen memories is the time I made these for my nephew. He watched the whole process, his eyes wide as the ice cream melted. After his first bite, he looked at me, covered in chocolate, and just said, “Whoa.” That’s the Food Meld mission right there. It’s not about perfection; it’s about those little moments of pure, unadulterated food joy.
FAQs: Your Questions, Answered
Q: My cookie cup is too liquid in the middle. What did I do wrong?
A: No worries! This usually means it just needed a minute or two more. Pop it back in the air fryer for 2-3 more minutes. Remember, all air fryers are a little different, so you might need to adjust the time by a minute or two once you get to know your machine.
Q: Can I use homemade cookie dough?
A: Absolutely! Use your favorite chocolate chip cookie recipe. Just be sure it’s a dough that’s meant to be baked (not a no-bake recipe). My pro-tip: pre-portion and freeze balls of your homemade dough so you’re always ready for a cookie cup emergency.
Q: My cookie cup is really puffy. How do I get it more cup-shaped?
A> Great question! After you gently press the dough into the ramekin, use the back of a spoon or your thumb to create a slight indentation in the center. This little “well” encourages the dough to rise up the sides instead of just puffing up in the middle, giving you a perfect vessel for your ice cream.
Q: Can I make these ahead of time?
A> You can prep the ramekins with dough, cover them with plastic wrap, and keep them in the fridge for up to 24 hours before baking. I don’t recommend baking them in advance, as the magic is in that just-baked, warm-and-gooey texture.
Nutritional Info (Because We’re Adults, Sort Of)
Alright, let’s talk numbers. This is a dessert, through and through, so it’s all about enjoying it mindfully. The following is an approximate estimate per cookie cup (using store-bought dough and a standard scoop of vanilla ice cream).
- Calories: 380-450
- Carbohydrates: 45-55g
- Fat: 20-25g
- Sugar: 30g+
Remember, these numbers can vary widely based on the specific brands you use and how generous you are with the ice cream! To lighten it up a bit, you can use a lighter ice cream or frozen yogurt, or simply use a slightly smaller portion of dough. But sometimes, your soul needs the full, decadent experience, and that’s perfectly okay.
You’ve Just Unlocked a Next-Level Dessert
And there you have it. You are now the proud owner of a recipe that is going to change your dessert game forever. It’s fast, it’s foolproof, and it delivers that unforgettable, restaurant-quality “wow” factor with minimal effort. That’s what Food Meld is all about—taking the intimidation out of cooking and injecting a whole lot of fun and flavor.
Happy eating,
Jackson


