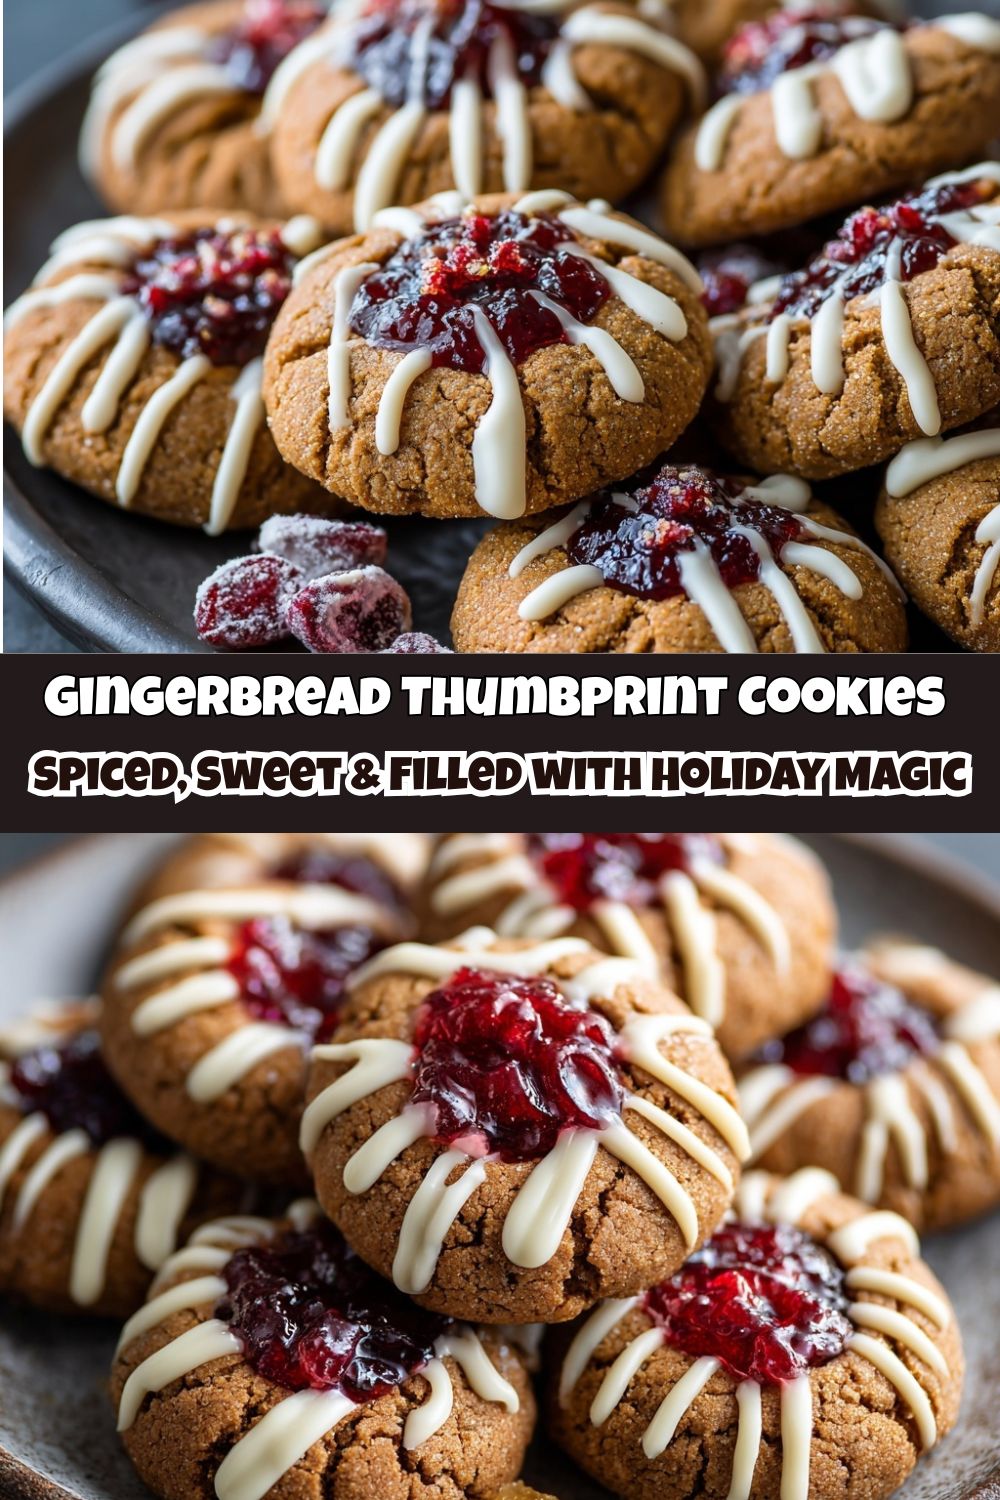
Gingerbread Thumbprint Cookies: Your New Holiday Obsession
Hey friends, Jackson from Food Meld here. Let’s be real, the holiday season is a marathon, not a sprint. It’s a glorious, chaotic, sprinkle-covered whirlwind of parties, gift-wrapping, and trying to remember where you stored the good tape. And right in the center of it all? The kitchen. It’s the heart of the home, the place where memories are baked, simmered, and devoured. And nothing says “holiday memory” quite like a cookie platter that makes people’s eyes light up.
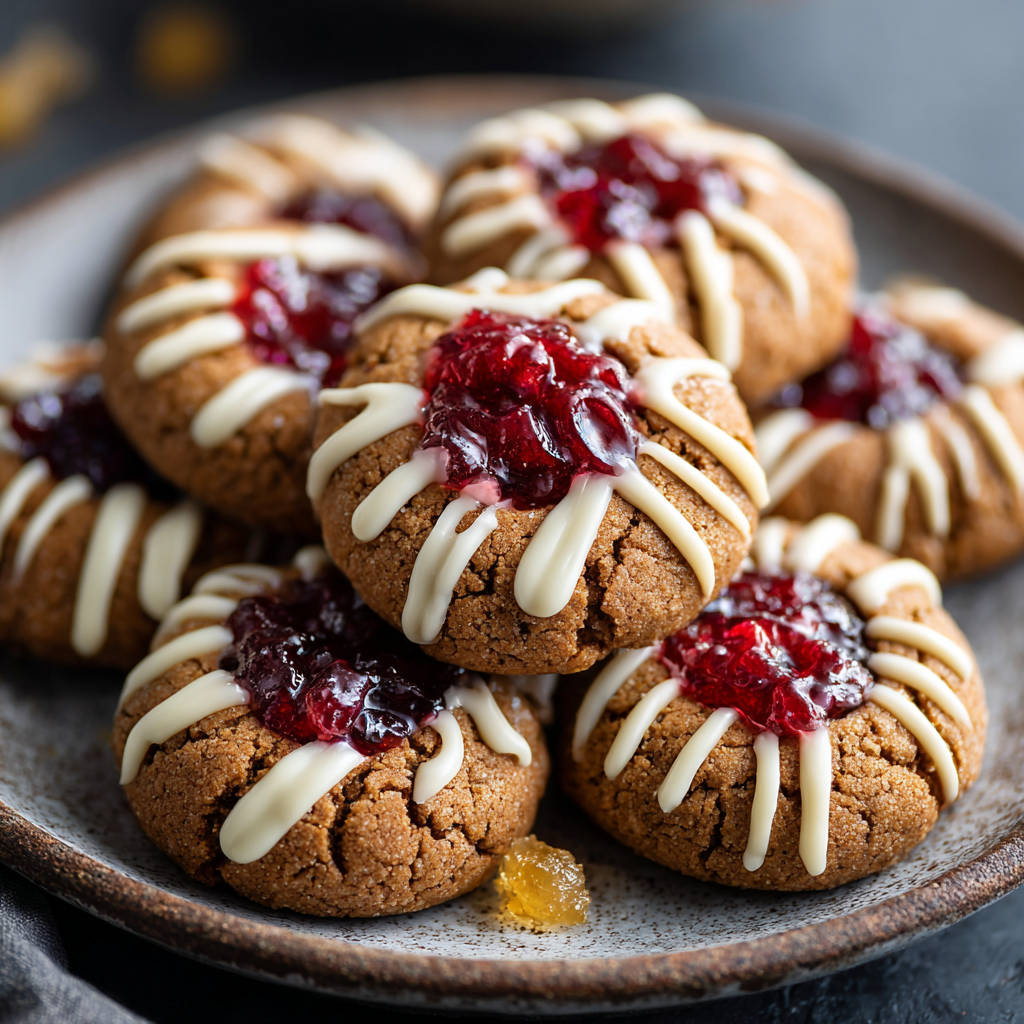
That’s exactly why I’m so fired up to share these Gingerbread Thumbprint Cookies with you today. We’re taking the warm, deeply spiced, soul-hugging flavor of classic gingerbread and giving it a little “Food Meld” twist. We’re creating a cozy little nest in the center of each cookie and filling it with a bright, tart cranberry sauce that cuts through the sweetness like a spark of holiday cheer. And because we believe more is more around here, we’re finishing them off with a delicate drizzle of sweet white chocolate. It’s a flavor party in your mouth, and everyone’s invited.
These cookies are the whole package: they look fancy and impressive, like you spent all day with a piping bag, but the truth is, they’re incredibly approachable. If you can roll a ball of dough and make a thumbprint, you are 100% qualified to make these. They’re soft, they’re chewy, they’re packed with flavor, and they’re about to become the star of your cookie swap, your gift boxes, and your late-night snack session by the Christmas tree lights. So, tie on that apron, and let’s cook something awesome together.
A Thumbprint of a Memory
This recipe takes me right back to my grandma’s kitchen, which always smelled like a combination of pine needles from the tree in the living room and whatever magic she was pulling out of the oven. She was the queen of thumbprint cookies, but hers were always the classic jam-filled kind. One particularly chaotic Christmas Eve, my cousin and I were her designated “thumbprint makers.” Let’s just say our thumbprints were… enthusiastic. Some were shallow divots, some were caverns that nearly went through the baking sheet.
When they came out of the oven, some had pooled with jam, others were barely filled. Grandma just laughed, called them “abstract art,” and drizzled them with a wild zigzag of icing. They were a mess, but they were our mess, and we were so proud. That’s the spirit I want you to bring to this recipe. Don’t stress about making them perfect. Embrace the little imperfections! A little overflowing cranberry sauce or a wobbly drizzle just adds to the homemade charm. It’s not about cookie perfection; it’s about the fun you have making them and the joy they bring when you share them.
Gathering Your Flavor Arsenal
Here’s your shopping list for holiday magic. I’ve added a few chef’s notes and swaps so you can make these your own, no matter what’s in your pantry.
- 1 cup (2 sticks) unsalted butter, softened – This is the foundation of our rich, tender cookie. “Softened” is key here! Leave it on the counter for an hour before you start. It should be cool to the touch but yield easily when you press it. No melting! Chef’s Swap: For a dairy-free version, a high-quality plant-based butter works wonderfully.
- 1 cup granulated sugar – This sweetens the deal and helps create that perfect, slightly crisp edge.
- 1 cup molasses – This is the soul of the gingerbread. It brings that deep, robust, almost bitter-sweet flavor and contributes to the soft, chewy texture. I prefer a dark molasses for a richer taste, but any kind will work.
- 2 large eggs – Our binding agents, bringing everything together and adding structure.
- 1 tsp ground ginger & 1 tsp ground cinnamon – The dynamic duo of warmth. This is your classic gingerbread spice base. Feel free to add a pinch of cloves or allspice if you’re feeling extra cozy.
- ½ tsp salt – Don’t you dare skip this! Salt is a flavor enhancer; it makes the sweet taste sweeter and the spices pop. It’s the secret weapon in every baker’s toolkit.
- 1 tsp baking soda – Our little leavening agent that gives the cookies just the right amount of lift.
- 6 ⅔ cups all-purpose flour – This seems like a lot, but it’s what creates a sturdy dough that can hold our precious cranberry filling. We’ll add it gradually to avoid a flour tornado in your kitchen.
- For Filling & Topping:
- 1 ½ cups canned cranberry sauce (whole berry preferred) – I’m a huge fan of the texture and little bursts of tartness from the whole berry sauce. It’s a huge time-saver, but if you have a killer homemade recipe, by all means, use it! Chef’s Insight: Give the sauce a quick stir or rough chop if the berries are too big—we want a concentrated dollop, not a giant whole berry sliding off the cookie.
- 1 ½ cups white chocolate chips – For that beautiful, sweet drizzle that ties everything together. Chef’s Hack: A teaspoon of coconut oil melted with the chips will make your drizzle smoother and more fluid.
Let’s Build These Flavor Bombs: A Step-by-Step Guide
Alright, team, let’s get our hands dirty. This is where the fun begins. Read through all the steps once before you start—it’s like scouting the trail before a hike.
- Make the Dough: In a large bowl, cream that softened butter and sugar together. We’re not just mixing; we’re “creaming.” Beat it with an electric mixer on medium-high for 2-3 minutes until it’s light, pale, and fluffy. This incorporates air, which is the first step to a perfect texture. Now, mix in the molasses and eggs until everything is beautifully combined and a deep caramel color. It might look a little curdled at this point—don’t panic! That’s totally normal. Add in your ginger, cinnamon, salt, and baking soda, and give it a good mix. Now, gradually add the flour, about a cup or two at a time, mixing on low speed until just combined. Chef’s Tip: Don’t overmix once the flour is in! Overworking the gluten can lead to tough cookies. We want tender, not hockey pucks.
- Chill Out: Now, this dough is a bit of a softie. Cover the bowl and pop it in the fridge for 20-30 minutes. This chills the butter back down, making the dough easier to handle and roll. It also prevents the cookies from spreading too much in the oven. This is a non-negotiable rest period for both you and the dough!
- Preheat and Prep: While the dough chills, preheat your oven to a toasty 350°F (175°C). This ensures it’s at the perfect temperature when you’re ready to bake. Line your baking sheets with parchment paper. Trust me, this is a game-changer for easy cleanup and preventing any sticking.
- Shape and Print: Time for the main event! Roll the dough into 1-inch balls. I like to use a small cookie scoop for uniformity, but a tablespoon works great too. Place them about 2 inches apart on your prepared sheets. Now, for the “thumbprint.” You can use your actual thumb (a little flour on the tip helps prevent sticking), but I find the rounded end of a wooden spoon handle or the back of a small teaspoon creates the perfect, neat little well. Press firmly, but try not to go all the way to the bottom. Chef’s Hack: If the dough starts to get too soft and sticky, just pop the balls back in the fridge for 10 minutes. No stress!
- Fill ‘Em Up: Take your cranberry sauce and place a small, heaping teaspoonful into each little well. You want enough to fill it, but not so much that it’s overflowing down the sides before baking—though a little overflow is part of the charm, remember?
- Bake to Perfection: Slide those trays into your preheated oven and bake for 12-13 minutes. You’re looking for the edges to be just set and maybe ever-so-slightly darker. The centers will still look a little soft—that’s what we want! They will firm up as they cool, giving you that dreamy, soft-and-chewy texture. Chef’s Note: Ovens can be sneaky. If you have a hot spot, rotate the pans halfway through for even baking.
- The Cool Down: This is the hardest part: patience. Let the cookies cool on the baking sheet for at least 10 minutes before transferring them to a wire rack to cool completely. If you try to move them too soon, they might break. If you drizzle the white chocolate on warm cookies, it will melt into a puddle. Let them get fully cool.
- The Drizzle (The Final Flourish): Once the cookies are cool, melt your white chocolate chips. You can do this in a double boiler, but my go-to method is the microwave. Heat them in a microwave-safe bowl in 20-second bursts, stirring thoroughly between each burst, until smooth. Spoon the melted chocolate into a small zip-top bag, snip a TINY corner off, and drizzle away! Go wild with zig-zags, stripes, or abstract art. Let the drizzle set completely before storing.
Sharing the Holiday Spirit
Okay, you’ve created a masterpiece. How do you show it off? These cookies are incredibly versatile. For a simple family dessert, just pile them high on a beautiful platter and let everyone grab one. For your holiday cookie swap, they are a guaranteed showstopper. Pack them in cellophane bags tied with a festive ribbon, or stack them carefully in a gift box between layers of parchment paper.
I love serving these with a hot cup of coffee for a mid-afternoon pick-me-up or with a glass of cold milk before bed. They also pair amazingly with a mug of mulled cider or a spicy tea—the flavors just sing together. If you’re feeling extra, dust them with a little powdered sugar right before serving for a “snowy” effect that looks gorgeous against the red cranberry and white chocolate.
Mix It Up & Make It Yours!
This recipe is a fantastic canvas for your own creativity. Here are a few of my favorite twists to get you started:
- Citrus Zing: Add the zest of half an orange (about ½ tsp) to the dough when you’re creaming the butter and sugar. The bright citrus note cuts through the richness and pairs magically with both the ginger and the cranberry.
- Jam Session: Not a cranberry fan? No problem! Swap it out for spiced fig jam for a deeper, more rustic flavor, or use tangy cherry preserves for a classic combo. Apricot jam is another fantastic, slightly less tart option.
- Extract Excellence: Add a teaspoon of vanilla extract to the dough for a rounder, warmer flavor base, or a ½ teaspoon of almond extract for a subtle, nutty complexity that’s just divine.
- Crunchy Topper: After you drizzle the white chocolate, immediately sprinkle on some finely crushed pistachios for a beautiful color contrast and a lovely crunch, or some tiny pieces of candied ginger for an extra spicy kick.
- Dark Chocolate Lover’s Dream: Swap the white chocolate drizzle for a dark chocolate one. The bitterness of the dark chocolate against the sweet, spiced cookie and tart cranberry is a next-level experience.
Jackson’s Kitchen Confidential
This recipe has evolved so much since I first scribbled it down on a stained napkin. The first batch I ever made, I was so impatient I skipped the chilling step. Let’s just say I ended up with one giant, delicious “gingerbread thumbprint slab” instead of individual cookies. A tasty lesson learned! The chilling step is your friend.
Over the years, I’ve found that letting the dough rest overnight (tightly wrapped in the fridge) actually deepens the spices and makes for an even more flavorful cookie. If you have the time, I highly recommend it. Just let it sit at room temperature for 15-20 minutes before rolling so it’s workable. Remember, baking is part science, part art, and a whole lot of heart. Don’t be afraid to put your own stamp on it.
Your Questions, Answered
I’ve gotten a lot of questions about this recipe over the years. Here are the big ones to help you avoid any kitchen mishaps.
- Q: My dough is too sticky to roll! What do I do?
A: This usually means it needs more chilling time, or your kitchen is just really warm. No worries! Pop it back in the fridge for another 15-20 minutes. You can also lightly flour your hands to help with the rolling. - Q: Can I make the dough ahead of time?
A: Absolutely! You can make the dough, wrap it tightly in plastic wrap, and keep it in the fridge for up to 3 days. You can also freeze the rolled, unfilled dough balls on a baking sheet, then transfer them to a freezer bag for up to 2 months. Bake from frozen, just adding a minute or two to the baking time. - Q: My cranberry filling bubbled over a lot. How can I prevent that?
A: A little bubbling is normal and looks great! If it’s a full-on lava flow, you might be overfilling the wells, or your cranberry sauce might be a bit too runny. Next time, try using a slightly thicker sauce or a little less of it. It’s still going to taste incredible. - Q: Why did my cookies spread and lose their thumbprint shape?
A: The culprit is almost always butter that was too warm. Either the dough wasn’t chilled enough, or the butter was too soft/melty when you started. Ensuring your butter is just “softened” (not melted) and giving the dough its proper fridge time is the key to a perfectly shaped cookie.
Nutritional Info (For Your Inner Foodie Nerd)
Okay, let’s be real—we’re not eating holiday cookies for their kale content. But I know many of you like to keep track, so here’s a rough breakdown. Remember, this is an estimate and can vary based on your specific ingredients and portion sizes.
Servings: 48 cookies | Prep Time: 40 mins | Bake Time: 13 mins | Total Time: ~53 mins
Per Cookie (approx.):
Calories: ~120 kcal | Fat: ~5 g | Carbohydrates: ~18 g | Sugar: ~10 g | Protein: ~1 g
The main sources of sugar here are the granulated sugar, molasses, and the fillings. The fat comes primarily from the butter, which gives us that wonderful, rich texture. Enjoy them mindfully, savor every bite, and maybe go for an extra walk to look at the Christmas lights afterward!


