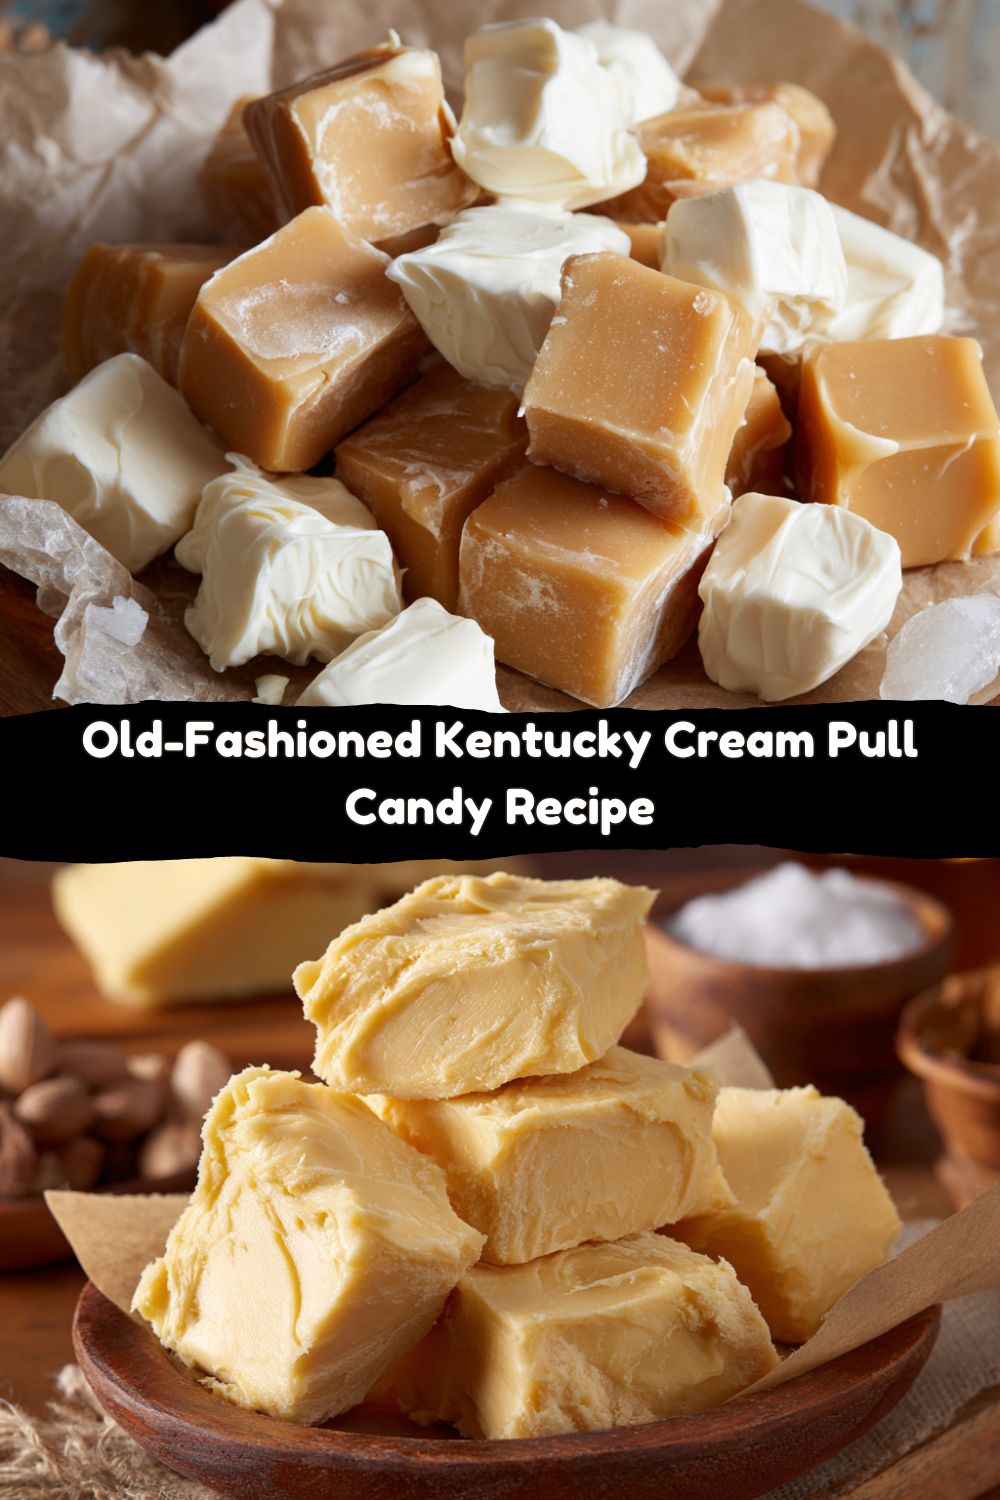
Let’s Make Some Sweet, Southern Magic
Hey friends, Jackson from Food Meld here! Let’s talk about one of my all-time favorite kitchen adventures: candy making. Now, I know what you might be thinking—pulling candy? Thermometers? Hard-ball stage? That sounds a little… intimidating. But trust me on this one. If you can stir a pot and you’re not afraid to get your hands a little buttery, you are 100% ready to create this incredible, old-school treat.
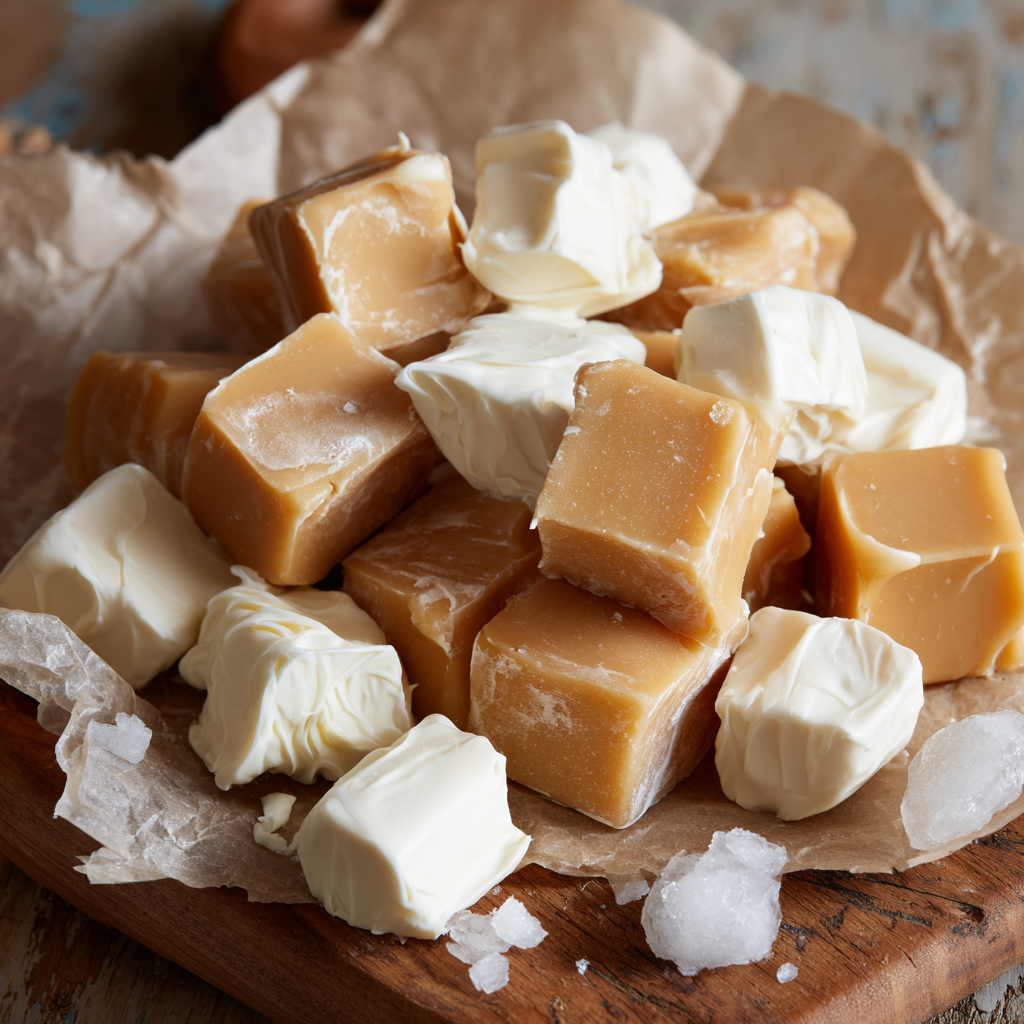
Kentucky Cream Pull Candy is like a little bite of Southern hospitality. It’s sweet, it’s creamy, and it has this melt-in-your-mouth texture that’s just pure magic. It’s the kind of candy that doesn’t just satisfy a sweet tooth; it creates a core memory. We’re talking simple, pantry-staple ingredients—sugar, cream, a touch of corn syrup—transformed through a little bit of time and a whole lot of fun into something truly unforgettable.
This isn’t just a recipe; it’s an experience. It’s the perfect project for a lazy weekend, a holiday tradition in the making, or a ridiculously impressive homemade gift. There’s something so satisfying about watching that glossy syrup turn into a soft, opaque, pillowy candy right in your hands. It’s kitchen science and pure comfort, all rolled into one. So, are you ready to roll up your sleeves, get a little messy, and cook something awesome together? Let’s dive into the wonderful world of Kentucky Cream Pull Candy.
The Candy That Built a Family Tradition
I can’t talk about this candy without thinking of my Great-Aunt Louise. Her house always smelled like vanilla and sugar, and her kitchen was my favorite place on earth. One crisp fall day, when I was probably about ten, she decided it was time I learned “the real stuff.” No store-bought chocolates, no pre-packaged caramels. She pulled out her heavy, old saucepan and her marble slab (which I was convinced was a treasure from a king’s castle) and declared we were making “pull candy.”
I remember watching, mesmerized, as the clear, bubbling syrup poured onto that cool slab. She buttered my small hands, showed me how to hook my fingers into the warm, pliable mass, and we started to pull. Back and forth, fold and stretch. My arms got tired, but she just laughed and said, “That’s how you know the magic is working, Jack!” And then, right before my eyes, the glossy, amber liquid turned a beautiful, creamy, satin-white. It was like alchemy. We snipped the ropes into pieces, and that first, still-warm bite was a revelation. It wasn’t just candy; it was a secret handshake, a piece of our family story. Every time I make it now, I’m right back in her kitchen, and that’s a flavor you just can’t buy.
Gathering Your Candy-Making Crew
One of the best things about this recipe is its beautiful simplicity. You only need a handful of ingredients to create pure magic. Here’s your shopping list and a few of my chef-y insights to set you up for success.
- 2 cups Granulated Sugar: This is the foundation of our candy. It’s what creates the structure and that classic sweet taste. Make sure you’re using fresh, dry sugar to avoid any crystallization issues.
- 1 cup Heavy Cream: Don’t skimp here! The high fat content in heavy cream (or heavy whipping cream) is what gives this candy its incredibly rich, creamy texture and that melt-in-your-mouth quality. Half-and-half or milk won’t work for this specific recipe.
- ½ cup Light Corn Syrup: I know some folks like to avoid corn syrup, but in candy-making, it’s a secret weapon. It’s an “interfering agent” that prevents the sucrose in the granulated sugar from crystallizing, ensuring our final candy is smooth and creamy, not grainy. For a potential swap, you could try golden syrup, though the flavor will be slightly different.
- ⅛ teaspoon Salt: This is my flavor-amplifier. A tiny pinch of salt doesn’t make the candy taste salty; it actually enhances the sweetness and the richness of the cream, balancing everything out perfectly.
- ½ teaspoon Vanilla Extract: The grand finale! We add this after the cooking is done to preserve its beautiful, aromatic flavor. For a next-level twist, try using vanilla bean paste to get those lovely little specks throughout your candy.
- Butter (for greasing): You’ll need this for your hands, your work surface, and your scissors. It’s our non-stick hero, ensuring the candy doesn’t become a sticky mess during the pulling process.
The Step-by-Step Pull: Your Path to Candy Glory
Alright, team, this is where the fun begins. Read through all the steps once before you start, and remember: candy-making is a dance, not a race. Let’s do this.
- Combine and Cook: Grab a heavy-bottomed saucepan (this distributes heat evenly and prevents scorching—crucial!) and add your sugar, heavy cream, corn syrup, and salt. Stir it all together over medium heat until the sugar has completely dissolved. Chef’s Hack: Once it starts to simmer, stop stirring! If you stir while it’s boiling, you can encourage sugar crystals to form, leading to a grainy candy. Just swirl the pan gently if you see any hot spots.
- Temperature is Everything: Attach your candy thermometer to the side of the pan, making sure the bulb isn’t touching the bottom. Now, let it bubble away. This is a test of patience! It will take a good 15-20 minutes to climb to 260°F, the “Hard-Ball” stage. Why 260°F? This is the perfect temperature where the sugar syrup will form a hard, yet still pliable, ball when dropped into cold water. It’s the key to a candy that’s firm enough to pull but soft enough to eat.
- The Big Pour: Once you hit that magic number, immediately remove the pot from the heat. Quickly stir in your vanilla extract—it will bubble up, so be careful! Then, pour the hot syrup onto a well-buttered marble slab, a silicone baking mat, or the back of a large, buttered baking sheet. Pro Tip: Do NOT scrape the pot. Just pour what comes out easily to avoid introducing any potential sugar crystals from the sides.
- The Cool Down: Let the candy sit and cool. This is non-negotiable. Wait until the edges are firm enough to touch and the center is still warm and pliable, but not scalding hot. We’re going for “very warm bread dough” temperature. This usually takes 5-10 minutes.
- Butter Up and Pull! This is the iconic part! Slather your hands thoroughly with butter. Scoop the candy up and start to stretch it out, then fold it back on itself. Stretch, fold, twist. Repeat. My best advice: Find a rhythm! It will be loose and glossy at first, but after a few minutes, you’ll feel it start to resist. Keep going! You’re incorporating air, which is what lightens the color and creates that signature soft, flaky texture. Pull until it’s a beautiful, opaque, creamy white and feels firm.
- Shape and Snip: Once your candy is pulled, roll it into one long rope or a few smaller ones, about ½ to ¾-inch thick. Using a pair of kitchen scissors (buttered, of course!), snip the rope into 1-inch pieces. The buttered scissors keep the candy from sticking and make the job a breeze.
- Set and Store: Let the pieces cool completely on a piece of parchment paper. Once they’re firm and no longer sticky, pack them into an airtight container with layers of parchment or wax paper in between. They’ll keep for about two weeks… if they last that long!
Sharing the Sweetness: How to Serve Your Masterpiece
You’ve just created something amazing, and now it’s time for the best part: sharing it! This candy is a star all on its own, but a little presentation goes a long way.
For a simple, beautiful treat, pile the pieces high in a rustic wooden bowl or a vintage candy dish. It’s an instant conversation starter. If you’re feeling the gift-giving spirit (and you absolutely should), this candy makes the most thoughtful present. Tuck a handful into a small cellophane bag, tie it with a pretty ribbon or a piece of twine, and attach a handwritten tag. It’s a personal, handmade gift that says “I really care about you” in the sweetest way possible.
Want to take it over the top for the holidays? Arrange the pieces in a festive tin with layers of wax paper. It’s the perfect addition to a cookie swap or a hostess gift. And my personal favorite way to serve it? On a dessert board alongside a strong cup of black coffee or a glass of cold milk. The contrast of the sweet, creamy candy with a bitter or cold beverage is just *chef’s kiss*.
Mix It Up! Creative Twists on a Classic
Once you’ve mastered the basic recipe, the “what if we tried this?” energy can totally take over. Here are a few of my favorite ways to play with this classic.
- Chocolate Swirl: After you’ve finished pulling the candy, flatten it out into a rectangle. Sprinkle with ¼ cup of finely chopped dark chocolate or chocolate jimmies, then fold and pull a few more times just to create a marbled effect. Don’t overdo it, or the chocolate will melt completely!
- Nutty Professor: Stir in ½ cup of very finely chopped, toasted pecans or walnuts right after you add the vanilla. The toasty, nutty flavor is a classic Southern pairing that adds a wonderful little crunch.
- Peppermint Patty: Swap the vanilla for ¼ teaspoon of peppermint extract. For a festive look, you can also crush up a candy cane and sprinkle it over the candy before you start pulling for a beautiful red and white swirl.
- Maple Bliss: Replace the vanilla with ½ teaspoon of maple extract. The warm, cozy flavor is perfect for a fall afternoon. You could even add a tiny pinch of cinnamon.
- Sea Salt Sprinkle: For a modern, gourmet twist, after you’ve snipped your pieces, lightly sprinkle the top of each one with a few flakes of flaky sea salt. It creates an incredible sweet-and-salty situation.
Jackson’s Kitchen Notes & A Little Story
This recipe has been a journey for me. The first time I made it without Aunt Louise, I was so nervous about the temperature that I took it off the heat too soon. Let’s just say I ended up with a delicious, but decidedly non-pullable, creamy sauce for my ice cream. It was a happy accident, but it taught me to trust the thermometer!
Over the years, I’ve learned that the pulling stage is more about feel than time. If it feels too stiff and is hard to pull, you might have cooked it a tad too long. If it’s too soft and sticky, it might need another minute on the heat next time. Don’t stress! Even imperfect batches are usually downright delicious. The main goal is to have fun and enjoy the process. The laughter and the memories you make while pulling this candy with friends or family are just as important as the final product.
Your Candy Questions, Answered!
I’ve gotten a lot of questions about this recipe over the years, so here are the answers to the most common ones.
Q: My candy is super sticky and won’t pull properly. What happened?
A: This usually means the candy didn’t quite reach the full 260°F hard-ball stage. The sugar syrup wasn’t concentrated enough. Unfortunately, there’s not much to be done once it’s poured out, but it will still taste amazing! Next time, make sure your thermometer is accurate and let the mixture boil without stirring until it hits that exact temperature.
Q: My candy turned out grainy and sugary. Why?
A: Graininess is almost always caused by sugar crystals. This can happen if you stirred the mixture after it started boiling, or if a stray sugar crystal got into the pot from the sides. Remember the “no-stir” rule once it’s boiling and avoid scraping the pot when you pour.
Q: I don’t have a marble slab. What can I use instead?
A: No problem! The back of a large, rimmed baking sheet (turned upside down) works perfectly. Just make sure it’s heatproof and butter it really well. A large silicone baking mat is another fantastic, non-stick option.
Q: Can I double this recipe?
A: I don’t recommend it for your first few tries. A larger batch will take longer to cook and can be much harder to handle and pull, especially if you’re working alone. Master the single batch first, then if you’re feeling confident, you can try a bigger one.
A Quick Note on Nutrition
Let’s be real, friends—this is a special occasion treat, a pure celebration of sugar and cream! I’m all about balance, so I enjoy things like this in moderation. This information is just a general estimate to help you do that.
Estimated per piece (based on a yield of 45 pieces):
Calories: ~60 | Fat: 1g | Carbohydrates: 13g | Sugar: 12g
The main ingredients are sugar and cream, so it’s a carbohydrate-rich confection. There’s a small amount of fat from the heavy cream, which contributes to the rich mouthfeel. Since this is a handmade candy, the size of your pieces will affect the final numbers. The joy and connection that comes from making and sharing a homemade treat like this? That’s priceless nutrition for the soul.
You Did It! Welcome to the Pull Candy Club
Look at you, you candy-making rockstar! You took a few simple ingredients and, with a little bit of courage and a whole lot of fun, turned them into a beautiful, homemade treasure. That’s what Food Meld is all about—taking the intimidation out of cooking and baking and replacing it with joy, creativity, and those unbeatable “you’ve gotta try this” moments.
I hope this recipe becomes a new favorite in your home, a tradition you look forward to, and a story you get to tell. Maybe you’ll be the Aunt Louise or Uncle Jackson for someone in your life, passing on the magic of a pulled candy tradition. So pack some up for your friends, save a few pieces for yourself with a good cup of coffee, and pat yourself on the back. You just cooked something awesome.
Let me know how your candy-making adventure goes in the comments below! I love hearing your stories and seeing your creations. Until next time, keep mixing it up and enjoying every bite.
Happy cooking,
Jackson


