Forget Fancy Bakeries: These Strawberry Truffles Are Your New Secret Weapon
Hey friends, Jackson from Food Meld here. Let’s get real for a second. Have you ever looked at a beautiful box of chocolates or a delicate dessert in a patisserie window and thought, “I could never make that”? I’m here to tell you, with a big, friendly chef-y wave of my hand, that you absolutely can. In fact, you’re about to make something even more special, because it’ll be made by you, right in your own kitchen.
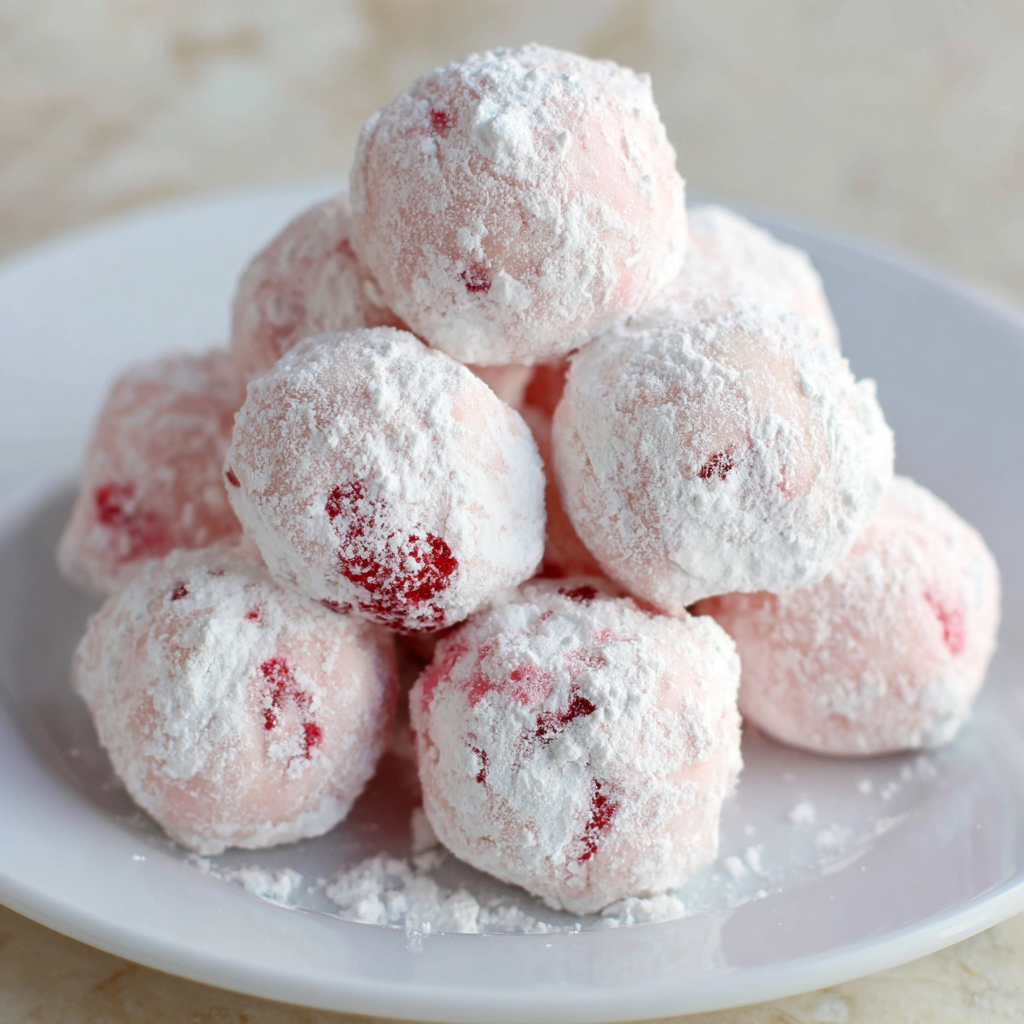
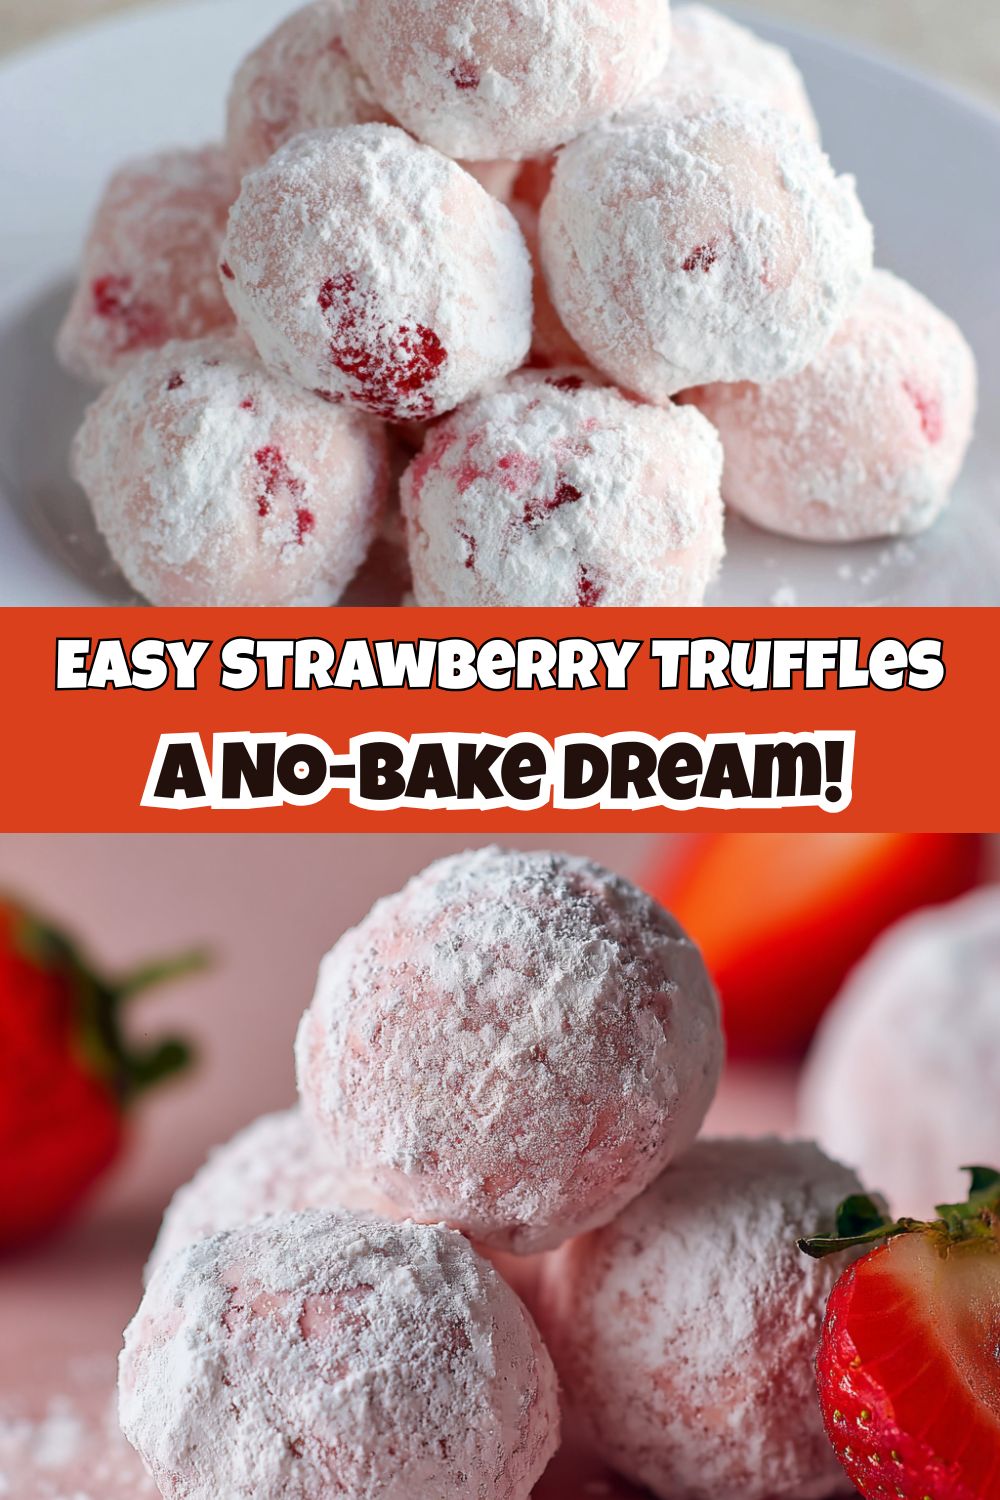
Today, we’re diving into one of my all-time favorite “wow factor” recipes that’s secretly a total cinch: Strawberry Truffles. We’re talking delicate, melt-in-your-mouth balls of creamy, dreamy goodness that taste like you captured the essence of a perfect strawberry shortcake and rolled it in powdered sugar. They’re elegant enough for a fancy dinner party, sweet enough for a romantic gesture, and simple enough for a fun Sunday baking project with the kids.
The best part? There’s no baking involved. Zero. Zilch. We’re just melting, stirring, and rolling. It’s the kind of recipe that proves you don’t need a culinary degree to create something unforgettable. It’s all about that “Food Meld” spirit—taking simple, comforting ingredients and giving them a creative, flavor-packed twist. So, tie on your apron, grab a bowl, and let’s cook up some magic that’s about to make you very, very popular.
A Sweet Slice of Memory
These truffles always take me right back to my grandma’s kitchen. She wasn’t a fancy chef, but she was a wizard with simple ingredients. Every summer, when the strawberries in her little patch were at their peak, she’d make these impossibly light strawberry tea cakes. They were my kryptonite. The whole house would smell like sweet berries and warm butter.
One sweltering July afternoon, the power went out right in the middle of her baking spree. The oven was off-limits, but we had a giant bowl of that gorgeous strawberry batter just sitting there, taunting us. Not one to be defeated, my grandma looked at me with a twinkle in her eye, scooped a bit of the raw batter, rolled it in powdered sugar, and said, “Try this.” It was a messy, imperfect, raw-dough delight. These truffles are my grown-up, food-safe homage to that moment—capturing that pure, unadulterated strawberry and cream flavor, no oven required. It’s a reminder that sometimes the best recipes are born from a little bit of kitchen chaos and a whole lot of love.
Gathering Your Flavor Arsenal
Alright, let’s gather our squad. One of the things I love most about this recipe is the short and sweet ingredient list. You probably have half of this in your pantry right now! Here’s what you’ll need and why each one is a rockstar:
- 1 cup white chocolate chips: This is our base, the creamy canvas for our strawberry masterpiece. Chef’s Insight: I highly recommend using a good-quality brand like Ghirardelli or Guittard. The better the chocolate, the smoother and less waxy your truffles will be. You can also chop up a white chocolate baking bar.
- ¼ cup unsalted butter, softened: Butter adds that rich, velvety mouthfeel and helps firm up the truffle mixture when chilled. Using unsalted lets you control the salt level perfectly.
- 3 tablespoons heavy whipping cream: This is our secret weapon for ultra-creamy texture. It thins the chocolate just enough to make it dippable and dreamy. Substitution Tip: In a pinch, you can use full-fat coconut cream for a dairy-free version!
- ½ teaspoon strawberry extract: This is where the big, bold strawberry flavor comes alive. Extract gives a more concentrated punch than syrup. Chef’s Insight: If you can find it, LorAnn Oils strawberry bakery emulsion is fantastic—it’s stronger and doesn’t contain alcohol, so the flavor won’t bake out.
- ¼ teaspoon vanilla extract: The ultimate flavor enhancer. Vanilla rounds out the strawberry and adds a warm, comforting depth. Don’t skip it!
- 1 drop pink or red food coloring (optional): This is purely for aesthetics, but a tiny drop gives them that beautiful, blushing pink color that just screams “strawberry!” Substitution Tip: For a natural color, you can try a tiny bit of beet powder mixed with a teaspoon of water.
- ¼ cup powdered sugar (for coating): This creates that classic, snow-dusted look and a lovely little sweetness that contrasts with the creamy center. Chef’s Insight: For a different vibe, try rolling them in crushed freeze-dried strawberries for an extra fruity kick!
Let’s Make Some Truffle Magic: Your Step-by-Step Guide
Ready for the fun part? Let’s turn these simple ingredients into something spectacular. I’ll walk you through every step, with all my favorite chef hacks along the way.
- Melt with Care: In a medium, heat-proof bowl, combine your white chocolate chips, softened butter, and heavy cream. Now, here’s a pro tip: microwave in 20-second bursts on medium power, stirring vigorously between each burst. Why? White chocolate is delicate and can scorch easily, turning grainy. We want slow, gentle heat until it’s just melted and gloriously smooth. Chef’s Hack: No microwave? You can use a double boiler! Just place the bowl over a pot of gently simmering water (make sure the bottom of the bowl doesn’t touch the water) and stir until melted.
- Stir in the Flavor: Once your chocolate mixture is smooth and lump-free, it’s time for the flavor party! Stir in the strawberry extract, vanilla extract, and that one drop of food coloring if you’re using it. Mix it until the color is even and the whole bowl smells like a strawberry field. Give it a taste—this is the chef’s privilege! It should be sweet, fruity, and amazing.
- The Chill Factor: Now, we need patience. Cover the bowl with plastic wrap and pop it into the refrigerator. Let it chill for 1 to 2 hours. You’re looking for a firm enough consistency that you can scoop it without it sticking to your hands like glue. Chef’s Hack: In a hurry? You can spread the mixture onto a plate or small baking sheet to chill faster—it increases the surface area, so it firms up in about 45 minutes!
- Scoop and Roll: Time to get your hands dirty! Use a small cookie scoop, a melon baller, or a teaspoon to portion out the mixture. I aim for about 1-inch balls. Roll them quickly between your palms to smooth them out. Pro Tip: If the mixture gets too soft and sticky, just wash your hands, dry them thoroughly, and dip your fingertips in a little powdered sugar. It acts like edible gloves!
- The Final Coat: Place your powdered sugar in a small bowl. Gently drop a few truffle balls into the sugar and roll them around until they’re completely coated, like little snowballs. Lift them out and give them a gentle shake to remove any excess sugar.
- Store for Sweetness: Arrange your beautiful finished truffles in a single layer in an airtight container, separated by parchment paper if you’re stacking them. They must be stored in the refrigerator until you’re ready to serve because of the butter and cream. They’ll keep happily for up to a week… if they last that long!
How to Serve These Little Gems
Presentation is half the fun! You’ve just made something gorgeous, so let’s show it off.
For a simple, elegant look, arrange them on a white platter or a beautiful piece of slate. They pop against a neutral background. If you’re feeling fancy, place each one in a mini paper cupcake liner—it looks professional and makes them easy to pick up.
These are the ultimate sharable treat. Pack them in a cute box tied with a ribbon for a homemade gift that says “I thought of you” better than any store-bought card. Bring them to a potluck and watch them disappear from the dessert table first. Or, my personal favorite, set a plate of them out with after-dinner coffee. It’s a sweet, little “thank you for coming” that always leaves a lasting impression.
Mix It Up! Creative Twists on the Classic
Once you’ve mastered the basic recipe, the “what if we tried this?” energy can really take over. Here are a few of my favorite ways to mix it up:
- Chocolate-Dipped Dream: Instead of powdered sugar, melt some dark or semi-sweet chocolate and dip the chilled truffle balls halfway. Let them set on parchment paper for a stunning two-tone effect.
- Lemon-Berry Fusion: Replace the vanilla extract with lemon extract. The zesty lemon and sweet strawberry are a match made in heaven. Roll these in some finely crushed graham crackers for a “cheesecake” vibe.
- Nutty Crunch: Before rolling, mix 2-3 tablespoons of very finely chopped toasted almonds or pecans into the chilled truffle mixture. It adds a wonderful texture and toasty flavor.
- “Strawberry Shortcake” Style: Roll the finished truffles in a mixture of powdered sugar and very finely crushed vanilla wafers or shortbread cookies. It’s like a portable strawberry shortcake!
- Boozy for Grown-Ups: For a sophisticated twist, add a teaspoon of Grand Marnier, Chambord, or even a good bourbon along with the extracts. Just note, this might make the mixture a bit softer, so you may need to chill it a touch longer.
Jackson’s Chef’s Notes
This recipe has been a work in progress for years. The first time I made them, I got overzealous with the food coloring and ended up with neon pink truffles that stained everything—fingers, lips, a white t-shirt… it was a mess! Lesson learned: one drop is truly plenty.
I also learned that the temperature of your kitchen is a big deal. If it’s a hot day, the truffles will soften fast. Don’t fight it! Just work in smaller batches, keeping the main bowl in the fridge while you roll. And remember, a little imperfection is what makes them charming and homemade. If one gets a little lopsided, just call it “rustic” and eat the evidence. I won’t tell.
FAQs & Sweet Rescue Missions
I’ve made these a zillion times, so I’ve encountered (and solved) most of the common hiccups. Here’s your troubleshooting guide:
Q: My truffle mixture is too soft and sticky to roll! What do I do?
A: Don’t panic! This usually means it needs more chill time. Pop it back in the fridge for another 30 minutes. If you’re in a real pinch, you can even stick it in the freezer for 10-15 minutes, but watch it closely so it doesn’t freeze solid. Also, make sure your hands are cool and dry—running them under cold water before rolling can help.
Q: Can I use fresh strawberries instead of extract?
A: I don’t recommend it for this specific recipe. Fresh fruit adds a lot of water, which can make the truffles weepy, prevent them from setting properly, and shorten their shelf life dramatically. The extract gives us that potent, stable strawberry flavor we’re after. If you’re craving fresh berry flavor, try my strawberry cream cheese frosting instead!
Q: My white chocolate seized and got grainy. Can I fix it?
A> Ah, the dreaded seize! It happens to the best of us. If there are just a few small lumps, try stirring in another tablespoon of warm heavy cream. This can sometimes smooth it out. If it’s a full-on grain-fest, it’s best to start over. Remember: low and slow is the way to go with melting chocolate!
Q: How far in advance can I make these?
A> They are fantastic for making ahead! They’ll keep beautifully in an airtight container in the fridge for up to one week. You can also freeze them for up to three months. Just place them in a single layer on a baking sheet to freeze solid, then transfer to a freezer bag. Thaw in the fridge overnight.
A Quick Note on Nutrition
Let’s keep it real, friends. These are a treat, through and through. They’re for celebrating, sharing, and indulging in a moment of pure joy. Each truffle is a little bite of happiness, coming in at around 90 calories.
They have about 6g of fat (from the butter and cream, which give them that luxurious texture), 10g of carbs, and 8g of sugar. I’m a big believer that food is about more than just numbers—it’s about the experience, the memory, and the smile it brings to your face. So enjoy one or two mindfully, savor every bite, and share the rest to spread the joy. Life’s too short not to enjoy a homemade truffle now and then!
Your New Go-To Sweet Treat
And there you have it! You’re now officially a truffle-making master. See? I told you it wasn’t intimidating. This recipe is a perfect example of what Food Meld is all about: taking a few simple, bold ingredients, having fun in the kitchen, and creating something that’s genuinely unforgettable.
I hope these Strawberry Truffles become a staple in your recipe box, your go-to gift, and a story you tell in your own kitchen. Did you try one of the variations? Did your kids love rolling them in the sugar? I’d love to hear about it! Drop a comment below or tag me on social with #FoodMeld so I can see your beautiful creations.
Now, go forth and enjoy every single, delicious, melt-in-your-mouth bite. You’ve earned it. Until next time, keep cooking with courage and a whole lot of flavor!
Yours in good food,
Jackson


