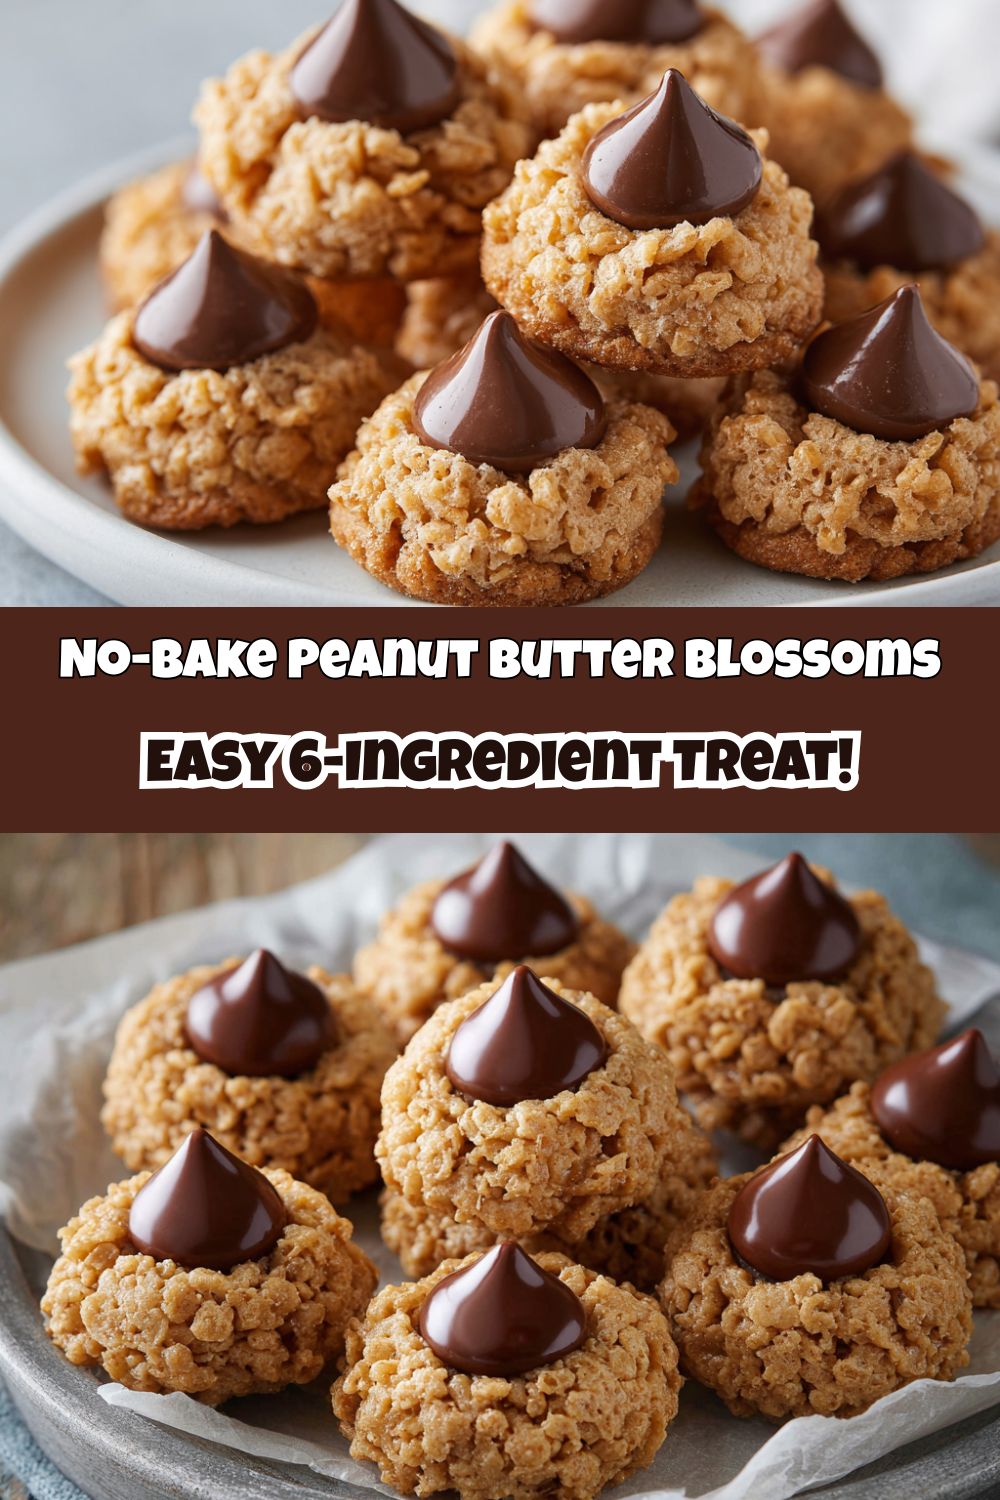
No-Bake Peanut Butter Blossoms: Your New Favorite Shortcut to Bliss
Hey friends, Jackson from Food Meld here. Let’s be real for a second. We all have those moments. You remember you need to bring a treat to the potluck in, oh, about 45 minutes. The kids are declaring a state of emergency because they need a *real* after-school snack, stat. Or maybe you’re just hit with a powerful, undeniable craving for something sweet, salty, and peanut buttery, and the idea of turning on the oven feels like a bridge too far.
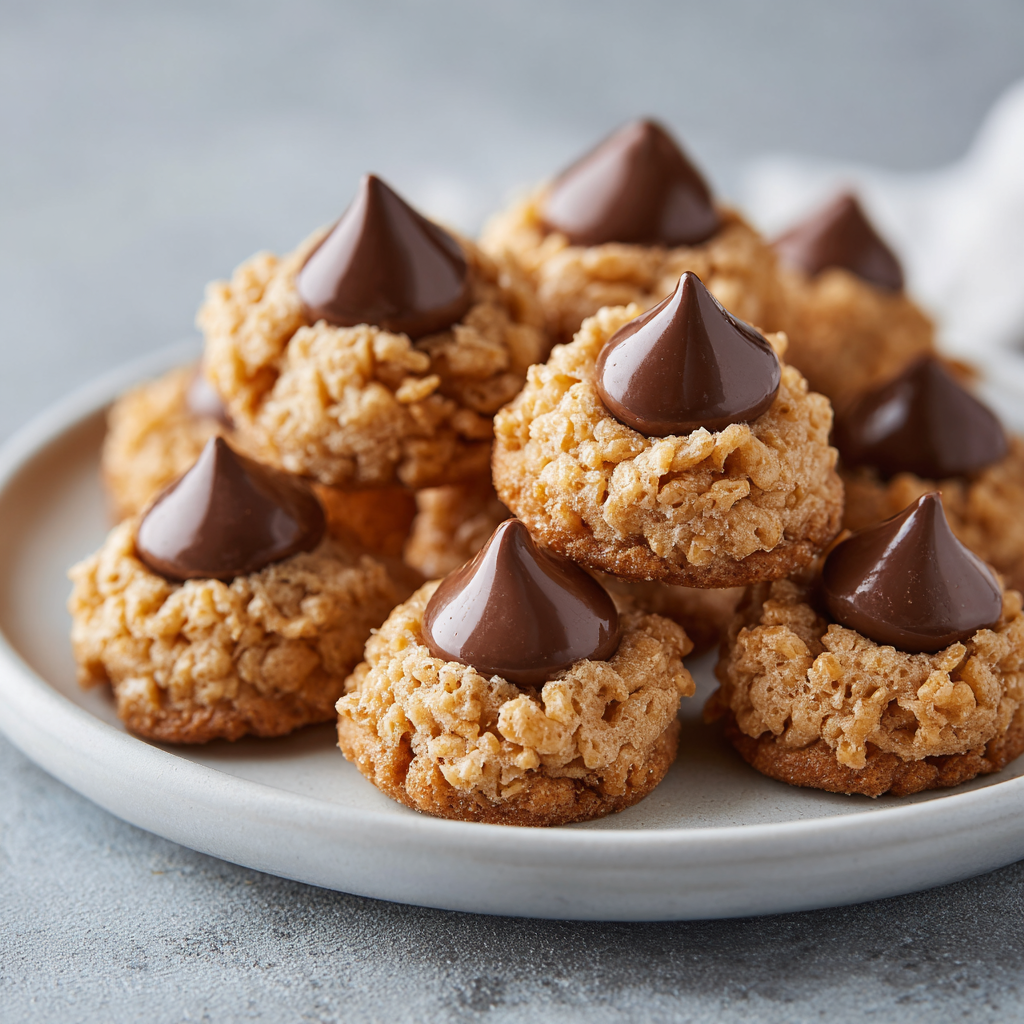
I see you. I’ve been you. And that, my friends, is precisely why these No-Bake Peanut Butter Blossoms are about to become your kitchen’s MVP. We’re taking everything you adore about the classic holiday cookie—the chewy texture, the iconic chocolate kiss, that perfect sweet-and-salty combo—and we’re making it faster, easier, and honestly, even more fun to make.
No preheating, no chilling dough, no baking sheets rotating in and out. This is a one-bowl, one-saucepan, pure-magic situation. The base has this incredible scotcheroo-style chewiness from the Rice Krispies, which gives it a playful texture that’s downright addictive. And that Hershey’s Kiss on top? It’s the classic crown jewel that makes everyone’s eyes light up. This is the kind of recipe that proves unforgettable flavor doesn’t have to be complicated. It’s bold, comforting, and packed with that “you’ve gotta try this” energy I live for. So, let’s ditch the oven and cook up some awesome together.
A Sticky-Fingered Legacy
This recipe takes me right back to my grandma’s kitchen, but not in the way you might think. See, my grandma was a baking purist. Her classic peanut butter blossoms were a December ritual, a sacred text we followed to the letter. But my mom? She was the “what if we tried this?” rebel of her generation. One sweltering July afternoon, when the AC was fighting a losing battle, I was desperately begging for those cookies. Turning the oven to 350 degrees was simply not an option.
So, Mom got that look in her eye—the one I know I get now when I’m about to “meld” something new. She started pulling out the corn syrup, the Rice Krispies, and that trusty jar of Jif. “We’re making them without the oven,” she declared. What emerged from that spontaneous experiment was a sticky, chaotic, and utterly delicious mess. We had cereal stuck to our elbows and chocolate on our fingerprints, but we also had a batch of the most delicious, chewy, no-bake treats I’d ever tasted. It was a kitchen hack that felt like a superpower, and it’s a legacy of fun, flavor-first improvisation that I carry with me in every recipe I create.
Gathering Your Flavor Arsenal
One of the best things about this recipe is the short, sweet, and simple ingredient list. You probably have most of this in your pantry right now! Here’s what you’ll need and a little chef’s insight on why each one matters.
- 1 cup light corn syrup: This is the magic glue that holds our blossoms together and gives them that signature soft, chewy texture. It prevents the sugar from crystallizing, ensuring a smooth, never-grainy bite. If you’re in a pinch, you can use an equal amount of honey or agave nectar, but note that it will impart its own distinct flavor.
- 1/2 cup white sugar: This adds sweetness and structure. The granulated sugar, when dissolved into the corn syrup, helps the mixture firm up beautifully as it cools, giving our no-bake balls a perfect, non-crumbly hold.
- 1 cup creamy peanut butter: The star of the show! I use standard creamy peanut butter (like Jif or Skippy) because the added oils and sugars help with binding and create that classic, familiar flavor. Natural peanut butter can sometimes be too oily or not sweet enough, which might affect the final texture.
- 5 cups Rice Krispies cereal: Our secret weapon for texture! The crisp rice cereal gives the blossoms a delightful, airy crunch that evolves into a wonderful chew. It’s the backbone of our no-bake structure. Feel free to swap this with any similar crisp rice cereal.
- 34 to 36 Hershey’s Kisses, unwrapped: The grand finale! Unwrapping them is a perfect job for any little helpers in the kitchen. The classic milk chocolate is my go-to, but don’t be afraid to get creative here—Dark Chocolate or Hugs (the striped ones) would be incredible too!
Let’s Make Some Magic: Your Step-by-Step Guide
Alright, team, let’s get our hands dirty. This whole process is lightning fast, so I recommend having all your ingredients measured and ready to go. In the chef world, we call this *mise en place*—it just means you’re set up for success and won’t be scrambling mid-recipe!
- The Syrup Simmer: Grab a medium-to-large saucepan and combine the corn syrup and white sugar. Place it over medium heat. Now, your mission here is to stir consistently until the sugar completely dissolves and the mixture just *barely* starts to bubble at the edges. We are NOT bringing this to a rolling boil. You’re just warming it through to melt the sugar granules. This should only take 3-4 minutes. Chef’s Hack: Rub a little of the mixture between your fingers. If it feels smooth, not gritty, you’re golden!
- The Peanut Butter Merge: As soon as you see those first bubbles, pull the saucepan right off the heat. This is crucial! Now, dump in that entire cup of creamy peanut butter. Start stirring—you’ll see it come together into a smooth, glossy, heavenly-smelling sauce. Keep stirring until no streaks of peanut butter remain. The residual heat from the syrup is all you need to melt it perfectly.
- The Cereal Crunch: Time for the Rice Krispies! Pour all 5 cups into the saucepan. Now, switch to a sturdy spatula and mix, mix, mix! You want to work relatively quickly to ensure every single cereal piece gets coated in that delicious peanut butter syrup. You’ll hear the most satisfying *snap, crackle, pop* as you fold it all together.
- The Ball Roll: While the mixture is still warm (but cool enough to handle), it’s time to form our balls. I like to use a small cookie scoop (about 1.5 tablespoons) for perfectly even portions, but a spoon and your hands work just fine. Lightly grease your hands with a tiny bit of cooking spray or butter—this is a GAME-CHANGER that prevents sticking! Roll the mixture into 1 to 1.5-inch balls and place them on a baking sheet lined with parchment paper.
- The Kiss Finale: This is the most important step! Don’t wait for the balls to cool. While they are still warm and pliable, gently press one unwrapped Hershey’s Kiss right into the center of each ball. Push it down just enough so it’s secure, but don’t flatten the whole thing. The warmth of the base will slightly soften the chocolate, creating that perfect bond.
- The Patience Game: Now, simply let your beautiful creations cool at room temperature. Walk away. Let them do their thing. In about 15-20 minutes, they’ll be set, firm, and ready to devour. No baking, no chilling, just pure willpower.
Plating Up the Fun
How you serve these is part of the joy! You can absolutely just pile them high on a plate and watch them vanish, but if you want to get a little fancy, here are my go-to moves.
For a party, I love arranging them on a rustic wooden board, maybe with some whole peanuts or a few extra Hershey’s Kisses scattered around for decoration. They look fantastic on a tiered dessert stand, too, giving them that bakery-worthy vibe. If you’re packing them for a picnic or a school treat, layer them in a container with parchment paper between the layers to keep them perfect. And my favorite way? Serving them slightly warm with a cold glass of milk for the ultimate comfort food moment. The contrast is everything.
Make It Yours: Flavor Twists & Swaps
The beauty of a recipe this simple is how easily you can make it your own. Here are a few of my favorite “what if we tried this?” variations to get your creative juices flowing.
- The Chocolate Lover: Swap out the Hershey’s Kiss for a chocolate-covered almond, a Rolo, or even a mini Reese’s Cup. For an extra chocolatey base, add 1/4 cup of cocoa powder to the syrup mixture along with the peanut butter.
- The Nutty Professor: Not a peanut butter fan? No problem! Use an equal amount of almond butter or SunButter (for a nut-free version). The flavor will be different but just as delicious.
- The Salty-Sweet Queen: Before the balls set, give them a light sprinkle of flaky sea salt. It amplifies the peanut butter and chocolate flavors in the most incredible way. You can also roll the balls in crushed pretzel bits for a salty, crunchy exterior.
- The Festive Friend: Make these for the holidays by using the red and green foil-wrapped Hershey’s Kisses. You can also roll the balls in colorful sprinkles right after you form them for a festive pop.
- The Protein Power-Up: For a slightly more substantial treat, replace 1 cup of the Rice Krispies with 1 cup of rolled oats. It adds a lovely, wholesome chew and a bit of extra fiber.
Jackson’s Kitchen Notes
This recipe has been a part of my life for so long, it’s practically family. Over the years, I’ve learned a few things. First, the “grease your hands” tip was born from a particularly sticky situation where I had more mixture on my fingers than in the balls—it was hilarious and messy, but a valuable lesson learned! Second, I’ve found that if your kitchen is particularly warm, popping the tray into the fridge for 10 minutes can help them set up a bit faster. Finally, don’t stress about perfection. Some balls will be bigger, some Kisses might be a little crooked—that’s the charm of a homemade treat. It’s the flavor that counts, and I promise, the flavor is a straight-up winner.
Your Questions, Answered!
I’ve made these a zillion times, and I’ve heard all your questions. Here are the answers to the most common ones.
- My mixture is too sticky to form balls! What did I do wrong? This usually means the syrup-sugar mixture wasn’t heated quite enough, or your kitchen is just extra warm. The fix is easy: lightly grease your hands with cooking spray or butter. It creates a non-stick barrier and makes rolling a breeze. If it’s still a disaster, let the mixture sit in the pot for 5-10 minutes to cool down slightly; it will thicken up as it cools.
- Can I make these ahead of time? Absolutely! They are fantastic for make-ahead treats. Once fully set, store them in an airtight container at room temperature for up to 3 days. For longer storage, you can keep them in the fridge for up to a week.
- My Kisses are sliding off! Help! This happens if the base has cooled down too much before you pressed the Kiss in. The warmth is what “glues” the chocolate on. If this happens, just press a little firmer. For the next batch, work a bit faster, or if you’re making a double batch, you can gently re-warm the mixture in the pot for 30 seconds if it starts to cool and harden.
- Are these gluten-free? They can be! Just make sure to use a certified gluten-free crisp rice cereal. Most major brands are, but always double-check the label to be safe.
Let’s Talk Nutrition (The Real Talk)
Now, I’m all about balance. I believe in enjoying decadent desserts and also fueling our bodies with wholesome food. These No-Bake Peanut Butter Blossoms are very much a treat, and that’s okay! Here’s a quick, approximate breakdown per piece (based on a yield of 36). Remember, this is just an estimate as brands can vary.
Per Piece: Calories: 120 | Carbohydrates: 18g | Protein: 2g | Fat: 5g
They get their energy from the carbohydrates in the cereal and sugars, with a bit of protein and healthy fat from the peanut butter. The key, as with all good things, is enjoyment in moderation. Savor one or two with a glass of milk, share them with friends, and relish every single bite without a single ounce of guilt. Food is joy, and these little blossoms are pure, unadulterated joy.
Your New Go-To Treat Awaits
And there you have it. Your secret weapon for last-minute cravings, potluck panic, and pure, uncomplicated kitchen fun. These No-Bake Peanut Butter Blossoms are more than just a recipe; they’re a reminder that the best food doesn’t have to be fussy. It’s about bold flavors, comforting textures, and the joy of creating something with your own two hands (even if they get a little sticky).
I hope you love making these as much as I do. I want to see your creations! Tag me on social @FoodMeld with your photos and stories. Did you try the salty-sweet version? Did your kids go crazy for them? I want to hear all about it. Now, go forth, melt that peanut butter, and cook something awesome.
Until next time,
Jackson


