The Best of Both Worlds: Introducing Brownie Mix Cookies
Hey friends, Jackson from Food Meld here! Let’s get real for a second. Are you Team Brownie or Team Cookie? I know, I know, it’s a tough call. Brownies give us that incredible, fudgy, melt-in-your-mouth decadence. But cookies? Cookies give us those irresistible crispy edges, that soft, chewy center, and the perfect, handheld vehicle for a cold glass of milk. It’s a culinary conundrum that has divided households for generations.
Well, my food-loving friends, I’m here to declare a truce. What if I told you that you don’t have to choose? What if you could have the soul-satisfying, chocolatey depth of your favorite brownie and the delightful, portable fun of a warm, fresh-baked cookie? Spoiler alert: you totally can, and it’s about to become your new secret weapon.
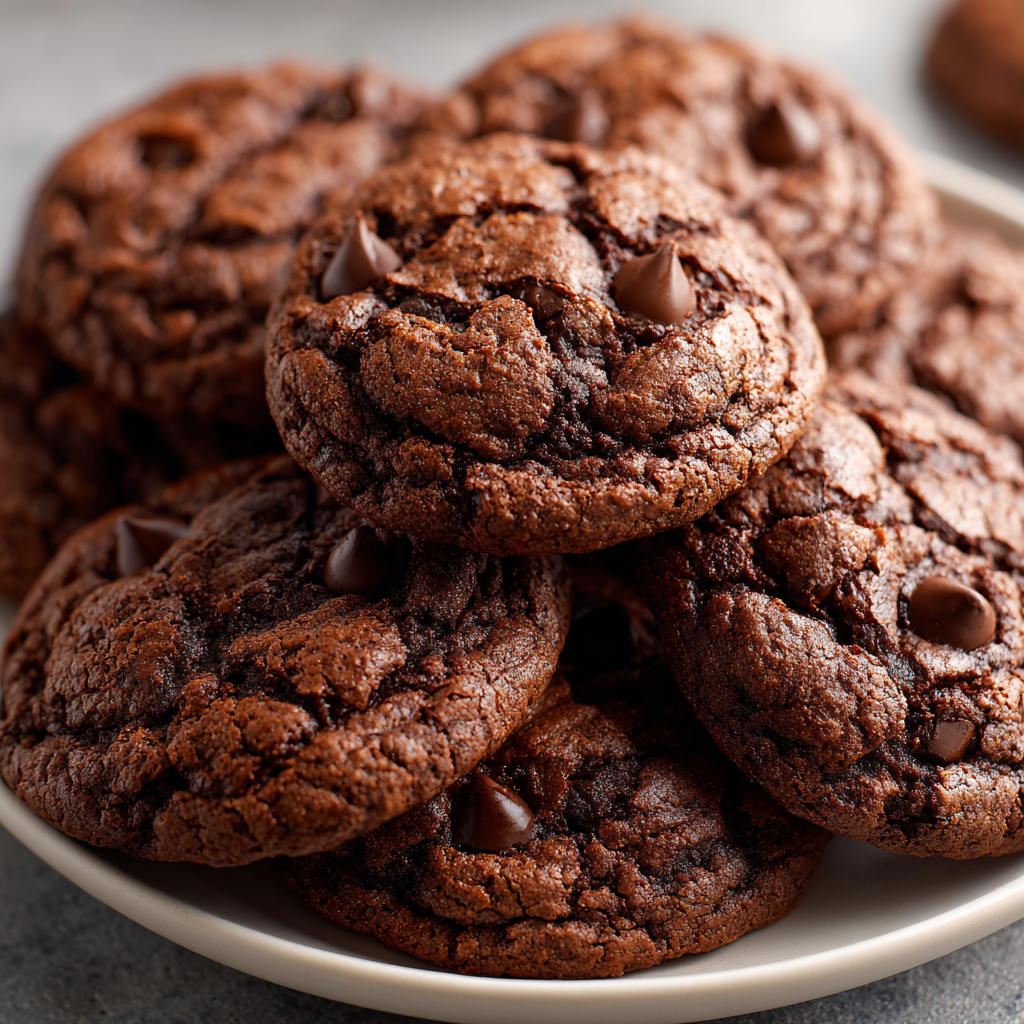
Today, we’re making Brownie Mix Cookies. These little pockets of joy are the ultimate kitchen hack for when a brownie craving hits but you just can’t be bothered with a pan and a knife. They’re soft, they’re fudgy, they have that perfect crackly top, and their edges have just the right amount of crispness. Best of all, they start with a box of brownie mix, which means they are fast, foolproof, and guaranteed to make your kitchen smell like a bakery in under 30 minutes. So, grab your favorite mixing bowl and let’s turn that box of potential into something truly unforgettable.

A Happy Kitchen Accident
This recipe takes me right back to my Grandma Jo’s kitchen. She was the queen of “semi-homemade” before it was even a thing. One afternoon, I was about ten years old and dead-set on making a batch of her famous brownies for a family potluck. I had the mix, the eggs, the oil… and then I realized we were completely out of the right-sized baking pan. I was devastated. But Grandma Jo just winked, took the bowl from my hands, and said, “Honey, we’re not making brownies today. We’re making cookie-brownies.”
She threw in a little extra flour, let me go to town dropping messy spoonfuls onto a baking sheet, and twenty minutes later, we had a batch of the most bizarre, delicious, hybrid desserts I’d ever seen. They were a massive hit. That day, she taught me one of my most cherished cooking lessons: a missing ingredient or a “mistake” isn’t a roadblock—it’s just a detour to a new discovery. These cookies are a tribute to that spirit of playful, no-fuss cooking.
Gathering Your Flavor Arsenal
One of the best things about this recipe is its simplicity. You probably have most of this stuff in your pantry right now! Here’s what you’ll need to make about 18 perfectly fudgy cookies.
- 1 box (18 oz) Brownie Mix: This is our flavor foundation! I’m not picky here—use your favorite brand, fudgy or cakey style. The mix already has all the cocoa, sugar, and leavening agents we need. Chef’s Insight: If your mix comes with a separate pouch of chocolate chips, you can absolutely use it! Just hold off on adding any extra chips until the end.
- ¼ cup All-Purpose Flour: This is our secret weapon for transforming batter into dough. The brownie mix on its own is a bit too loose, and this little bit of flour gives the cookies the perfect structure to puff up and hold their shape without spreading into one giant cookie-puddle.
- 2 large Eggs: Our binding agents! They bring everything together, add richness, and help create that beautiful, crackly top as they bake. Make sure they’re at room temperature for the best, smoothest dough.
- ¼ cup Vegetable Oil: Oil keeps these cookies incredibly moist and tender on the inside, giving them that classic brownie texture. Substitution Tip: You can swap this for melted (and slightly cooled) butter if you prefer a richer, more buttery flavor.
- 1 cup Chocolate Chips (optional but highly recommended): Because more chocolate is always the answer. I love using semi-sweet chips for a balanced sweetness, but milk chocolate, dark chocolate, or even white chocolate chunks would be fantastic. This is where you make it yours!
Let’s Bake Some Magic: Your Foolproof Roadmap
Ready? This is where the fun begins. I’ll walk you through every step, sharing my favorite little hacks to ensure cookie perfection.
- Preheat and Prep. Fire up your oven to 350°F (175°C). This is step one for a reason—you want that oven nice and hot so your cookies start baking the moment they hit the heat, giving them a great rise. Line a baking sheet with parchment paper. Chef’s Hack: Parchment paper is a lifesaver for easy cleanup and preventing sticking, but a light spray of non-stick cooking spray works in a pinch.
- The Great Meld. In a medium-sized bowl, combine the brownie mix, all-purpose flour, eggs, and vegetable oil. Now, grab a sturdy spatula or a wooden spoon and stir it all together. You’ll notice it starts off a bit shaggy, but keep going! Stir until you have a thick, cohesive, and gloriously chocolatey dough. No need for a fancy mixer here—a little elbow grease does the trick.
- The Chocolate Fold-In. If you’re using chocolate chips (and you really, really should), now’s the time. Dump them into the bowl and gently fold them in. Folding just means turning the dough over onto itself until the chips are evenly distributed. This prevents you from over-mixing and keeps the dough nice and tender.
- Scoop and Space. Using a tablespoon or a small cookie scoop, portion out balls of dough onto your prepared baking sheet. This is key: leave about 2 inches between each dough ball. These cookies need their personal space to spread and bake evenly. If they’re too close, they’ll bake into one another and you’ll get a “brownie slab” instead of individual cookies (which, honestly, still tastes amazing, but isn’t the goal!).
- Bake to Perfection. Pop the baking sheet into your preheated oven and bake for 10-12 minutes. You’re looking for set edges and soft, slightly puffy centers. Chef’s Secret: They might look a tad underdone in the middle, but that’s exactly what you want! They will continue to cook as they cool on the pan, resulting in that dreamy, fudgy center.
- The All-Important Cool Down. This is the hardest part, but you’ve gotta be strong! Pull the baking sheet out of the oven and let the cookies rest on the hot pan for a solid 5 minutes. This allows them to firm up enough to handle. Then, carefully transfer them to a wire rack to cool completely. Or, you know, grab a spatula and eat one immediately while the chocolate chips are still gloriously molten. I won’t tell.
How to Serve These Show-Stoppers
Okay, you’ve baked a perfect batch. Now, let’s talk presentation and pairing. These cookies are stars on their own, but a little flair never hurt anybody.
For a simple, classic look, I love piling them high on a rustic wooden board or a simple white plate. The contrast makes the dark, crackly cookies pop. Want to take it to the next level? Place a warm cookie in a shallow bowl and top it with a scoop of high-quality vanilla ice cream. The combination of warm cookie and cold, creamy ice cream is a textural masterpiece. Drizzle a little caramel or hot fudge sauce over the top, and you’ve just created a restaurant-worthy dessert in minutes.
They’re also the perfect companion to your favorite drink. A tall, ice-cold glass of milk is the undisputed champion, but I’m also a huge fan of pairing them with a dark roast coffee or even a mug of spicy chai tea. The bitterness of the coffee cuts through the sweetness of the chocolate beautifully.
Mix It Up! Creative Twists on the Classic
Once you’ve mastered the basic recipe, the playground is open! Here are a few of my favorite ways to mix it up and keep things exciting.
- Peanut Butter Paradise: Before baking, gently press a small dollop of peanut butter into the top of each dough ball. Or, for a real treat, sandwich a little peanut butter between two cooled cookies.
- Rocky Road Rendezvous: Fold in ½ cup of mini marshmallows and ½ cup of chopped walnuts or pecans along with the chocolate chips. You get that classic rocky road flavor in every bite.
- Salted Caramel Swirl: Add a sophisticated twist by drizzling ¼ cup of salted caramel sauce into the dough and swirling it lightly with a knife just before baking. Finish the warm cookies with a light sprinkle of flaky sea salt.
- Mint Chocolate Chip: Swap the chocolate chips for mint chocolate chips or stir in ½ teaspoon of peppermint extract into the wet ingredients for a cool, refreshing flavor that’s perfect any time of year.
- Gluten-Free Goodness: Easy! Just use a certified gluten-free brownie mix and swap the all-purpose flour for your favorite 1:1 gluten-free flour blend. No one will know the difference.
Jackson’s Kitchen Notes
This recipe has been a staple in my kitchen for years, and it’s evolved in the best ways. I’ve learned that a heaping tablespoon of dough makes the perfect-sized cookie—big enough to feel indulgent, but small enough that you don’t feel guilty having two. I also have a funny story: one time I was filming a video for the blog and I was so busy talking to the camera that I completely forgot to add the flour. Let’s just say we ended up with a batch of delicious, but very flat, “brownie crisps” instead of cookies! It was a great reminder that even simple recipes need a quick double-check of the ingredient list. The beauty of this recipe is its flexibility and forgiving nature. Don’t be afraid to experiment and make it your own!
Your Questions, Answered!
I’ve gotten a lot of questions about these cookies over the years. Here are the most common ones to help you nail it every single time.
- Q: My cookies spread too much and got flat. What happened?
A: This usually means your dough was a bit too warm. Next time, after you’ve mixed the dough, pop the whole bowl in the refrigerator for 15-20 minutes before scooping and baking. This chills the fat in the dough and helps the cookies hold their shape better in the oven.
- Q: Can I make the dough ahead of time?
A: Absolutely! You can cover the bowl and refrigerate the dough for up to 24 hours. This actually deepens the chocolate flavor. Just let it sit at room temperature for 10-15 minutes before scooping, as it will be quite firm straight from the fridge.
- Q: The centers are too cakey, not fudgy. How can I fix that?
A: The most likely culprit is over-baking. Remember, we want to take them out when the centers still look soft! They firm up as they cool. Also, double-check that you’re using the right amount of oil—it’s crucial for that fudgy texture.
- Q: Can I freeze these cookies?
A: You bet! They freeze beautifully. Once the baked cookies are completely cooled, store them in a freezer-safe bag or container for up to 3 months. You can also freeze the scooped dough balls on a tray and then transfer them to a bag. Bake straight from frozen, adding 1-2 minutes to the baking time.
Let’s Talk Nutrition & Prep
I’m all about balance, friends. These are a treat, and they’re meant to be enjoyed as such! Here’s a quick breakdown of what you’re looking at per cookie (this is an approximation, as different brownie mixes will vary).
Prep Time: 10 minutes | Bake Time: 10-12 minutes | Total Time: ~25 minutes
- Calories: ~140 kcal
- Fat: 7 g
- Carbohydrates: 20 g
- Sugar: 14 g
- Protein: 2 g
Allergen Note: This recipe contains eggs and gluten. Depending on your brownie mix, it may also contain dairy. Always check the labels of your specific ingredients if you have dietary restrictions.
Your New Go-To Dessert
And there you have it! The humble brownie mix, transformed into something spectacularly fun and delicious. This recipe is a perfect example of what Food Meld is all about: taking simple, comforting ideas and giving them a creative twist that makes weeknight cooking (and baking!) an absolute joy.
I hope these Brownie Mix Cookies become a regular in your rotation, just like they are in mine. They’re perfect for last-minute guests, after-school snacks, or just satisfying that 9pm chocolate craving. I love seeing your creations, so if you make them, be sure to tag me @FoodMeld on social media so I can see your beautiful bakes!
Now, get into that kitchen, get a little messy, and let’s cook something awesome together. Happy baking!
— Jackson


