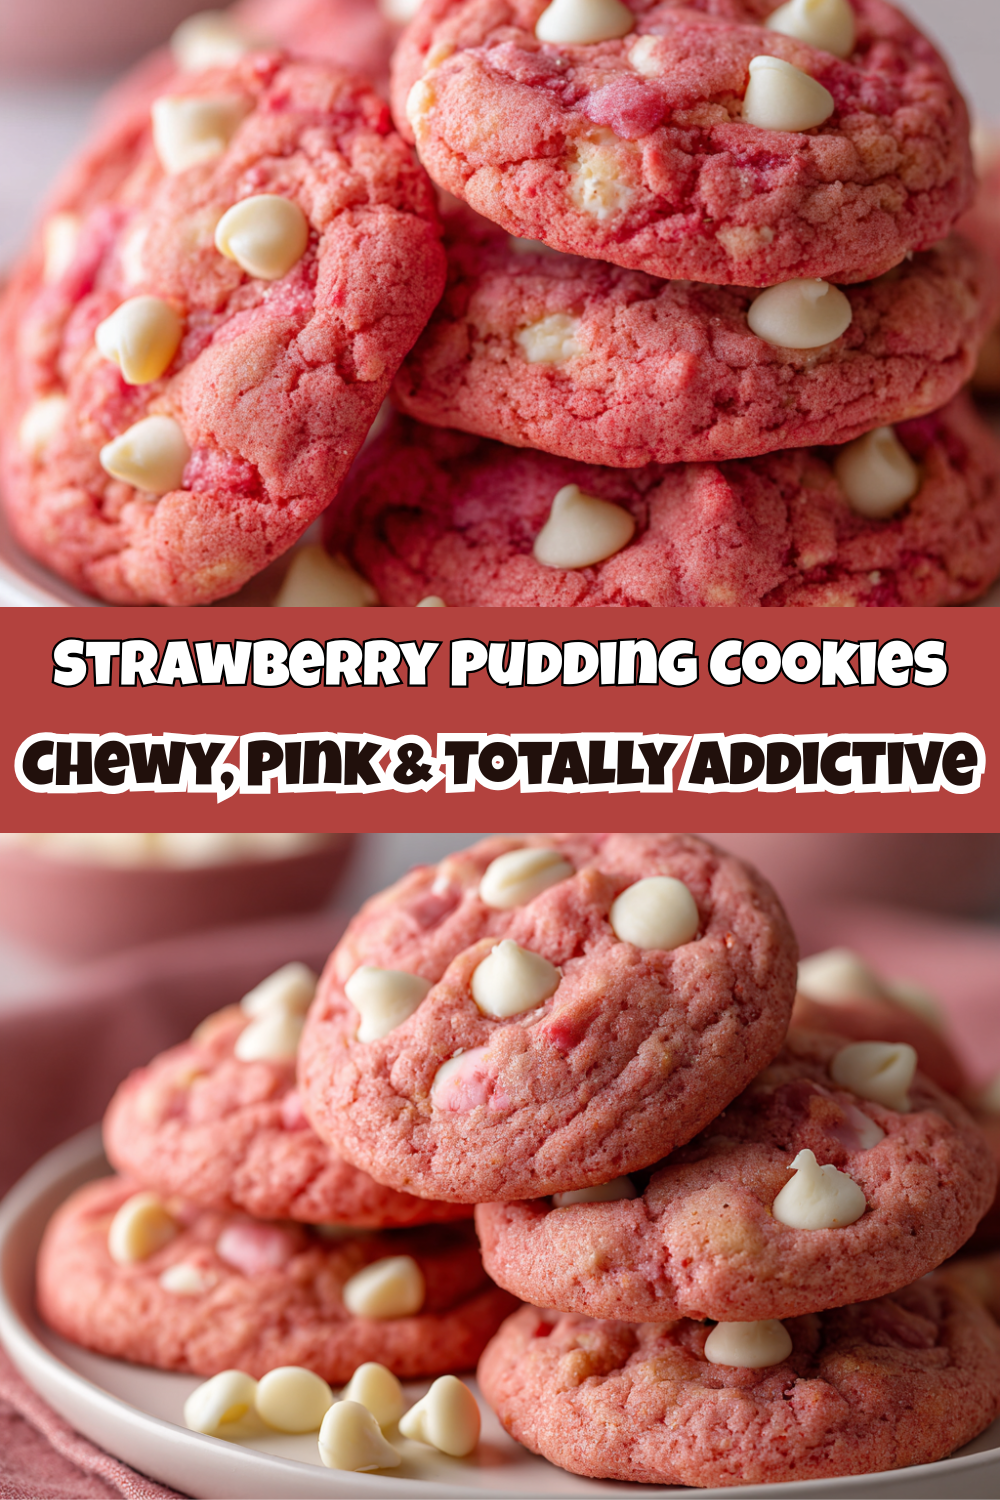
Strawberry Pudding Cookies: Your New Favorite Dose of Pink, Chewy Joy
Hey there, Food Meld family! Jackson here. Let’s talk about a little magic trick I like to keep up my sleeve for those days when you need a serious dose of sweetness, a pop of color, and a cookie that’s so soft it practically melts in your mouth. I’m talking about my legendary Strawberry Pudding Cookies. Now, I know what you might be thinking—”Pudding? In a cookie?”—but trust me, this is one of those “what if we tried this?” moments that totally pays off.
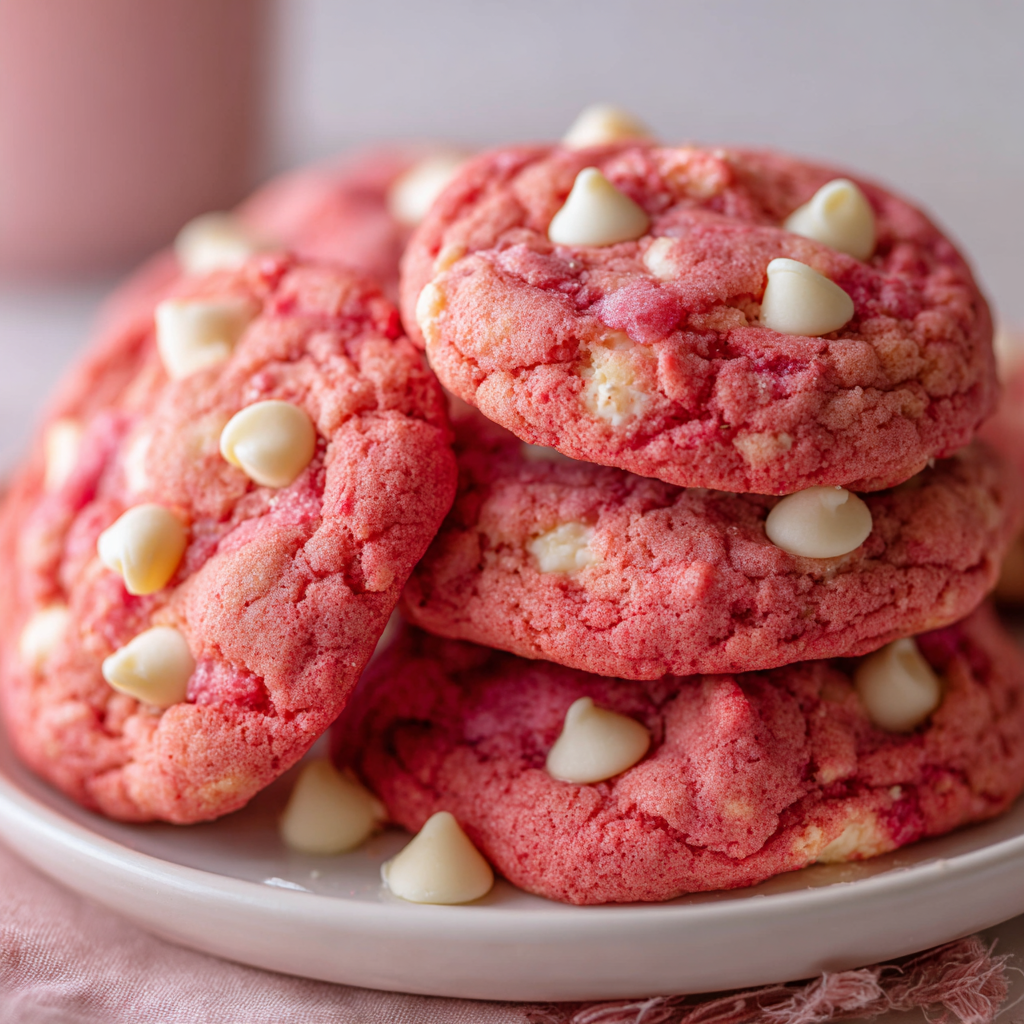
These cookies are a total vibe. They’re unapologetically pink, bursting with real strawberry flavor from the Jell-O, and they have this incredible, bakery-style chew thanks to the secret weapon: cheesecake pudding mix. And let’s not forget the pockets of creamy, melty white chocolate chips that send the whole experience straight into dessert heaven. This isn’t just a cookie; it’s a mood-lifter, a party-starter, and the perfect project for a fun afternoon in the kitchen.
Whether you’re baking for Valentine’s Day, a birthday, a bake sale that you’re determined to win, or just because it’s Tuesday, these Strawberry Pudding Cookies are guaranteed to be a hit. They’re surprisingly simple to make, and I’m going to walk you through every single step. So, preheat that oven, grab your favorite mixing bowl, and let’s cook something awesome together that’s as fun to make as it is to eat.
A Sweet Slice of Nostalgia: Where This Recipe Came From
This recipe takes me right back to my grandma’s linoleum-floored kitchen. She was a queen of “semi-homemade” before it was even a term, a master at taking a few simple, store-bought ingredients and turning them into something that tasted like pure love. Her signature move was a box of vanilla pudding in her chocolate chip cookies, which made them famously soft and kept them that way for days.
Years later, when I was deep in my own kitchen experiments, I started playing with that idea. I thought, “What if we took that pudding trick and turned it up to eleven?” I had a box of strawberry Jell-O and a box of cheesecake pudding mix sitting on the counter, left over from another recipe experiment. The “what if” energy took over. What if we combined them? The Jell-O for that punchy, fruity flavor and the pudding for that incredible, tender texture? The first batch was a revelation—a cookie that tasted like strawberry cheesecake but in chewy, portable form. It was a total Food Meld moment: taking a classic Southern kitchen hack and giving it a fun, modern, flavor-packed twist. Every time I bake these, it feels like a little nod to my grandma and her brilliant, simple approach to making people happy with food.
Gathering Your Flavor Arsenal: The Ingredients
Here’s everything you’ll need to create this masterpiece. Don’t just think of these as ingredients; think of them as your team players, each bringing something special to the game.
- 1 cup (2 sticks) unsalted butter, softened: This is the foundation of our cookie. Using unsalted lets us control the salt level. Chef’s Insight: “Softened” is key! It should be cool to the touch but leave a slight indent when you press it. If it’s melted, your cookies will spread too much.
- 1 cup granulated sugar: Sweetness and helps create that perfect crisp edge.
- 3 tbsp strawberry Jell-O powder: This is our flavor MVP! It gives that authentic, nostalgic strawberry taste and a gorgeous pink color. Substitution Tip: You can use any flavor of Jell-O you like! Raspberry, cherry, or even orange would be fantastic.
- 2 large eggs: They bind everything together and add richness. Make sure they’re at room temperature to blend smoothly with the butter.
- 1 tsp strawberry extract: This amplifies the berry flavor and makes it taste even more real. Chef’s Insight: If you can find it, this is a game-changer. If not, you can use vanilla extract; the Jell-O will still carry the flavor.
- Red gel food coloring (optional): For a more vibrant, bold pink color. Gel food coloring is best because it adds color without thinning the dough.
- 2 ½ cups all-purpose flour: The structure of our cookie. Pro Tip: For the most accurate measure, fluff your flour with a spoon, spoon it into your measuring cup, and level it off. Don’t scoop directly from the bag!
- 1 (3.4 oz) box cheesecake pudding mix (instant): The SECRET WEAPON! This is what makes the cookies incredibly soft and chewy and gives them a subtle, creamy background note. Do not use the “cook and serve” kind.
- 1 tsp baking powder & 1 tsp baking soda: Our leavening agents. They work together to give the cookies the perfect amount of rise and spread.
- ½ tsp salt: Crucial for balancing all the sweetness and making the flavors pop. Don’t skip it!
- 12 oz white chocolate chips: The perfect creamy, sweet partner for the tangy strawberry. Substitution Tip: Not a white chocolate fan? Semi-sweet or dark chocolate chips create a delicious sweet-tart contrast. You could even use dried strawberries for a double berry hit!
Let’s Get Baking: The Step-by-Step Fun
Okay, team, it’s go time. This is where the magic happens. Follow these steps, and you’ll have perfect cookies every single time.
- Preheat and Prep: First things first, get that oven preheating to 350°F (175°C). This is non-negotiable for even baking. While it’s heating up, line your baking sheets with parchment paper. Chef’s Hack: Parchment paper is your best friend. It prevents sticking and makes cleanup a breeze. No parchment? A silicone baking mat works great too.
- The Creaming Method is Key: In a large bowl, cream together the softened butter, granulated sugar, and that glorious strawberry Jell-O powder. Use an electric mixer (handheld or stand) on medium speed for a good 2-3 minutes. You want it to be light, fluffy, and pale in color. This step incorporates air into the dough, which is essential for texture. Don’t rush it!
- Incorporate the Wet Stuff: Beat in the eggs, one at a time, making sure each is fully incorporated before adding the next. Then, mix in the strawberry extract and your optional gel food coloring. Now your dough should be a beautiful, promising shade of pink!
- Whisk the Dry Team: In a separate, medium-sized bowl, whisk together the flour, cheesecake pudding mix, baking powder, baking soda, and salt. Chef’s Insight: Whisking the dry ingredients separately ensures the leaveners and salt are evenly distributed throughout the flour, so every cookie bakes uniformly.
- Bring It All Together: Gradually add the dry ingredients to the wet ingredients, mixing on low speed just until the flour disappears. Do not overmix! Overmixing develops gluten and can lead to tough cookies. A few streaks of flour are okay; we’ll finish mixing when we add the chips.
- The Grand Finale: Chocolate Chips! Switch to a spatula or wooden spoon and gently fold in the white chocolate chips. This ensures they’re evenly distributed without overworking the dough.
- Scoop with Confidence: Using a cookie scoop (a 1.5-tablespoon size is perfect), portion out the dough into balls. Roll them gently between your palms to smooth them out. Chef’s Hack: For thicker, chewier cookies, chill the dough balls for 20-30 minutes before baking. This prevents them from spreading too much.
- Bake to Perfection: Place the dough balls on your prepared baking sheets, leaving about 2 inches between them for spreading. Bake for 10-12 minutes. The edges should look set and maybe just barely starting to turn golden, but the centers will still look soft and slightly underdone. This is the secret to a soft cookie! They will continue to cook on the hot pan as they cool.
- The Patience Test: This is the hardest part. Let the cookies cool on the baking sheet for at least 5 minutes. They are too delicate to move right out of the oven. After they’ve firmed up a bit, transfer them to a wire rack to cool completely. Or, you know, eat one warm and gooey right then and there. I won’t tell.
How to Serve These Beauties
Honestly, these cookies are stars all on their own, piled high on a simple plate. But if you want to take them to the next level, here are a few of my favorite ways to serve them:
The Ultimate Dessert Platter: Arrange them on a wooden board with some fresh strawberries, a few scoops of vanilla bean ice cream, and a drizzle of melted white chocolate. It’s an instant dessert spread that looks like it came from a fancy bakery.
Ice Cream Sandwich Heaven: Let the cookies cool completely. Then, sandwich a scoop of your favorite vanilla or strawberry ice cream between two cookies. Gently press together, roll the edges in sprinkles if you’re feeling festive, and freeze for an hour. Pure bliss.
With a Cold Glass of Milk: Sometimes, the classic is the best. A tall, ice-cold glass of milk is the perfect partner for these sweet, chewy cookies. It’s a combination that never fails.
Gifted with Love: These cookies are perfect for gifting! Let them cool completely, then stack them in a cellophane bag tied with a pretty ribbon, or layer them in a cute tin box. It’s a homemade gift that truly comes from the heart.
Mix It Up! Creative Twists on the Classic
One of the best things about this recipe is how adaptable it is. Feel free to get creative and make it your own!
- Strawberry Shortcake Cookie: Fold in ½ cup of finely crushed shortbread cookies or graham crackers along with the white chocolate chips. It adds a lovely buttery, crumbly texture.
- Double Berry Blast: Replace the white chocolate chips with a mix of semi-sweet chocolate chips and freeze-dried strawberry pieces. The freeze-dried berries give an intense, concentrated strawberry flavor without adding moisture.
- Lemon-Strawberry Swirl: Use lemon pudding mix instead of cheesecake and add a teaspoon of lemon zest to the dough. The combination of lemon and strawberry is bright, tangy, and incredibly refreshing.
- Funfetti Celebration: Omit the food coloring and add a hearty ½ cup of rainbow sprinkles along with the chocolate chips. Perfect for birthdays or any day that needs a little extra joy.
- Gluten-Free Friendly: You can easily make these gluten-free by using a 1:1 gluten-free all-purpose flour blend. Just make sure your pudding mix is also certified gluten-free.
Jackson’s Chef Notes & Kitchen Stories
This recipe has seen a lot of love (and a few happy accidents) over the years. I remember one time I was filming a video for the blog and I was talking to the camera, totally in the zone, and I accidentally doubled the baking soda. Let’s just say those cookies spread into one giant, thin, pink cookie sheet. We called it the “Strawberry Pudding Cookie Brittle” and ate it anyway with a spoon—it was still delicious! The moral of the story? Don’t be afraid of mistakes in the kitchen. Some of the best creations come from happy little accidents.
I’ve also learned that chilling the dough, while not always necessary, really does make a difference if you want a thicker, denser, extra-chewy cookie. And if you’re a fan of a slightly crispier edge, just bake them for a minute or two longer. This recipe is your canvas—paint it how you like it!
Your Questions, Answered: FAQs & Troubleshooting
Q: My cookies spread too much and got flat. What happened?
A: This is usually caused by butter that was too warm or melted. Make sure your butter is just softened, not melted. Another culprit could be an old or expired baking soda/powder. Also, try chilling the dough balls for 20-30 minutes before baking—this works wonders!
Q: Can I make the dough ahead of time and bake it later?
A: Absolutely! You can scoop the dough balls, place them on a baking sheet, and freeze them solid. Then, transfer the frozen dough balls to a freezer bag. You can bake them straight from the freezer; just add 1-2 minutes to the baking time. It’s like having fresh cookies on demand!
Q: My cookies are cakey instead of chewy. Why?
A: This often means there was a bit too much flour. Remember to spoon and level your flour instead of scooping it directly from the bag. Overmixing the dough after adding the flour can also lead to a cakey texture.
Q: Can I use sugar-free Jell-O or pudding mix?
A: You can, but it will change the texture and sweetness. Sugar-free pudding mixes often have different thickening agents that might not provide the same softness. The cookies will likely be less sweet and may have a slightly different mouthfeel, but they should still work.
Nutritional Information (Because We’re All Friends Here)
Let’s keep it real—these are a treat, and they’re meant to be enjoyed as such! Here’s a rough nutritional breakdown per cookie (based on a yield of 30 cookies). Remember, these are estimates and can vary based on specific brands and exact measurements.
Per Cookie: Calories: 160 | Fat: 8g | Saturated Fat: 5g | Carbohydrates: 20g | Sugars: 13g | Protein: 1g | Sodium: 90mg
The main contributors are the butter, sugar, and chocolate chips. If you’re looking for ways to lighten them up slightly, you could use a sugar substitute designed for baking, but the texture will change. My philosophy? Enjoy a couple of incredible, homemade cookies mindfully rather than a whole bag of something less satisfying. It’s all about balance and joy!
Final Thoughts: Let’s Keep the Fun Going!
Well, there you have it, my friends—the story, the secrets, and the step-by-step guide to the most irresistible Strawberry Pudding Cookies. This recipe is pure Food Meld energy: playful, nostalgic, and wildly delicious. I hope you have as much fun making them as I do. I hope your kitchen fills with that sweet-strawberry aroma, and I really hope you get to see someone take a bite, pause, and smile that “oh WOW” smile.
Bake a batch for someone you love, stash a few for future-you, and don’t forget to share your creations. Tag me @FoodMeld so I can cheer you on and drool over your pink, chewy masterpieces. Until next time—keep experimenting, keep tasting, and keep the joy turned up to eleven.
— Jackson


