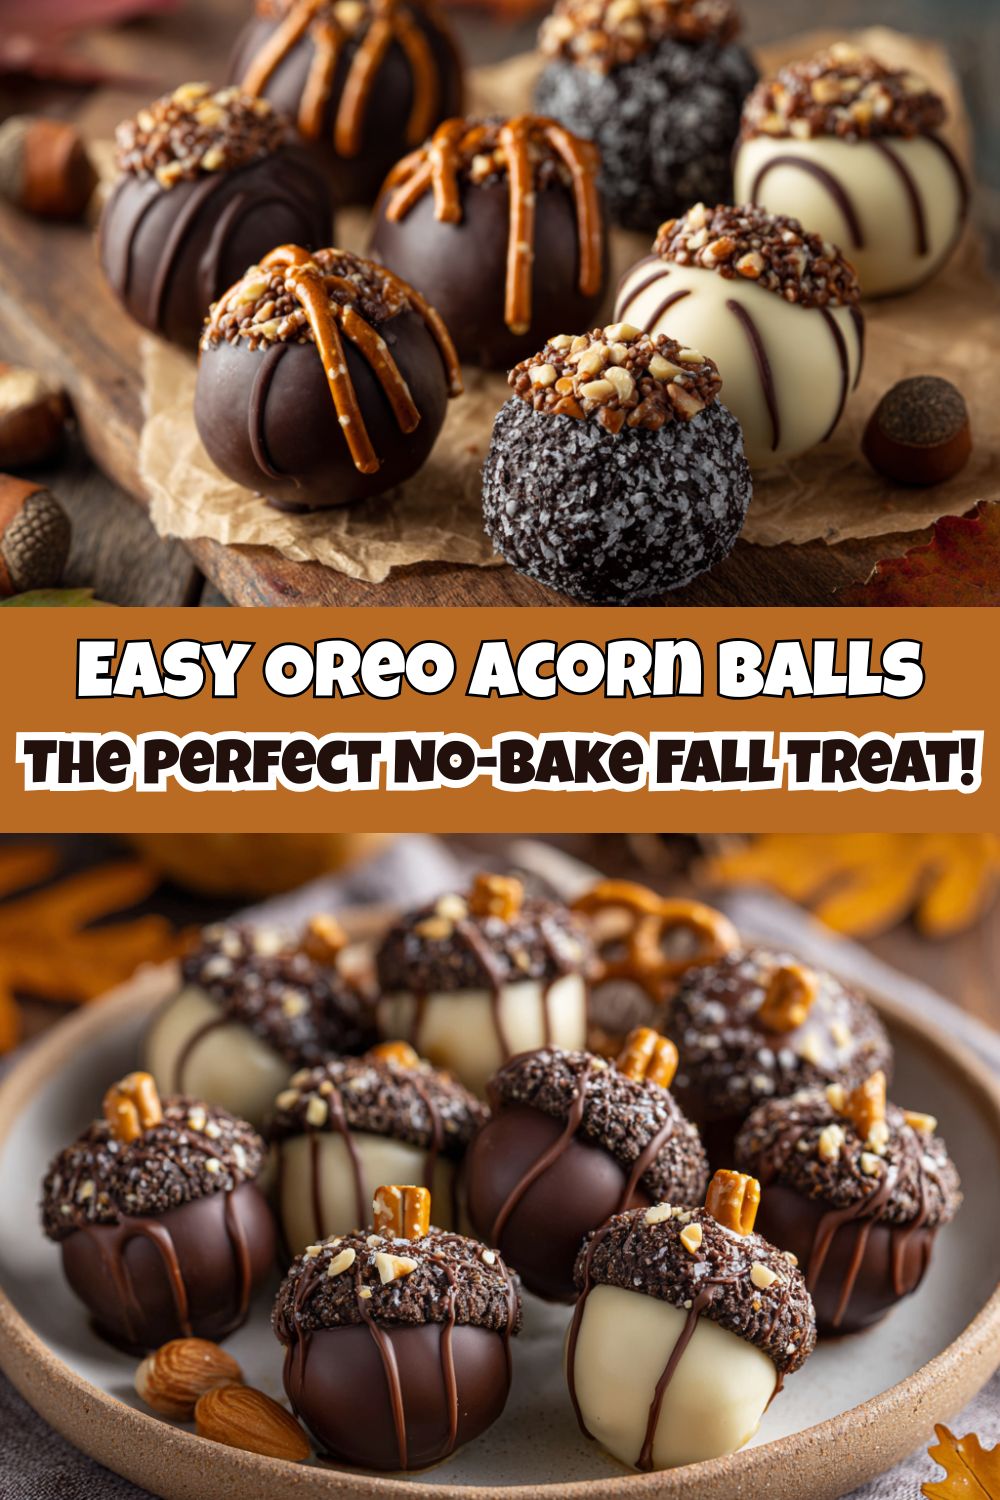
Let’s Make Some Magic: Oreo Acorn Balls!
Hey friends, Jackson from Food Meld here! Is there anything better than that crisp, cool shift in the air that tells you fall is officially on its way? I live for it. It’s the season of cozy sweaters, football games, and most importantly, the kind of baking that makes your whole house smell like a hug. But I get it—sometimes you want to create something show-stopping without spending the whole day covered in flour. That’s where these unbelievably cute and delicious Oreo Acorn Balls come in.
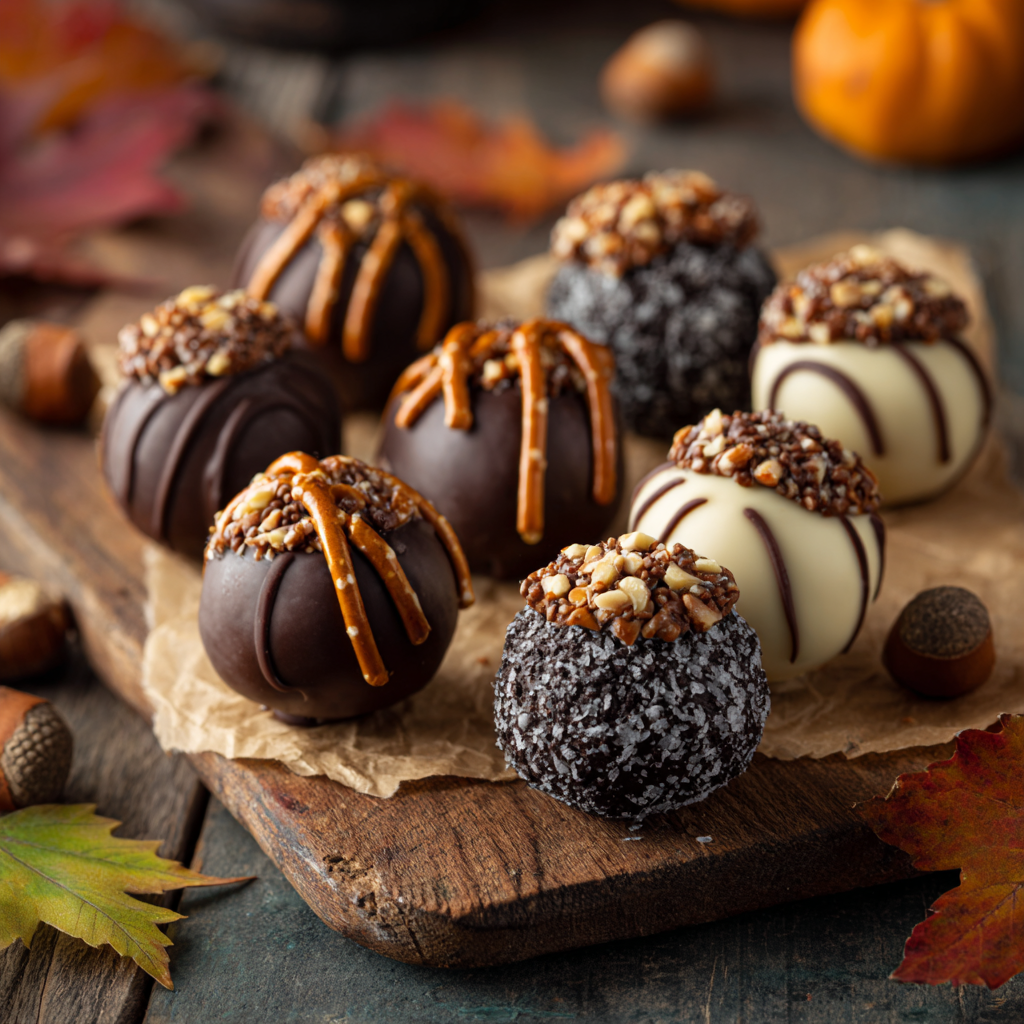
Imagine this: rich, creamy peanut butter Oreo truffles, dipped in smooth chocolate, and dressed up to look like little forest acorns. They’re the perfect bite-sized treat for parties, Thanksgiving dessert tables, or just because it’s Tuesday and you deserve a little joy. The best part? We’re not just making a few. We’re going big—this recipe is designed to feed a crowd, because trust me, these little guys disappear fast. I’ve also packed in a few of my signature “what if we tried this?” flavor twists to really make them unforgettable. So, grab your favorite mixing bowl and let’s turn simple ingredients into something absolutely awesome. No fancy skills required, just a willingness to have some fun and get a little messy. Let’s cook something awesome together!
The Happy Accident That Started It All
I have to confess, the first time I made something like these acorn balls, it was a complete kitchen experiment gone right. A few years back, I was signed up to bring a dessert to my niece’s autumn-themed school bake sale. I’d planned this elaborate pie, but life got in the way, and I found myself with about an hour to whip something up. Panic mode! I stared into my pantry and saw a family-size pack of Oreos and a block of cream cheese. The classic truffle recipe flashed in my mind.
As I was rolling the balls, I remember looking out the window at the oak tree in my yard, just showering the ground with acorns. A lightbulb went off. What if we shaped them? A little pinch here, a pretzel stick there… and just like that, a bake-save was born! The kids went absolutely nuts for them. They weren’t just cookies; they were a story, a little piece of the season they could hold in their hands. That’s the magic of cooking for me—it’s not always about the perfect, complicated recipe. Sometimes, the most memorable dishes come from a little creativity and a happy accident. These acorn balls have been a fall tradition ever since.
Gathering Your Acorn Ball Toolkit
Here’s everything you’ll need to create these adorable treats. I’ve included some chef insights and easy swaps to make this recipe your own. Remember, using quality ingredients makes a difference, but don’t stress—this is about fun, not perfection!
- 2 packages (30.5 oz total) Peanut Butter Oreos: The heart and soul of our truffle! The peanut butter filling adds a fantastic depth that pairs perfectly with the chocolate. Chef’s Insight: If you can’t find peanut butter, regular Oreos work beautifully too. For a nut-free version, just use the classic ones!
- 16 oz (2 blocks) Cream Cheese, softened: This is what transforms our crushed cookies into that luscious, rollable filling. Pro Tip: Leave it on the counter for at least 30 minutes before you start. Soft cream cheese blends seamlessly, preventing lumps.
- 1½ lbs Chocolate Candiquik or Melting Chocolate: I’m a huge fan of Candiquik for dipping—it’s formulated to set smoothly and doesn’t require tempering. Substitution Tip: You can use high-quality chocolate chips, but add a tablespoon of shortening to help it melt smoothly.
- 2 tbsp Vegetable Shortening or Coconut Oil: A little secret for a perfectly thin, crack-resistant chocolate shell. It makes the dipping process so much easier.
- Brown Sprinkles (jimmies, flakes, or sanding sugar): This is for our “acorn cap.” Sanding sugar gives a great sparkly texture, while chocolate jimmies look more like a real acorn. Raid your baking cupboard!
- Pretzel Sticks: Broken into small pieces, these become the perfect little stems. The salty crunch against the sweet truffle is a game-changer.
Flavor Twists (Optional but SO Delicious)
- Twist #1: 1 tsp Ground Cinnamon: Mix this right into your filling. It adds a warm, cozy flavor that screams autumn.
- Twist #2: Flaky Sea Salt: Sprinkle this on right after dipping. It cuts the sweetness and makes the chocolate flavor pop.
- Twist #3: Chopped Peanuts: Roll some of the dipped balls in these for a crunchy, nutty variation that peanut lovers will adore.
Let’s Build These Adorable Acorns: A Step-by-Step Guide
Alright, let’s get our hands dirty! This process is simple, but a few key tips will ensure your acorn balls are the talk of the party. Read through these steps before you start—it’s like having me right there in the kitchen with you.
Step 1: Make the Filling. First, we need to turn those Oreos into a fine dust. My favorite method? Toss them (the whole cookie, cream filling and all!) into a food processor and pulse until they’re fine crumbs. No food processor? No sweat! Place the cookies in a large ziplock bag, press out the air, and get ready for a little therapy session with a rolling pin. Crush them until they’re uniformly fine. In a large mixing bowl, combine the crumbs with your softened cream cheese. Use a hand mixer or just a sturdy spatula and some elbow grease to blend it until it’s completely smooth and no white streaks remain. If you’re using the cinnamon, mix it in now. Then, roll the mixture into 1-inch balls. Here’s the acorn trick: instead of perfect spheres, gently shape them into slight ovals. Place them on a baking sheet lined with parchment paper. Chef’s Hack: Pop the whole tray into the freezer for 45-60 minutes. This firming-up step is NON-NEGOTIABLE for easy dipping!
Step 2: Melt the Chocolate. When the balls are almost frozen, it’s time to melt your coating. Follow the package directions for your Candiquik or melting chocolate. I like to use a deep, narrow bowl or a liquid measuring cup for dipping—it requires less chocolate and makes for a cleaner process. Stir in the shortening or coconut oil until the mixture is silky smooth. Pro Tip: Keep the chocolate over a double boiler or on a warm (not hot) surface to prevent it from seizing up as you work.
Step 3: Dip & Decorate. This is the fun part! Working with a few balls at a time (keep the rest in the freezer), spear a ball with a fork or a dipping tool and dunk it completely into the chocolate. Tap the fork gently on the side of the bowl to let the excess chocolate drip off. Carefully place the dipped ball back onto the parchment paper. Now, act fast! While the chocolate is still wet, gently press the top of the ball into your bowl of brown sprinkles or chopped peanuts to create the “acorn cap.” Don’t worry about being perfect—real acorns aren’t!
Step 4: Add the Stem. Give the chocolate a minute or two to just begin setting—it should still be soft enough to pierce but not wet. Then, take a small piece of broken pretzel and gently press it into the top of the acorn, right at the edge of the sprinkle cap. And just like that, it has a stem! Magic.
Step 5: Chill and Serve. Once all your acorns are dressed and stemmed, transfer the baking sheet to the refrigerator for at least 30 minutes, or until the chocolate coating is completely firm. This sets everything perfectly.
How to Serve Your Masterpiece
Presentation is half the fun with these guys! Don’t just plop them on a plate. Let’s make it an event. I love to arrange them on a large platter or a wooden cutting board lined with a few fall-themed napkins or some parchment paper. Scatter a few real acorns (thoroughly cleaned!), some cinnamon sticks, or even a few autumn leaves around the platter to create a beautiful, rustic centerpiece.
These are the ultimate party treat. Set them out at your next gathering with a little sign that says “Acorn Orbs” or “Forest Bites” and watch people’s faces light up. They’re perfect for Thanksgiving, Halloween, tailgating, or any cozy get-together. Because they’re individually portioned, they’re incredibly easy for guests to grab and enjoy. Store any leftovers (if you have any!) in an airtight container in the fridge.
Mix It Up! Creative Twists on the Classic
Once you’ve mastered the basic recipe, the world is your oyster… or should I say, your acorn? Here are a few of my favorite ways to mix things up. Don’t be afraid to get creative!
- Mint Chocolate Forest: Use Mint Oreos instead of peanut butter for a cool, refreshing twist. It’s like a little Andes mint in acorn form!
- Salted Caramel Swirl: After blending the Oreos and cream cheese, gently fold in a few tablespoons of thick caramel sauce. Dip in chocolate and finish with a generous pinch of flaky sea salt.
- Pumpkin Spice Delight: Welcome to fall flavor town! Add a teaspoon of pumpkin pie spice to the filling mixture. It’s an instant cozy upgrade.
- White Chocolate Acorns: For a stunning visual contrast, dip your truffles in white melting chocolate instead of dark. Use gold or orange sprinkles for the cap to make them really pop.
- Gluten-Free Friendly: Simply use your favorite brand of gluten-free chocolate sandwich cookies and ensure your pretzels are gluten-free. The method stays exactly the same!
Jackson’s Chef Notes & Kitchen Stories
This recipe has evolved so much since that first frantic bake sale. The first batch I ever made, I was in such a rush that I didn’t freeze the balls long enough. Let’s just say my first few dipping attempts looked less like acorns and more like chocolate puddles with pretzels sticking out! Lesson learned: patience with the freezing step is your best friend. Another time, I decided to get fancy and toast the chopped peanuts for the crunchy variation. Wow. What a difference! It added this incredible, nutty depth that took them to a whole new level. I highly recommend giving it a try.
The beauty of this recipe is its flexibility. It’s a canvas for your own flavor ideas. I’ve had friends add a dash of espresso powder to the filling for a mocha kick, or even roll them in crushed toffee bits. Make it yours! That’s what Food Meld is all about.
FAQs & Troubleshooting: Your Questions, Answered
Q: My mixture is too sticky to roll! What did I do wrong?
A: This usually happens if the cream cheese was a bit too soft or if you accidentally undermeasure the Oreo crumbs. No worries! The fix is easy. Just pop the whole bowl of mixture into the fridge for 20-30 minutes to firm up. You can also lightly grease your hands with a little cooking spray or butter before rolling to prevent sticking.
Q: Can I make these ahead of time?
A: Absolutely! These are a fantastic make-ahead dessert. You can prepare them completely and store them in an airtight container in the refrigerator for up to 5 days. They also freeze beautifully for up to 2 months. Just thaw in the fridge before serving.
Q: My chocolate coating is thick and clumpy. How can I thin it out?
A: This means your chocolate might have gotten too hot or seized up. To thin it, try adding a tiny bit more of your shortening or coconut oil (a teaspoon at a time) and stirring vigorously over low heat. If it’s really seized, sometimes adding a tablespoon of warm cream can bring it back to life.
Q: The pretzel stems are getting soft. How can I keep them crunchy?
A> The moisture from the truffle can eventually soften the pretzel. For the crunchiest stems, insert them right before serving if you’re making them the same day. If storing, they’ll still taste great but might lose a bit of their snap.
Nutritional Info (Approximate)
Okay, let’s be real—these are a treat, and they’re meant to be enjoyed as such! But for those who like to keep track, here’s a rough nutritional breakdown per piece (based on a yield of 70 acorn balls). Remember, these are estimates and can vary based on the specific brands you use and the size of your truffles.
Per Piece: Calories: 130 | Carbohydrates: 12g | Fat: 8g | Sugar: 9g | Protein: 2g
The main contributors are the Oreos, cream cheese, and chocolate. If you’re looking for ways to lighten them up slightly, you could use reduced-fat cream cheese, but I’m a firm believer in going for the full-fat flavor for a special occasion treat! Life’s too short not to enjoy the real deal sometimes.
Final Thoughts: You’ve Got This!
Well, there you have it—my go-to recipe for bringing a little fall magic into your kitchen. I hope you have as much fun making these Oreo Acorn Balls as I do. Remember, cooking is an adventure. If a few of your acorns are a little lopsided or your sprinkles aren’t perfect, it doesn’t matter one bit. It’s the love and the fun you put into them that your friends and family will taste first.
I’d love to see your creations! If you make these, tag me on social @FoodMeld and use the hashtag #FoodMeld. Seeing what you all cook up is my favorite part of this job. Now go on, melt some chocolate, get a little messy, and create something unforgettable. Until next time, happy cooking!


