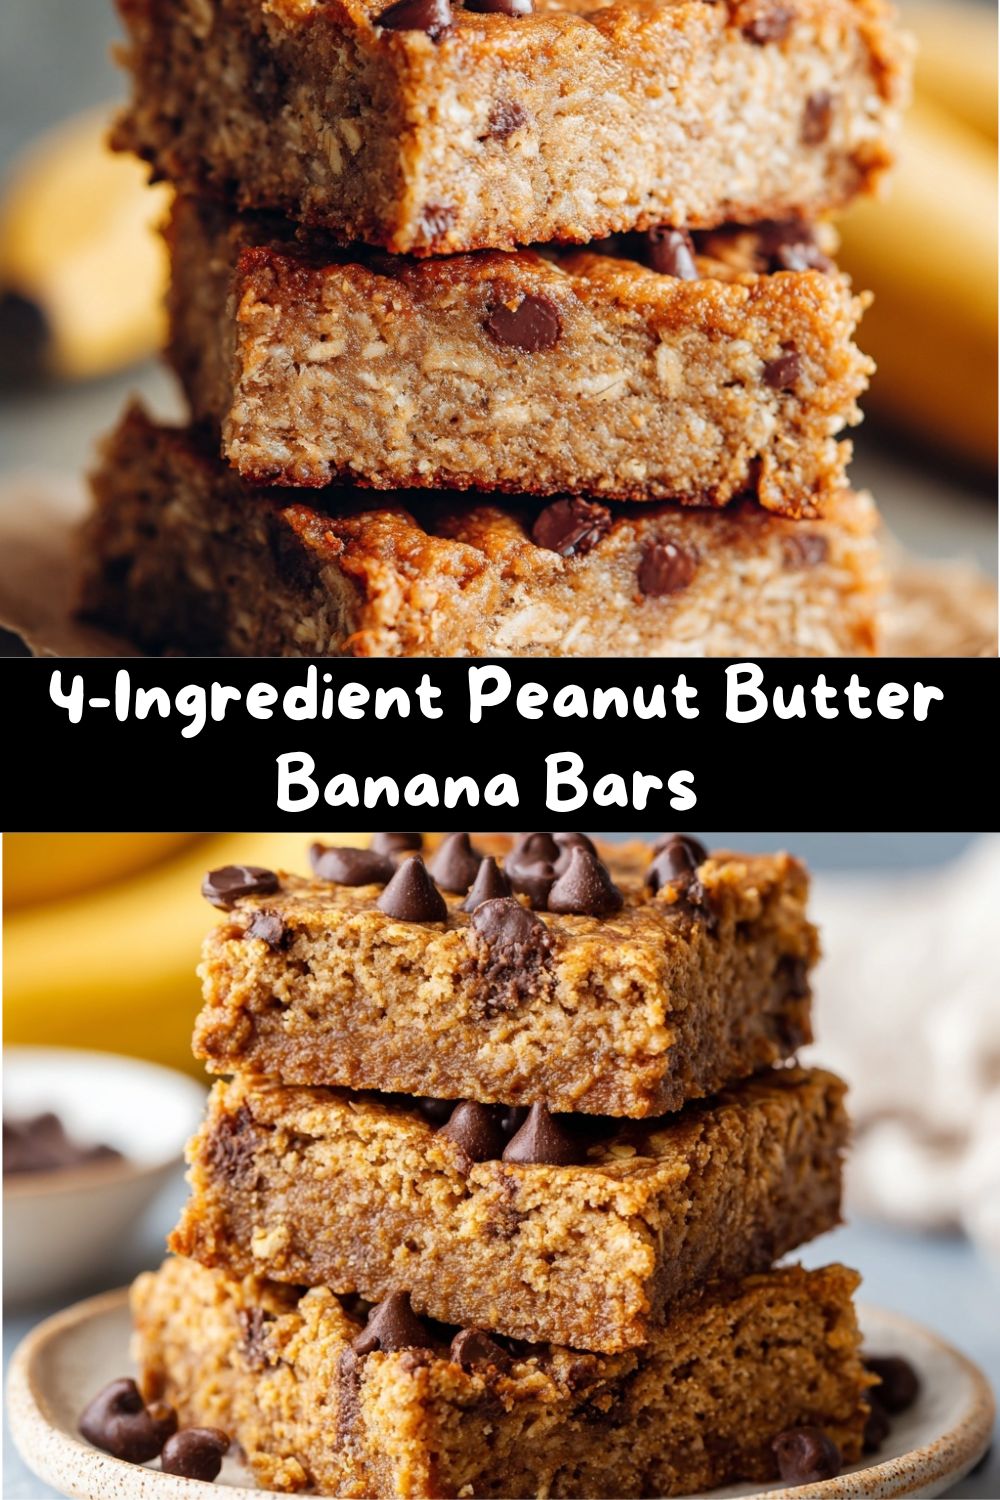
4-Ingredient Peanut Butter Banana Bars: Your New Kitchen Hero
Hey there, friend. Let me paint you a picture. It’s 3:47 PM. Your energy is dipping, the “hangry” monster is starting to whisper, and you’re staring into the pantry abyss. You want something that tastes like a treat but doesn’t make you feel like you just derailed your whole day. Something you can make with your eyes half-closed, with stuff you probably already have. Sound familiar?
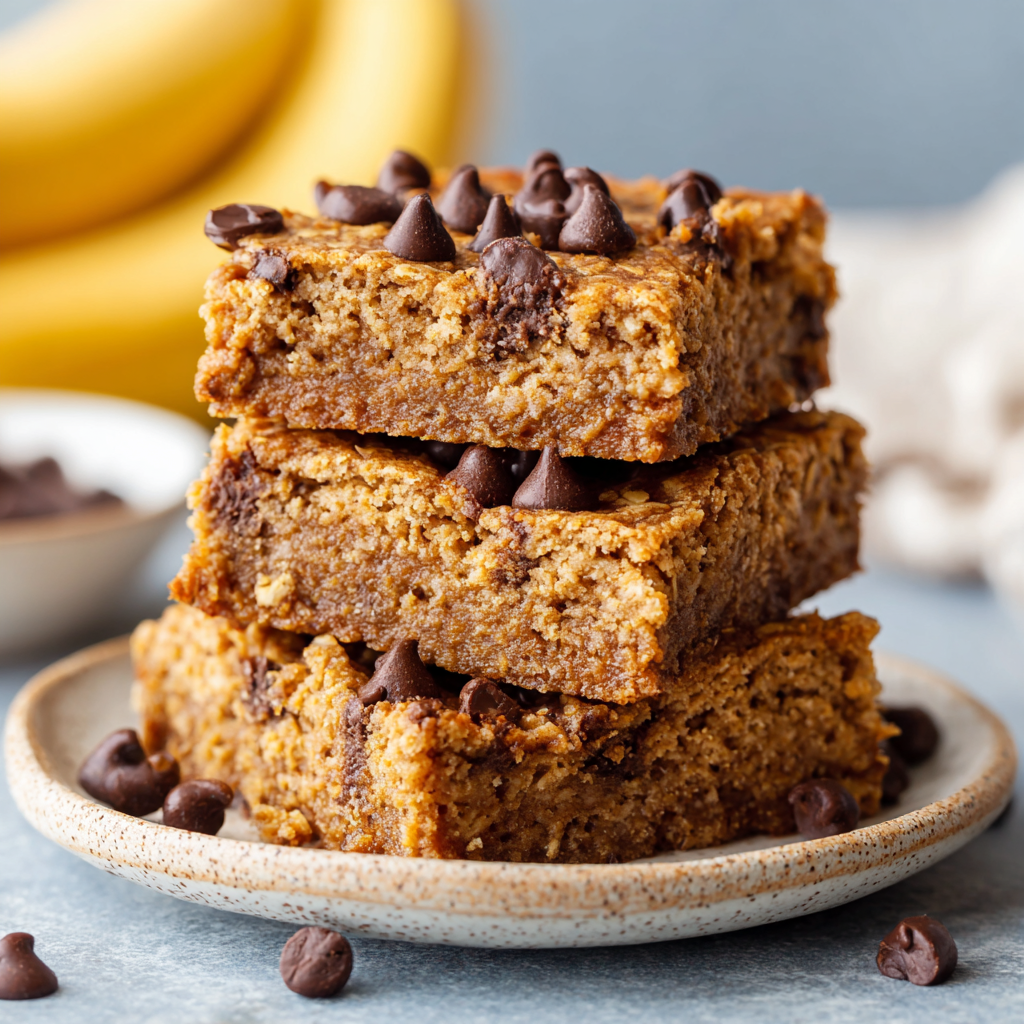
Well, pull up a stool, because I’m about to hand you your new secret weapon: these outrageously easy, 4-Ingredient Peanut Butter Banana Bars. We’re talking soft, chewy, satisfying bars that are naturally sweetened, require zero fancy equipment, and come together in about the time it takes to preheat your oven. No added sugar, no complicated steps—just pure, uncomplicated flavor that feels like a hug in bar form.
This is the heart of what Food Meld is all about. It’s that beautiful collision of “I need something good, NOW” and “wait, I can actually make that?” It’s taking humble, honest ingredients—the kind already lounging in your kitchen—and melding them into something unforgettable. Whether you’re packing lunches, fueling a busy morning, or just need a little something with your afternoon coffee, these bars have got your back. So, let’s ditch the complicated recipes and cook up some simple, awesome joy together.
The Banana Bread Epiphany & Why Simple Wins
This recipe takes me right back to my grandma’s linoleum-floored kitchen. She was the queen of “waste not, want not,” and her solution to three sad, speckled bananas was always, always banana bread. The whole house would smell like cinnamon and warmth. But let’s be real—as a kid, I was impatient. The creaming of butter and sugar, the careful folding… I just wanted the *good part*.
Years later, in my own first apartment with a oven the size of a toaster, I had my own trio of overripe bananas staring me down. I wanted that nostalgic flavor, but I didn’t have the time (or honestly, the patience) for the full bread ritual. I grabbed the jar of peanut butter, some oats, and thought, “What if we just… mash it all together and see what happens?” That “what if” moment is my favorite place to be in the kitchen. What happened was magic—a gooey, hearty, perfect square of instant comfort. It was the soul of banana bread and the heartiness of a granola bar, all in one. It proved a lesson I’ve carried ever since: the most satisfying food often comes from the simplest, most straightforward ideas. No fuss, just flavor.
Gather Your Flavor Squad: It’s a Short & Sweet List
Here’s the beautiful part. You likely have a version of all these ingredients within arm’s reach right now. Let’s break them down, because even simple ingredients have secrets to share.
- 3 Ripe Bananas: The star of the show and our natural sweetener. The spottier and softer, the better! Those brown spots mean the starches have converted to sugars, giving us maximum sweetness and an easier mash. No ripe bananas? Bake unripe ones at 300°F for 15-20 minutes until blackened for a quick fix.
- 1¼ Cups Oats: Our structure and heart. I use old-fashioned rolled oats for a pleasantly chewy, substantial texture. Quick oats work too for a slightly more uniform bar. Need it gluten-free? Just grab certified GF oats!
- ¼ Cup Peanut Butter: The rich, savory glue that holds it all together. Use creamy or crunchy—your call! For the best flavor and consistency, I go for a natural peanut butter where the only ingredients are peanuts (and maybe salt). If using a super-drippy natural PB, you might need a tiny bit more oats. Almond or sunflower butter are fantastic swaps for a different vibe or allergy-friendly option.
- ½ Cup Chocolate Chips: The mandatory “fun” element. I’m a semi-sweet guy, but dark chocolate, milk chocolate, or even chopped-up chocolate bar pieces are all welcome here. For a truly no-added-sugar bar, check out sugar-free chocolate chips or chop up a stevia-sweetened dark chocolate bar.
- 1 tsp Vanilla Extract (Optional but Awesome): Think of this as the background music that makes the whole song better. It rounds out the flavors beautifully. If you have it, use it!
Let’s Build These Bars: Your Foolproof Blueprint
Ready? This is so easy, you’ll have the recipe memorized after one try. Let’s walk through it together, step-by-step, with a few of my favorite kitchen hacks sprinkled in.
- Fire Up the Oven & Prep Your Pan: Preheat your oven to 350°F (175°C). This is our golden temperature for even baking. Now, grab an 8×8 inch baking pan. Here’s a chef hack: line it with parchment paper, letting the edges hang over two sides. This creates a “sling” so you can lift the entire batch of bars out in one beautiful block for super-clean slicing. No parchment? A light coating of butter or neutral oil works too.
- Mash Those Bananas: In a large mixing bowl, peel and add your ripe bananas. Get a fork or a potato masher and go to town! We want them mostly smooth, but a few tiny lumps are totally fine—they add little bursts of banana flavor. This is a great arm workout, or a perfect job to hand off to a eager kitchen helper.
- The Peanut Butter Handshake: Spoon in your peanut butter and that glorious vanilla extract (if using). Stir, stir, stir until it’s one harmonious, creamy, beige mixture. See how the peanut butter’s richness is already coating the sweet banana? That’s flavor melding in action, right there.
- Bring in the Oats & Chocolate Joy: Dump in all your oats. Fold them in with a spatula until every oat is coated in that peanut butter-banana goodness. Now, for the grand finale: gently fold in those chocolate chips. Pro tip: reserve a small handful to sprinkle on top before baking for a bakery-worthy look.
- Pan & Spread: Pour your batter (it will be thick and spoonable, not pourable like cake batter) into your prepared pan. Use your spatula or wet fingers to press it into a nice, even layer, getting into the corners.
- Bake to Golden Perfection: Slide the pan into the middle of your preheated oven. Bake for 20-25 minutes. You’re looking for the edges to be lightly golden brown and pulling slightly away from the pan, and the top to look set. It might still feel a little soft in the very center—that’s okay! It will firm up as it cools. DO NOT overbake looking for a firm center, or you’ll lose that wonderful chewiness.
- The Most Important Step: The Cool Down: I know, the smell is incredible. But patience, young grasshopper! Let the pan cool completely on a wire rack before you even *think* about slicing. This is non-negotiable for bars that hold their shape. I usually let mine cool for at least an hour. For the cleanest cuts, you can even pop the whole pan (once cooled) into the fridge for 30 minutes.
- Slice & Celebrate: Use the parchment paper sling to lift the whole slab onto a cutting board. Slice into 9 squares, or 12 smaller rectangles for bite-sized treats. You did it!
How to Serve & Savor Your Masterpiece
Okay, bars are sliced. Now, how do we make this moment even better? Here are my favorite ways to enjoy them:
The Classic: Just grab one and go! It’s the perfect hand-held snack, lunchbox star, or pre-gym fuel.
Breakfast Upgrade: Crumble a bar over a bowl of Greek yogurt with some fresh berries. The creamy yogurt with the chewy bar is a texture dream.
Dessert Mode, Activated: Warm a bar for 10-15 seconds in the microwave and top with a tiny scoop of vanilla ice cream or a dollop of whipped cream. The slightly melted chocolate chips? Chef’s kiss.
With a Beverage Buddy: These bars were made to be dunked into a cold glass of milk, a hot cup of coffee, or even a chai latte. The combo is pure comfort.
Make It Yours: 5 Flavorful Twists to Try
Once you’ve mastered the base recipe, the playground is open! Here are a few of my favorite ways to mix it up:
- The Protein Powerhouse: Stir in a scoop (about ¼ cup) of your favorite vanilla or chocolate protein powder. You may need to add a tablespoon or two of milk (any kind) if the batter feels too dry.
- Tropical Vacation: Swap the chocolate chips for ⅓ cup of chopped dried pineapple and ¼ cup of shredded coconut. It’s like a healthy piña colada in bar form.
- Elvis Special: Honor The King by folding in 2-3 strips of cooked, chopped bacon (trust me) along with the chocolate chips. Sweet, salty, savory perfection.
- Berry Burst: Replace the chocolate chips with ½ cup of frozen blueberries or dried cranberries. The berries get a little jammy in the oven—so good.
- “Cookie Dough” Dream: Use almond butter instead of peanut butter, and fold in mini chocolate chips. It tastes shockingly like edible cookie dough, but you can feel great about eating it.
Chef’s Notes: A Little Kitchen Truth
I’ve made these bars approximately nine zillion times, and they’ve evolved with me. The first batch was just bananas, PB, and oats—good, but a little austere. The chocolate chips were a game-changer. One time, in a frenzied snack emergency, I used apple sauce instead of one banana (it works in a pinch, but you lose some sweetness). Another time, I accidentally used steel-cut oats. Don’t do that. They’re tooth-breakingly tough! The beauty of this recipe is its forgiving nature. Too wet? Add a sprinkle more oats. Too dry? A tiny drizzle of honey or maple syrup can help. It’s your kitchen, your rules. Make it, taste it, tweak it. That’s where the real fun is.
Your Questions, Answered
Q: My bars turned out really soft/mushy in the middle. What happened?
A: This usually means they needed a bit more bake time or, more likely, more cooling time. These bars set up as they cool. Next time, ensure the edges are distinctly golden, and let them cool COMPLETELY (even refrigerate) before slicing. Also, very large, extra-juicy bananas can add more moisture.
Q: Can I make these vegan?
A> Absolutely! Just ensure your chocolate chips are vegan/dairy-free (many semi-sweet chips are, but check the label). Use a plant-based peanut or almond butter. You’re all set!
Q: How should I store them, and do they freeze well?
A: They keep beautifully in an airtight container at room temp for 2-3 days, or in the fridge for up to a week. For longer storage, they freeze like a dream! Wrap individual bars in parchment and place in a freezer bag for up to 3 months. Thaw at room temp or pop in the microwave for a quick thaw.
Q: Can I use a different nut or seed butter?
A> 100%. Almond butter, cashew butter, or sunflower seed butter all work wonderfully. Each will impart its own subtle flavor twist—have fun with it!
Nutritional Snapshot (Because You’re Curious!)
Alright, let’s talk numbers—not because we’re counting, but because it feels good to know what’s fueling you. This breakdown is for one bar, assuming you cut the batch into 9 generous squares.
Calories: ~160 | Protein: 3g | Carbohydrates: 22g | Fat: 7g | Fiber: 2g | Sugar: 9g
The key thing to note here: the sugar is all natural, coming from the bananas and the chocolate chips. There’s no refined sugar added to the batter itself. The fats are the good-for-you kind from peanuts and oats, and the fiber helps keep you full. It’s a balanced, energy-sustaining snack that satisfies a sweet tooth the smart way.
Final Thoughts: Go Forth and Meld!
So there you have it. The simplest, most satisfying bar recipe in my arsenal. It’s proof that you don’t need a laundry list of ingredients or complicated techniques to make something truly delicious and nourishing. It’s about trusting those simple combinations, embracing the “what if,” and giving yourself permission to make food that’s both easy and awesome.
I hope these bars become a regular in your rotation, a trusty friend for busy days and snack attacks. Most of all, I hope they remind you that cooking can—and should—be this straightforward and fun. Now, I’d love to hear from you! Did you add a twist? Did your kids go nuts for them? Tag me on social @FoodMeld and show me your creations. Let’s keep the conversation—and the flavor—going. Until next time, keep mixing it up and making it yours. Happy cooking!
Jackson


