Got a Sweet Tooth Emergency? I’ve Got Your Back.
Hey friends, Jackson here from Food Meld. Let’s be real for a second. We’ve all been there. It’s 3 PM, or maybe 9 PM, and a powerful, undeniable craving hits. You want something warm, something sweet, something that feels like a hug from the inside. But the idea of measuring a dozen ingredients, waiting for yeast to proof, and dealing with a mountain of dishes? Yeah, that’s a hard pass. You need a kitchen miracle, and you need it now.
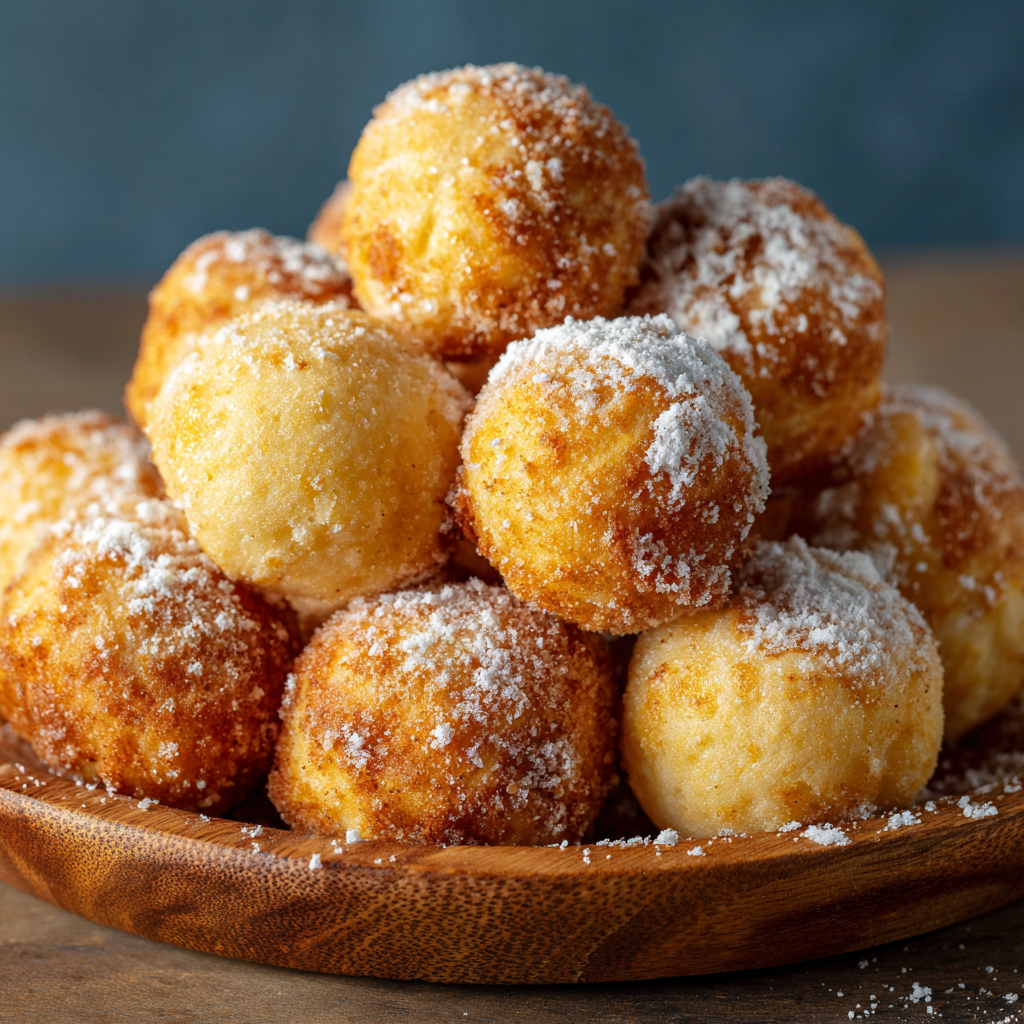
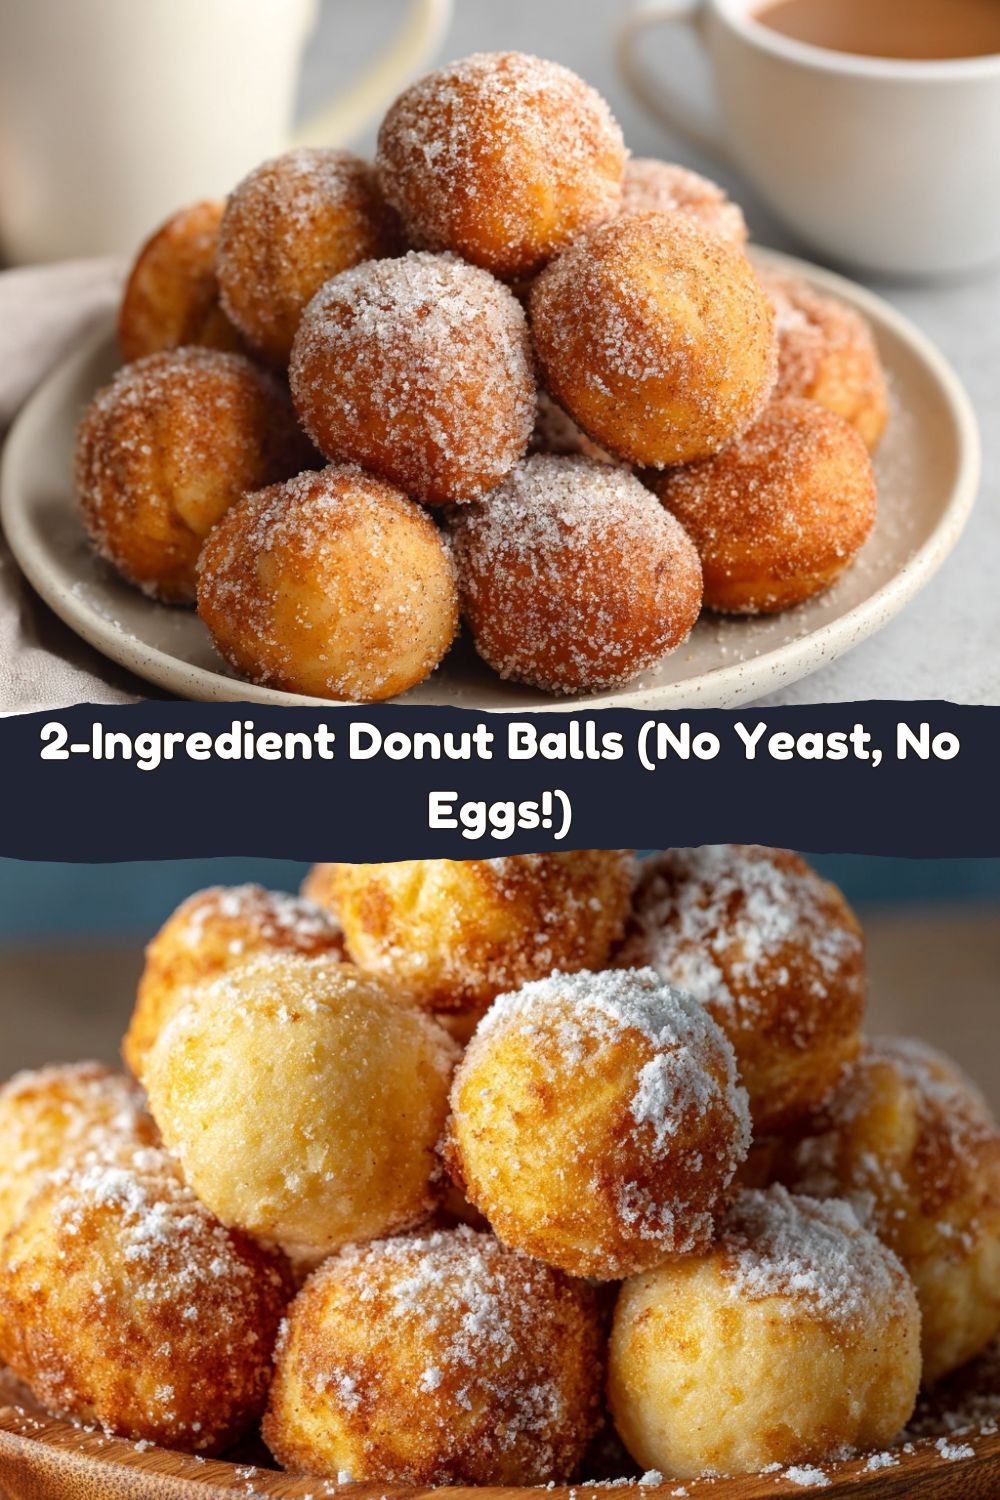
Well, my friend, today is your lucky day. I’m about to share one of my all-time favorite “secret weapon” recipes: 2-Ingredient Donut Balls. That’s right. Two. Just a couple of humble ingredients hanging out in your pantry and fruit bowl, coming together to create the most incredibly soft, pillowy, and satisfying little bites of joy you’ve ever tasted.
No yeast, no eggs, no waiting. We’re talking about 5 minutes of prep and about 7 minutes of cooking. In less time than it takes to decide what to watch on TV, you can be pulling a batch of golden, warm donut balls out of your air fryer or oven. We’re keeping things simple, real, and packed with flavor—just like we do here at Food Meld. This is the kind of recipe that turns a “blah” afternoon into a “you’ve gotta try this!” moment. So, tie on that apron (or don’t, I’m not the boss of you), and let’s cook something awesome together.
The Happy Accident That Started It All
I have to confess, this recipe was a total “what if we tried this?” experiment gone gloriously right. Picture it: a rainy Sunday, one sad, super-ripe banana on the counter, and a serious donut craving that a grocery store run just couldn’t fix. I’d been playing with simple doughs, and I thought, “Banana makes things moist and sweet… self-rising flour makes things puff up… what if we just… meld them?”
I mashed that banana, stirred in the flour, rolled the sticky mess into balls, and crossed my fingers as I popped them in the air fryer. Seven minutes later, I was staring at a batch of what looked like actual donut holes. I rolled one in cinnamon sugar, took a bite, and my mind was officially blown. They were soft, slightly sweet, and had that perfect cake-donut texture. My wife came into the kitchen, stole one, and her eyes got wide. “What are these?!” That’s the reaction I live for. It’s proof that the best food doesn’t need to be complicated—it just needs to be made with a little bit of curiosity and a whole lot of heart.
Your Two-Ingredient Dream Team
This is where the magic happens. Go ahead, gather these up. I’ll wait.
- ½ cup Mashed Banana (about 1 large, very ripe banana): This is our superstar. The riper the banana, the sweeter and more banana-forward your donut balls will be. Those brown, speckled bananas are perfect here—they’re nature’s sugar. They also provide all the moisture, so we don’t need eggs or oil in the dough itself. Chef’s Insight: Mash it really well with a fork until it’s basically a smooth puree. No big lumps!
- ¾ cup Self-Rising Flour: This is our other MVP. Self-rising flour is a beautiful thing because it already has baking powder and salt mixed right in, which gives our donut balls their lift and flavor. Substitution Tip: No self-rising flour? No problem! For every 1 cup of all-purpose flour, whisk in 1 ½ teaspoons of baking powder and ¼ teaspoon of salt. So for this recipe, you’d use ¾ cup all-purpose flour, 1 teaspoon baking powder, and a generous pinch of salt.
For the Optional (But Highly Recommended) Glam Squad:
- Melted Butter or Coconut Oil: For brushing the warm donut balls. This acts like glue for our sugar coating and adds a gorgeous, rich flavor. Butter gives that classic, decadent taste, while coconut oil keeps it dairy-free and adds a subtle tropical vibe.
- Cinnamon Sugar or Plain Sugar: For the iconic, crackly-sweet exterior. I’m a cinnamon sugar guy myself—it just feels like home. But plain sugar, some powdered sugar, or even a drizzle of simple glaze works wonders.
Let’s Make Some Magic: Your Foolproof Steps
Ready? This is so simple, you’ll have the steps memorized after one batch. Let’s do this.
- Combine and Conquer: In a medium-sized bowl, add your beautifully mashed banana. Dump the self-rising flour right on top. Now, grab a spatula or a fork and gently mix them together. Chef’s Hack: Don’t overmix! We’re not making bread. Just stir until the flour is fully incorporated and you no longer see dry patches. The dough will be sticky—that’s exactly what we want. A sticky dough means a tender donut.
- Roll with It (Literally): Now, lightly dust your hands with a tiny bit of extra flour. This is the key to handling the sticky situation without frustration. Scoop up about a tablespoon of the dough and gently roll it between your palms into a 1-inch ball. Little Chef Tip: They don’t have to be perfect spheres! Rustic and homemade-looking is part of the charm. Just try to get them roughly the same size so they cook evenly.
- Choose Your Adventure: Air Fryer or Oven:
- For the Air Fryer: Place your dough balls in the air fryer basket, giving them a little space to breathe. You might need to do two batches depending on the size of your air fryer. No need to spray them—they won’t stick. Air fry at 360°F (180°C) for 6-7 minutes. You’re looking for a lovely light golden brown color.
- For the Oven: Preheat your oven to 360°F (180°C). Line a small baking sheet with parchment paper and place the balls on top. Bake for 10-12 minutes, or until they’re puffed and golden.
Commentary: Keep an eye on them, especially the first time! All appliances are a little different. They should feel firm and spring back lightly when touched.
- The Glossy Finish: As soon as those golden beauties come out of the heat, brush them all over with your melted butter or coconut oil. Do this while they’re piping hot—they’ll absorb that flavor like a dream.
- The Sweet Embrace: Immediately roll the butter-brushed donut balls in a shallow bowl of cinnamon sugar or plain sugar. Coat them thoroughly. The residual heat will melt the sugar slightly, creating that irresistible, slightly crackly coating we all love.
How to Serve Up These Little Clouds of Joy
Okay, the hardest part is over: waiting for them to cool enough to eat without burning your tongue. I suggest a brief, 60-second cooling period on a wire rack—just enough time to build the anticipation.
For the full experience, serve them warm in a little basket or a rustic bowl. They are absolutely perfect all on their own with a tall glass of cold milk or a hot coffee. Feeling extra? Serve them with a small bowl of warm chocolate sauce or fruit jam for dipping. It takes them from “incredible snack” to “mini dessert masterpiece.”
These are also the ultimate “impress your guests” move for a brunch spread. Toss a batch together while the coffee is brewing, and watch everyone’s faces light up. They’ll think you slaved away, and your secret is safe with me.
Mix It Up & Make It Yours: 5 Flavor Twists
The basic recipe is a blank canvas for your creativity. Once you’ve mastered the original, try one of these fun twists!
- Chocolate Chip Bliss: Fold 2-3 tablespoons of mini chocolate chips into the dough right after you mix the flour and banana. The little pockets of melted chocolate are a game-changer.
- Lemon Poppy Seed Zing: Add the zest of one lemon and a tablespoon of poppy seeds to the dry ingredients. The lemon brightens everything up and makes them taste super fresh.
- “Funfetti” Party Balls: Stir in a tablespoon or two of rainbow sprinkles for a dose of pure, unadulterated joy. Kids (and kids-at-heart) go nuts for these.
- Apple Cinnamon Roll: Fold in ¼ cup of finely diced apple and an extra ½ teaspoon of cinnamon into the dough. It’s like a mini apple fritter in ball form.
- Gluten-Free & Vegan Friendly: Use a 1:1 gluten-free self-rising flour blend (like Bob’s Red Mill). Use coconut oil for brushing, and you’ve got a treat that works for almost everyone!
Jackson’s Kitchen Notes & Stories
This recipe has become my go-to for so many things. Last month, my nephew was over and declared he was a “picky eater.” I challenged him to be my kitchen assistant for this recipe. He mashed the banana, got his hands dirty rolling the dough, and was so proud of what he made that he ate four of them on the spot. That’s the power of simple, hands-on food—it brings people in.
Over time, I’ve learned a few things. If your dough feels a bit too wet, add a single tablespoon of flour at a time until it’s manageable. If it’s too dry, add a teaspoon of milk or water. The ripeness of your banana can change the hydration, so don’t be afraid to adjust. This recipe is forgiving, I promise!
Your Questions, Answered!
I’ve gotten a lot of questions about this recipe, so I’ve gathered the most common ones here to help you out.
Q: My dough is super sticky and hard to handle! What did I do wrong?
A: You did nothing wrong! The dough is *meant* to be sticky. The key is to lightly flour your hands. This creates a barrier and makes rolling a breeze. Don’t be tempted to add a ton of extra flour to the dough itself, or your donut balls can become dense.
Q: Can I make these ahead of time?
A: They are absolutely best served the day they are made, warm and fresh. However, you can store cooled donut balls in an airtight container at room temperature for a day. I highly recommend giving them a quick 2-3 minute warm-up in the air fryer or toaster oven to bring back that just-made magic.
Q: Why are my donut balls a little dense?
A: The most common culprit is overmixing. When you mix the flour and banana, you just want to combine them. Overmixing develops the gluten in the flour, which can lead to a tougher, denser texture. Mix with a light hand!
Q: Can I use a different fruit?
A: I’ve experimented! Applesauce or sweet potato puree can work in a 1:1 swap for the banana, but keep in mind the flavor and sweetness will change. Banana is my top pick for the best texture and natural sweetness.
Let’s Talk Nutrition (The Simple Scoop)
Now, I’m a chef, not a dietitian, but I love knowing what’s going into my food. One of the coolest things about this recipe is how straightforward the ingredients are.
These donut balls are naturally egg-free and dairy-free (if you use coconut oil), and can easily be made gluten-free. The banana provides a bit of potassium and fiber, and because they’re not fried in a vat of oil, they’re a lighter alternative to traditional donuts.
The approximate nutritional info per donut ball (without the sugar coating) is around 45 calories, 8g carbs, 1g protein, and 1g fat. Remember, the butter and sugar coating will add to this, but it’s all about balance! This is a treat you can feel good about.
Your New Secret Weapon
And there you have it. A recipe that proves you don’t need a pantry full of fancy ingredients or hours of free time to make something truly special. These 2-Ingredient Donut Balls are here to rescue you from cravings, to impress your friends, and to fill your kitchen with the incredible smell of warm, sweet goodness.
This is what Food Meld is all about: taking simple, bold flavors and twisting them into something unforgettable and, most importantly, fun to make. I hope this recipe becomes a staple in your home, just like it is in mine.
I’d love to hear how it goes! Tag me on social @FoodMeld with a picture of your donut ball creations. Let me know what fun variations you tried. Now go on, get in that kitchen and enjoy every single bite.
Happy cooking,
Jackson


